What is davclnt.dll & Should You Delete it?
Scan your PC for viruses is the DLL file is not in its usual location
Key notes
- The davclnt.dll is a Microsoft-published DLL that shows up when you install a program.
- You can run into trouble related to davclnt.dll, which can be easily fixed by scanning your PC for corrupt files.
- Else, you can make use of a dedicated DLL fixer to resolve the problem automatically.
Many of our readers are confused about a Dynamic Link Library file, davclnt.dll showing up on their Task Manager, and whether they should delete this file or not.
In this guide, we will share with you all the details that will help you understand what is davclnt.dll and if you should keep it or not. Let us check out the solutions.
What is davclnt.dll?
The davclnt.dll is a system-related DLL file. Notably, it is a process associated with Web DAV Client DLL published by Microsoft Corporation.
Usually, the davclnt.dll file is found inside the C:\WINDOWS\System32\ folder. If the davclnt.dll is found outside of this location, then it is probably malware or a virus.
The davclnt.dll file is usually included with the software you install on your computer. So, it may not be available by default on your computer.
Here are some of the common davclnt.dll errors that you will come across.
- Davclnt.dll is missing
- Davclnt.dll not found
- Cannot find davclnt.dll
- This application failed to start because davclnt.dll was not found. Reinstalling the application may fix this problem
Let us now check out the steps that will help you understand whether or not you should delete the davclnt.dll file or not.
Should I delete the davclnt.dll file or not?
As mentioned, if the file isn’t found inside the C:\WINDOWS\System32\ folder or inside the program’s folder, then it is suspicious, and you should definitely get rid of it.
How can I fix davclnt.dll errors?
Before you go ahead and apply the solutions, make sure you install the latest Windows updates as this will fix most of the glitches present on your computer.
1. Use a dedicated DLL fixing tool
DLL files are required for the functioning of system processes and the programs that you install on them. In case, the files are missing or corrupt then you will come across multiple errors.
While DLL fixing can be a tiring task, you can take the help of a dedicated DLL fixing tool that will help resolve the problem automatically.
2. Fix the corrupt system files
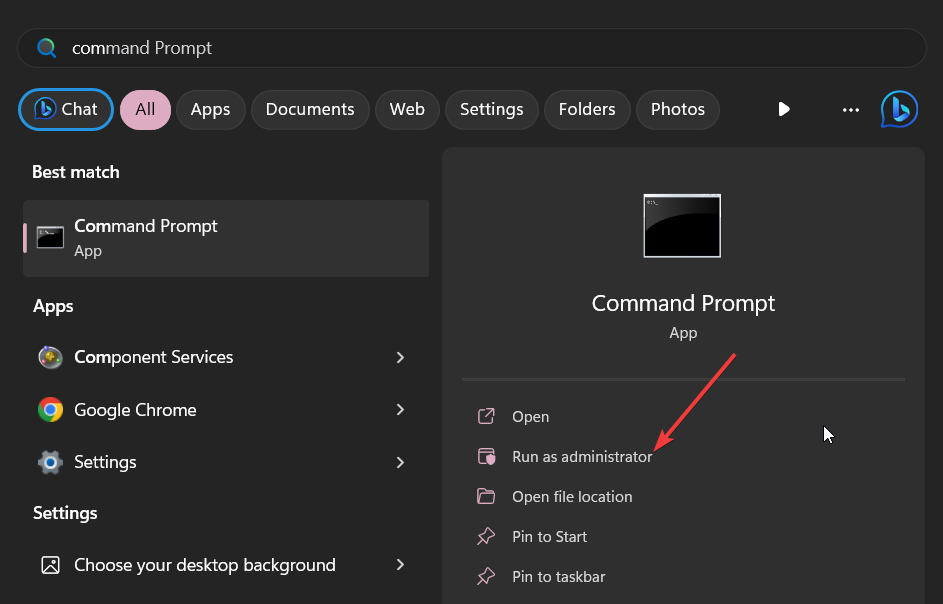
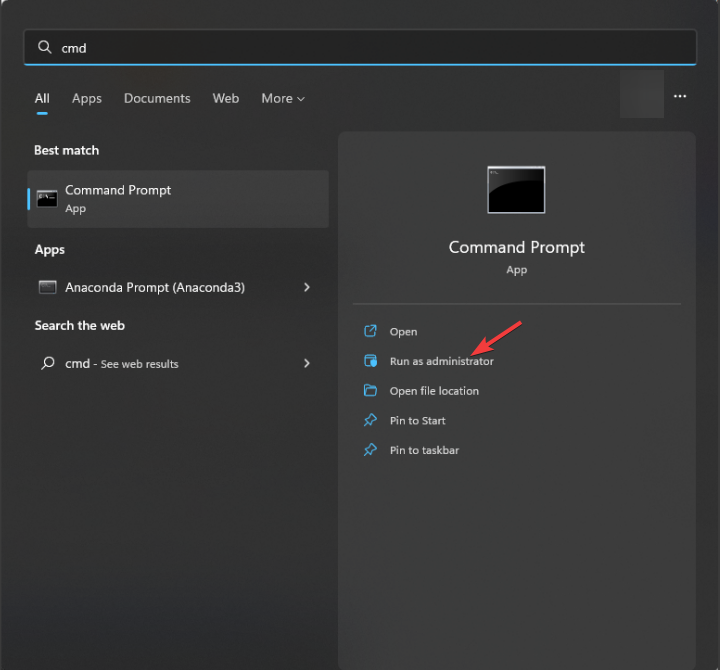
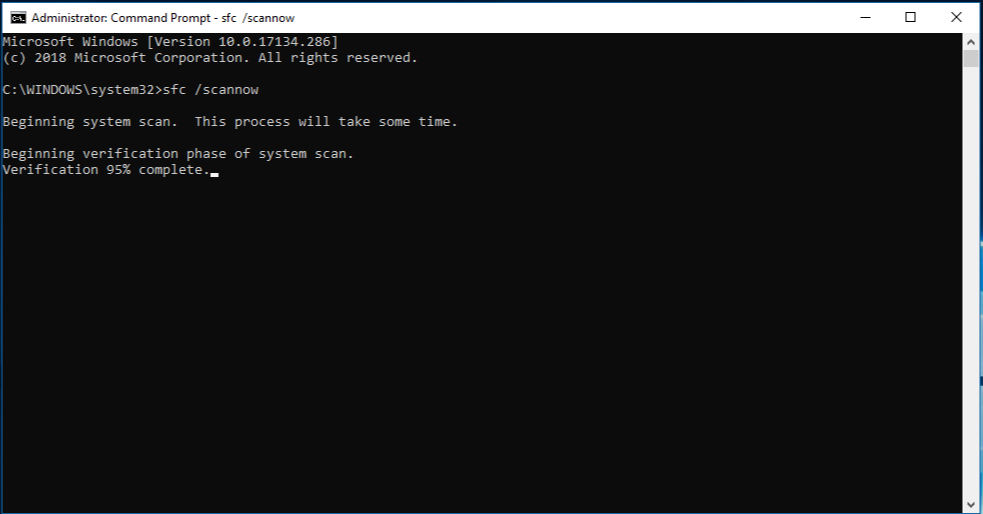
- Press the Win key to open the Start menu.
- Type command prompt and open it as an administrator.
- Type the below command and press Enter:
sfc /scannow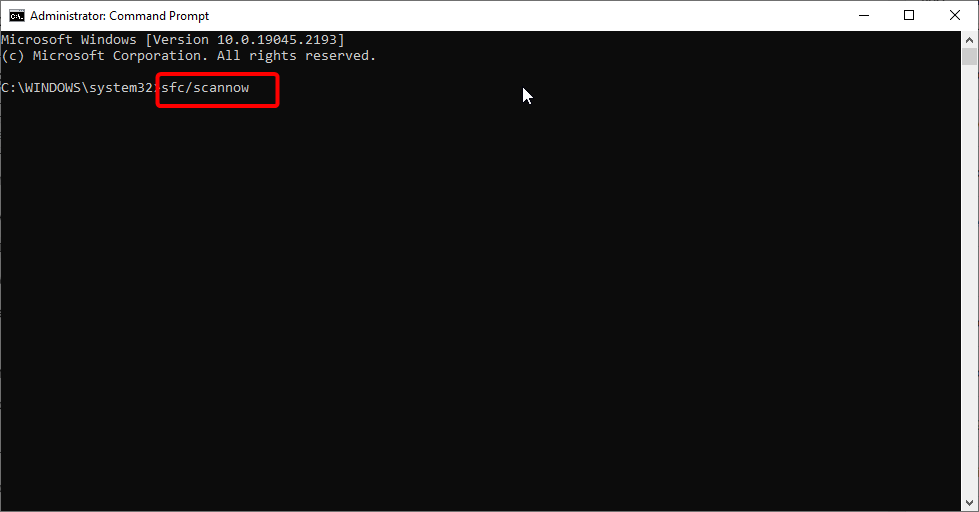
- Let the process complete and fix missing or corrupt system files.
- Type the below commands and press Enter after each one:
Dism /Online /Cleanup-Image /CheckHealthDism /Online /Cleanup-Image /ScanHealthDism /Online /Cleanup-Image /RestoreHealth - Restart your PC.
Corrupt system files are often associated with various DLL errors including the davclnt.dll error. So, to resolve it, we would recommend you run the SFC Scan and DISM commands to resolve the issue.
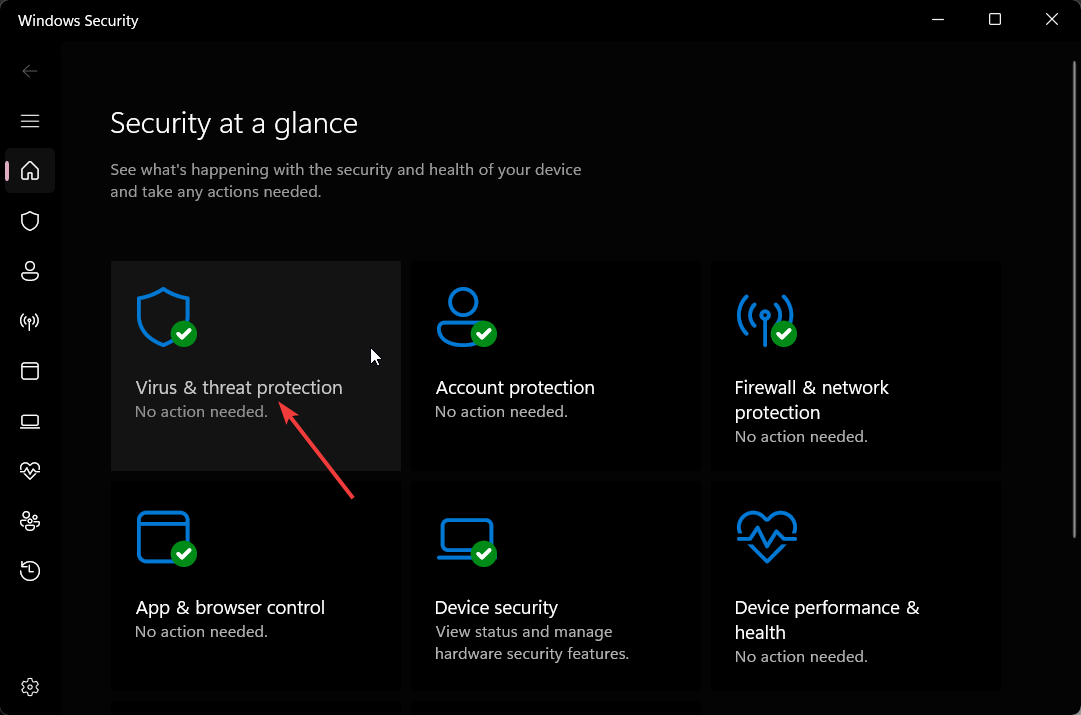
3. Scan your PC for viruses
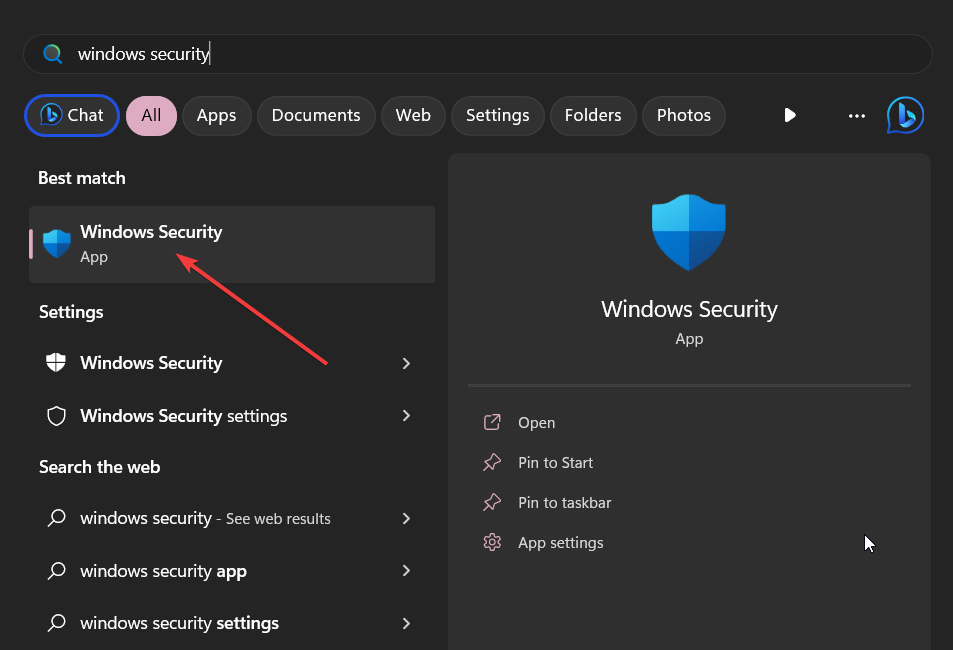
- To open the Start menu press the Win key.
- Type Windows Security and open the appropriate result.

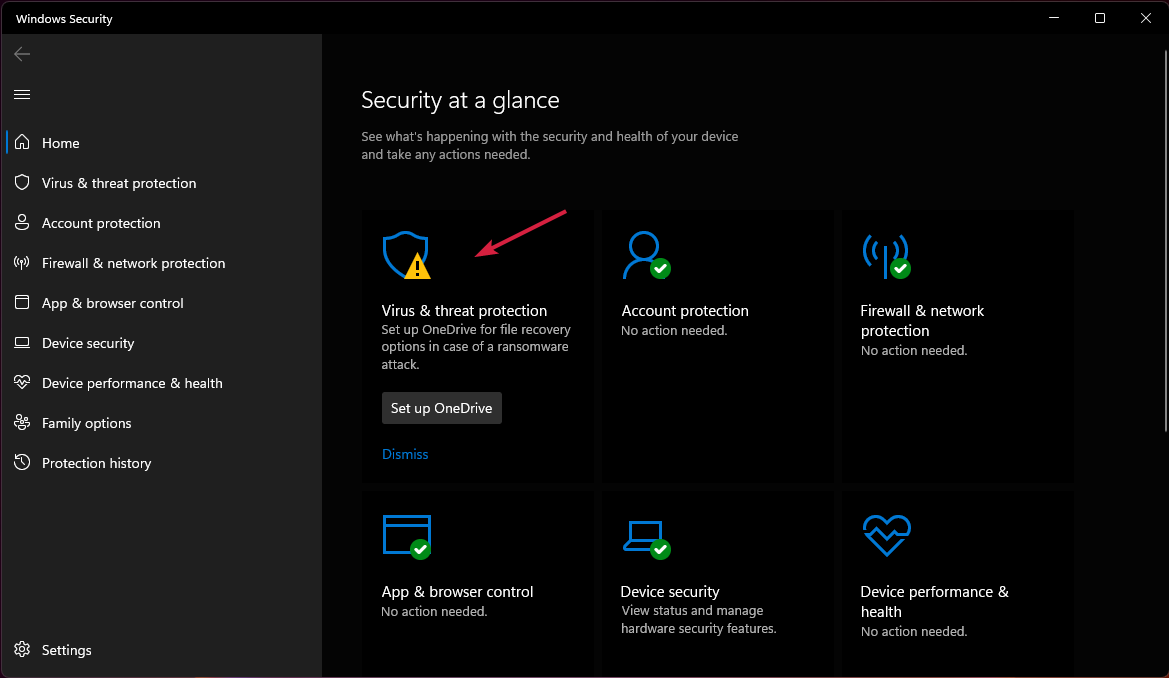
- Click on Virus & threat protection.

- Select Quick Scan.
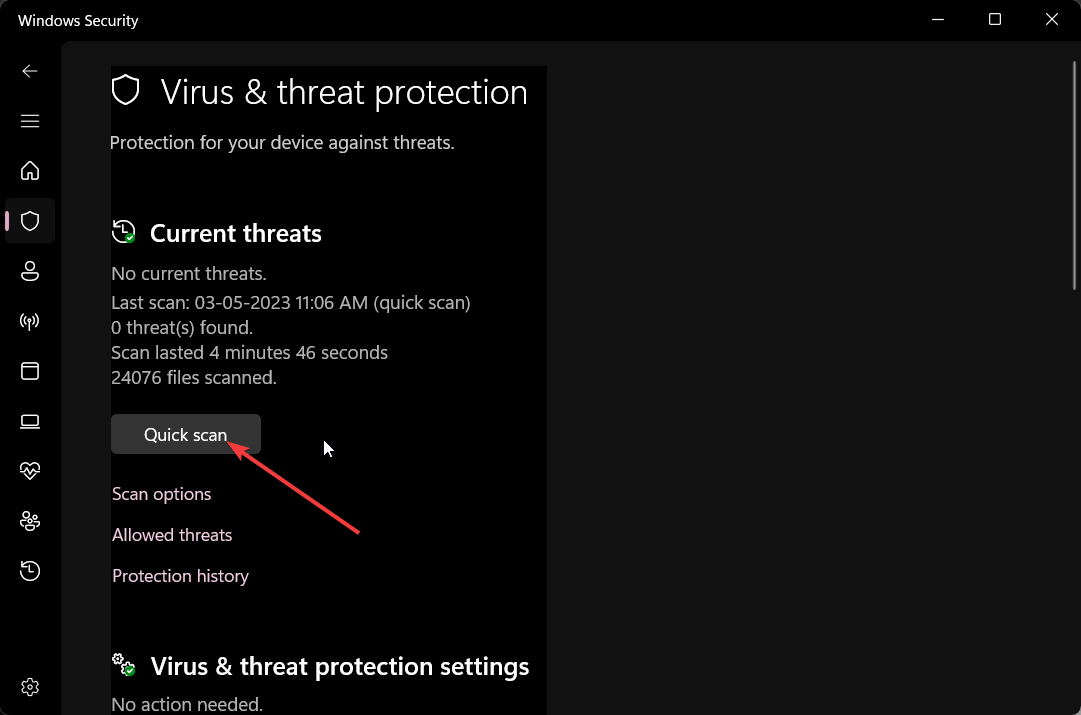
- Let the process complete and apply the fixes.
- You can also select Scan options and choose Full scan for in-depth scanning, and after that, restart your PC.
If the file isn’t the usual location then you should run a malware scan on your computer and for that, you can use Windows Security.
However, often this isn’t as effective as a dedicated antivirus tool. In such a case, we would suggest you take a look at our guide that gives a list of antivirus tools that you should you have on your PC.
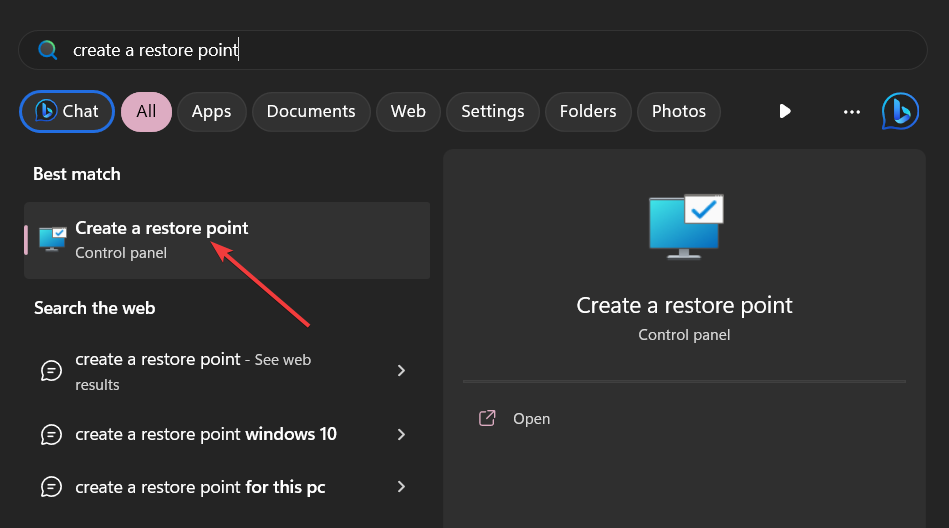
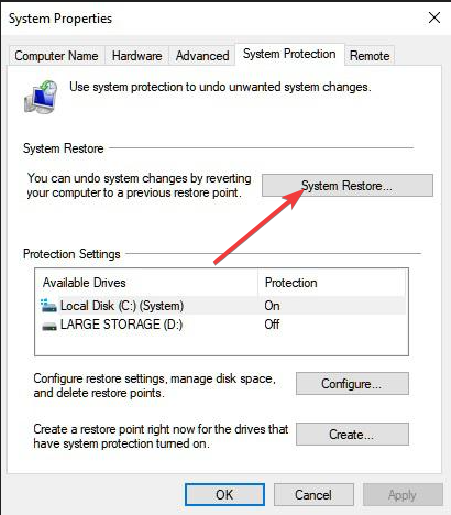
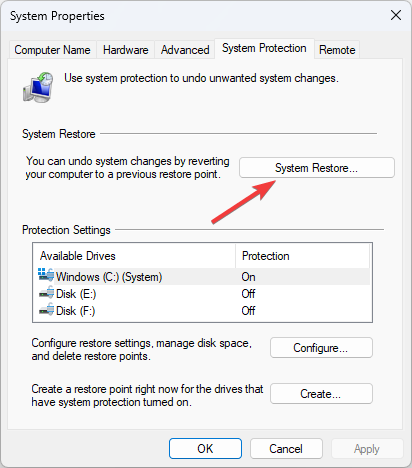
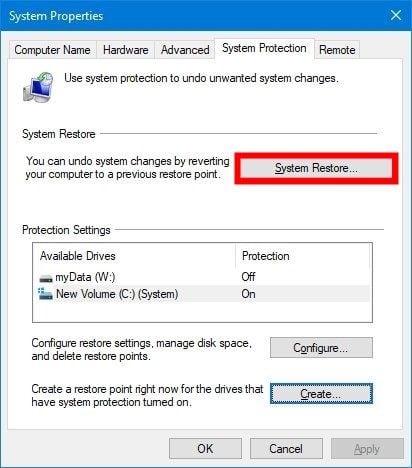
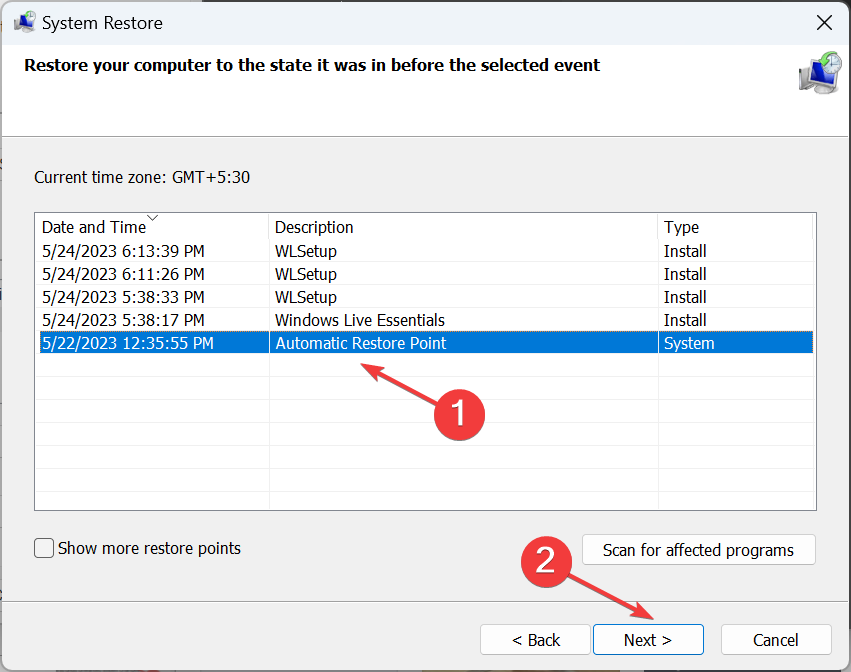
4. Perform System Restore
- Open the Start menu by pressing the Win key.
- Type Create a restore point and open the top result.

- Select the drive and click on System Restore.
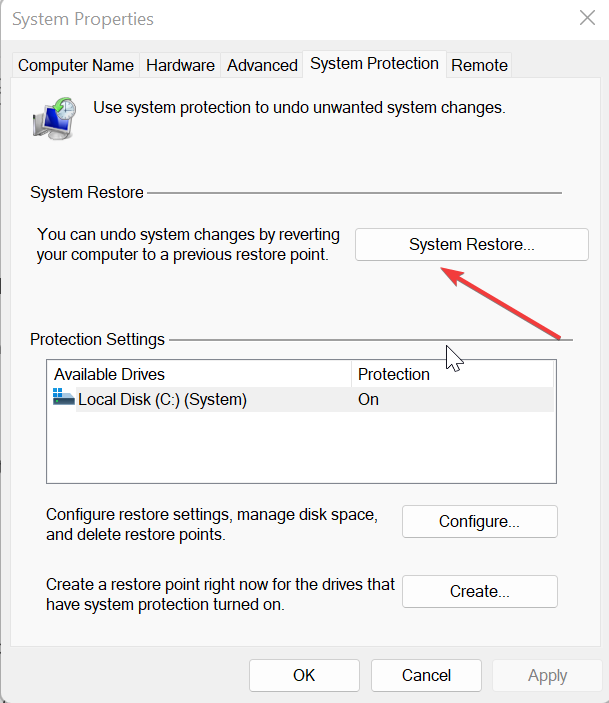
- Choose the restore point and click on Next.
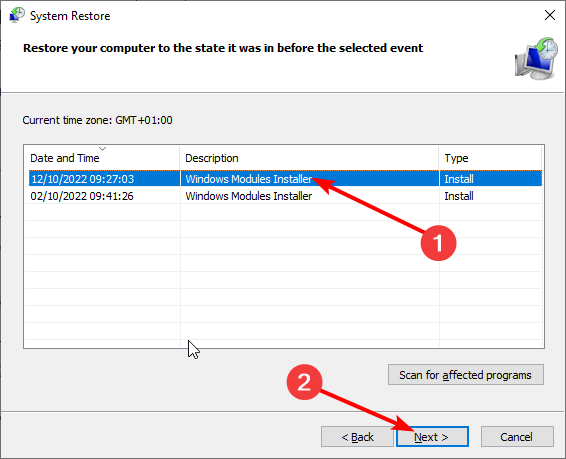
- Click Finish to begin the restore process.
If nothing works, then it is better to use the System Restore process and take your computer back to a state when everything was working normally.
However, this process will work only if you have a system restore point already created on your PC. For that, we have a guide that explains how to create a system restore point.
That is it from us in this guide. Let us know in the comments below, which one of the above solutions resolved your problem associated with the davclnt.dll error.
Read our disclosure page to find out how can you help Windows Report sustain the editorial team. Read more


Improve this guide


User forum
0 messages