Solved: File Explorer Group by Greyed Out
Trouble sorting files? Restore default settings
Key notes
- To get around the greyed-out Group by option in File Explorer, restart File Explorer or reset it to default settings.
- Alternatively, you can create a new user profile to ascertain whether you're running a corrupt account.
- For these and more tips, keep reading this article.

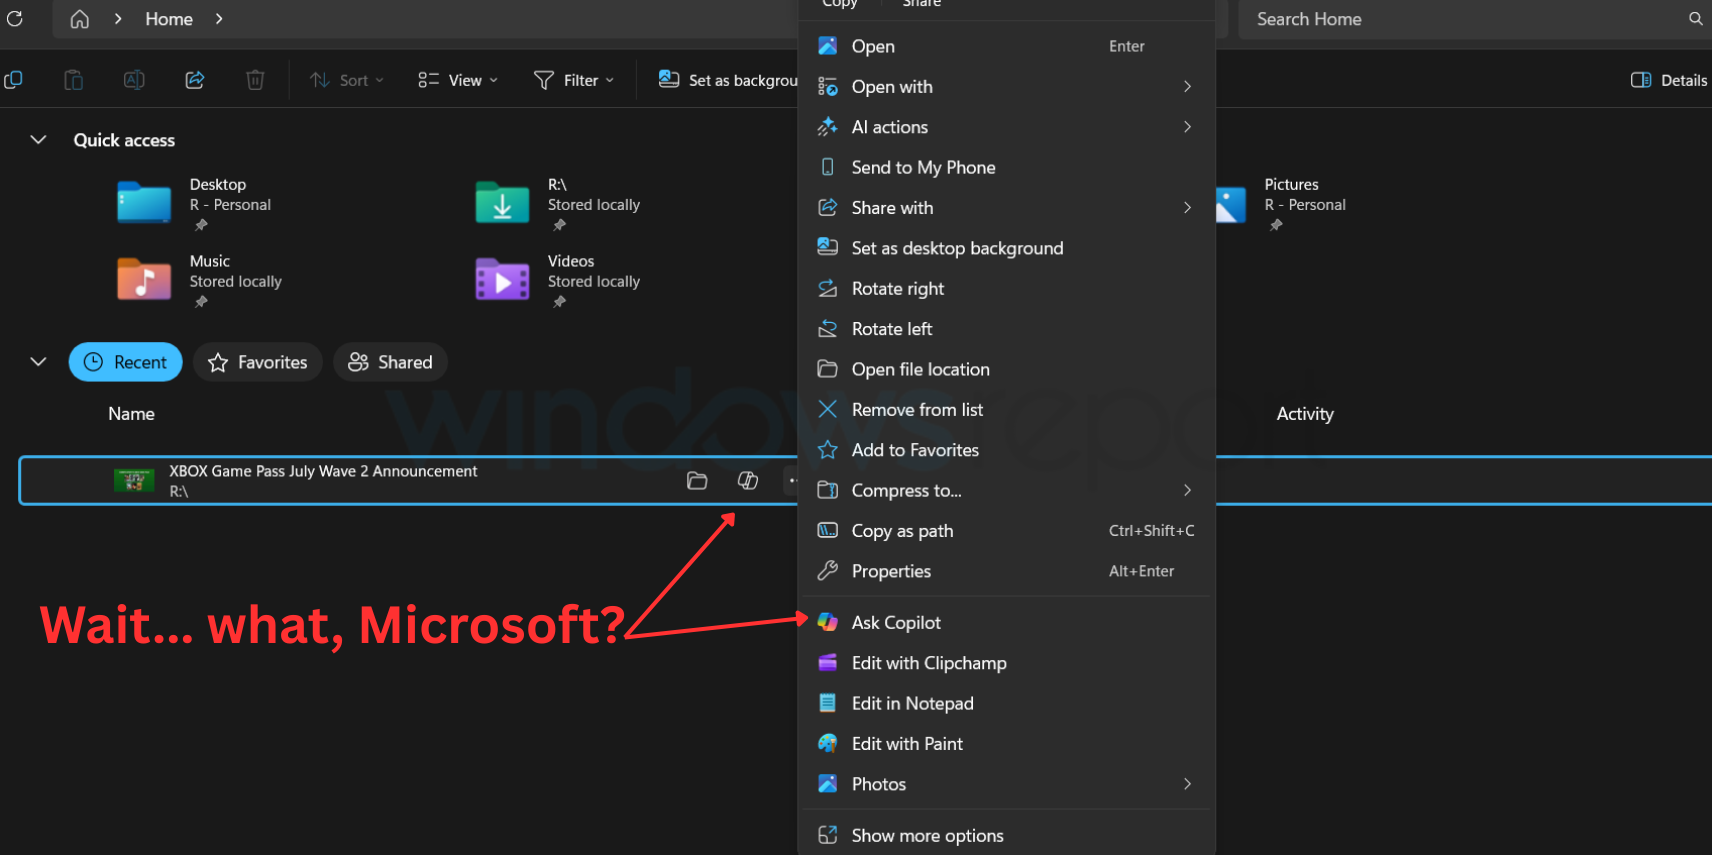
You open up File Explorer, and you want to sort out your files but when you go to the group by option, it is greyed out. We give you our tried and tested solutions to resolve this issue.
What does it mean when a folder is greyed out?
This could mean the folder is currently unavailable, you’ve disabled grouping or there are no files in the folder. Other possible reasons could be that the folder is in use by another application or you don’t have permission to view the contents of the folder.
What can I do if the Group by option is greyed out in File Explorer?
Start off troubleshooting with the following basic checks:
- Ensure you’re logged in with an administrator account and your device is up-to-date with all updates.
- Uninstall any recent software that may alter the settings in your PC, enter Safe Mode, and see if the issue persists.
- Perform a virus scan and restart your PC.
1. Restart File Explorer
- Right-click on your Taskbar and select Task Manager to open.
- Locate Windows File Explorer, right-click, then select End task.

- Click on File in the top left corner and select Run new task.
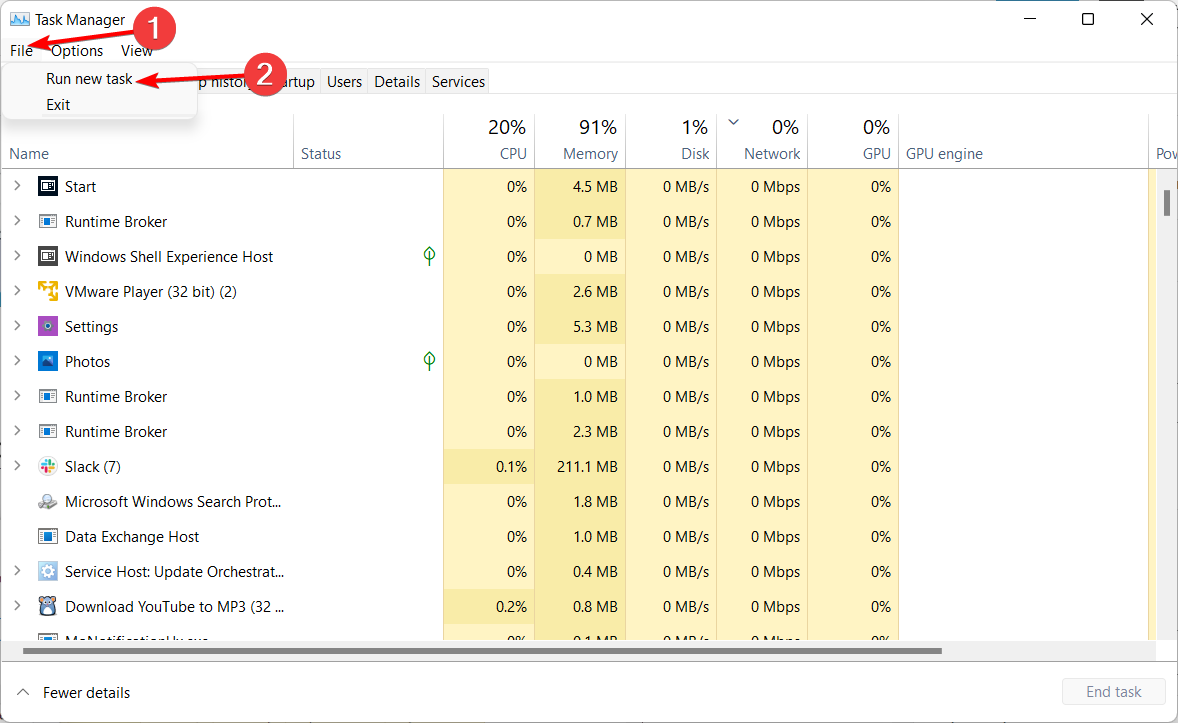
- In the dialog box that appears, type explorer.exe to restart File Explorer.

2. Reset File Explorer to default settings
2.1 Reset View settings
- Click the Search icon on your taskbar, type File Explorer in the search field, and choose File Explorer from the search results.

- In the File Explorer window, click the Menu icon (three ellipses) located on the extreme right of the menu bar and choose Options from the drop-down menu.

- Switch to the View tab to access the related settings and press the Reset Folders button located in the Folder views section to reset File Explorer to its default view.

- A reset confirmation popup will open on the screen. Click Yes to confirm that you want to reset Windows 11 File Explorer to the default view.

- Next, press the Restore Defaults button under the Advanced Settings section to revert these settings to their default value.

- After the File Explorer is reset, press the OK button to save the changes you’ve made and exit the File Explorer Folder Options popup.
Although customizing your File Explorer can help you navigate through the folders, files, and drives in your PC easily, sometimes it can mess up with certain settings and cause issues like the group by option to be greyed out.
2.2 Reset File Explorer cache
- Use the Windows + S shortcut to launch the Search menu. Type PowerShell in the search bar, and select the Run as Administrator option.

- Type or copy-paste the following command and press the Enter key to execute it.
kill -n explorer
When you use your computer for a long time, you accumulate a lot of files and with time, some files can get corrupted or damaged. In such cases, you need to remove them by clearing the cache.
3. Uninstall recent Windows updates
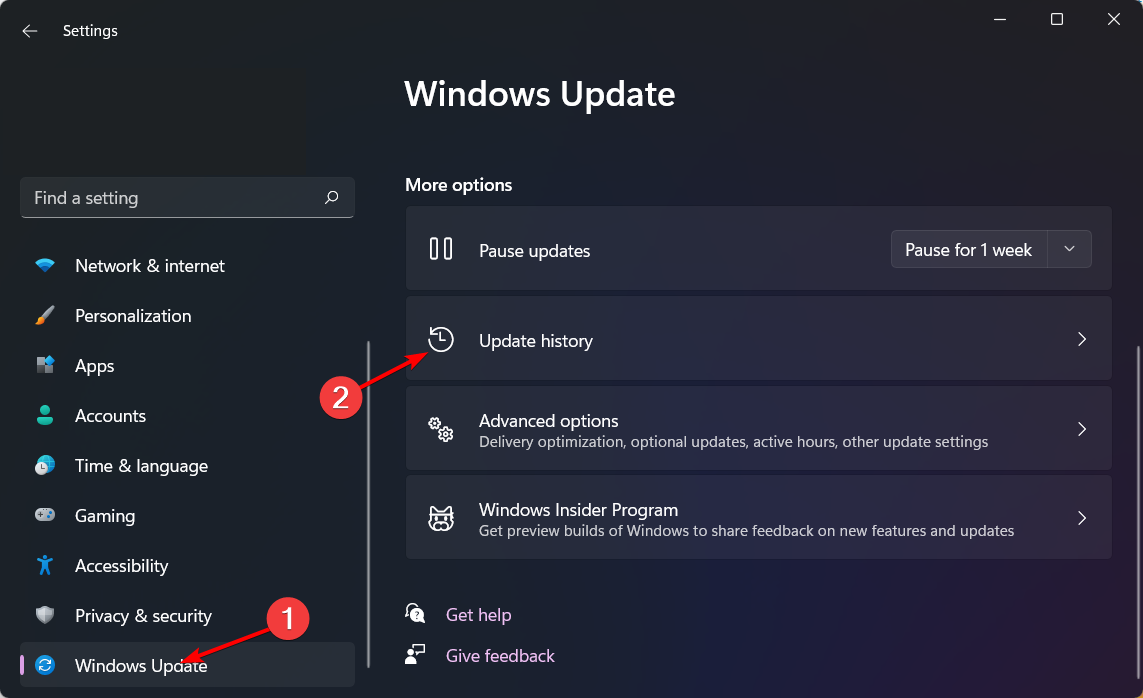
- Press the Windows + I keys simultaneously to open Settings.

- Navigate to Windows Update, then go to Update history.
- Click on Uninstall updates.
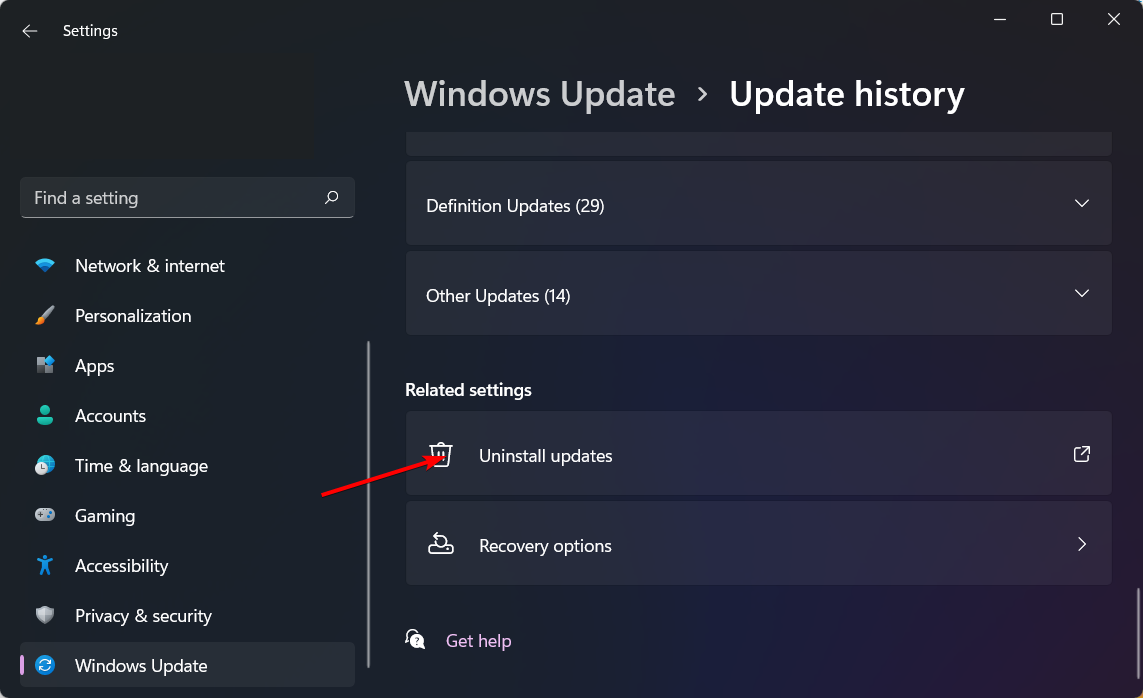
- Select the most recent update, then click Uninstall.
4. Create a new user profile
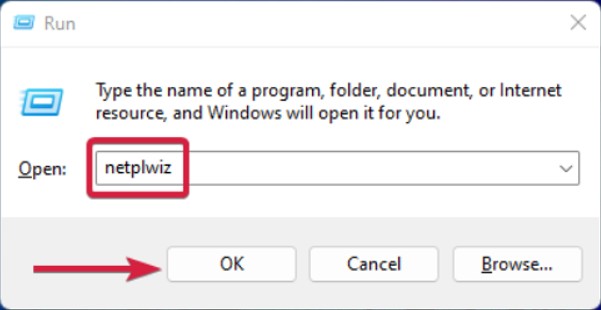
- Press Windows + R to launch the Run console, enter netplwiz in the text field, and click OK.
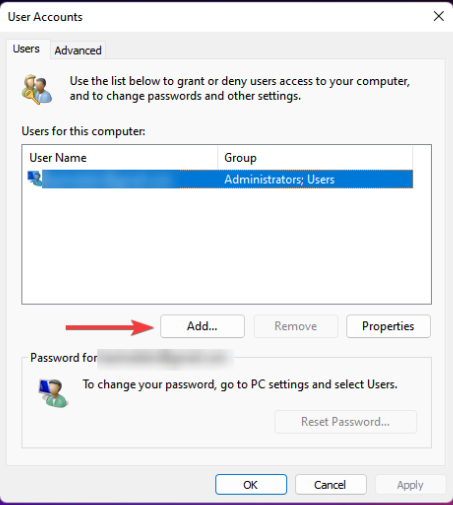
- Click Add in the User Accounts window.
- Select Sign in without a Microsoft account (not recommended).
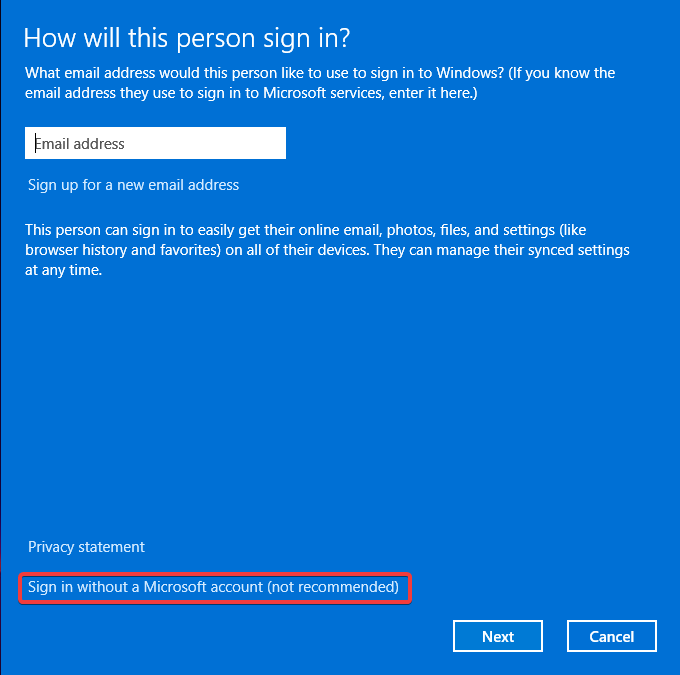
- Click on Local account button.

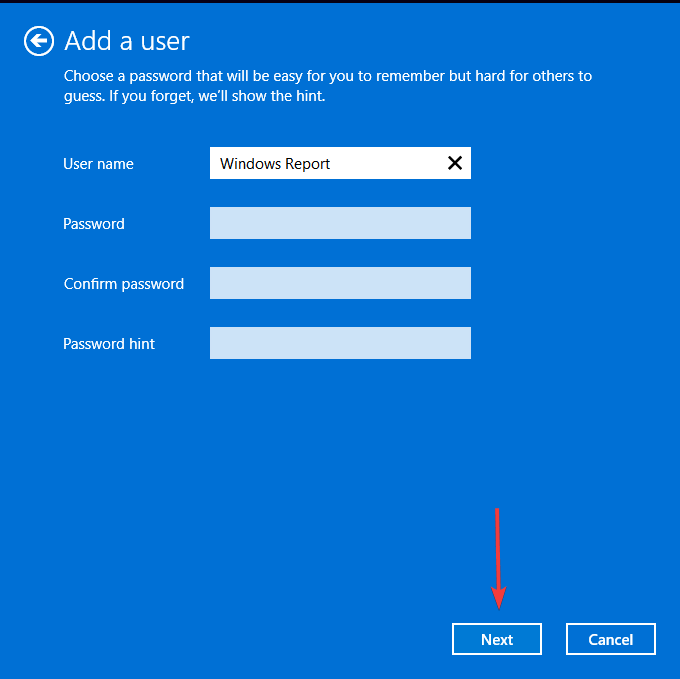
- Enter a username and password (optional) for the new user account, and a hint, in case you set a password. Once done, click on Next.
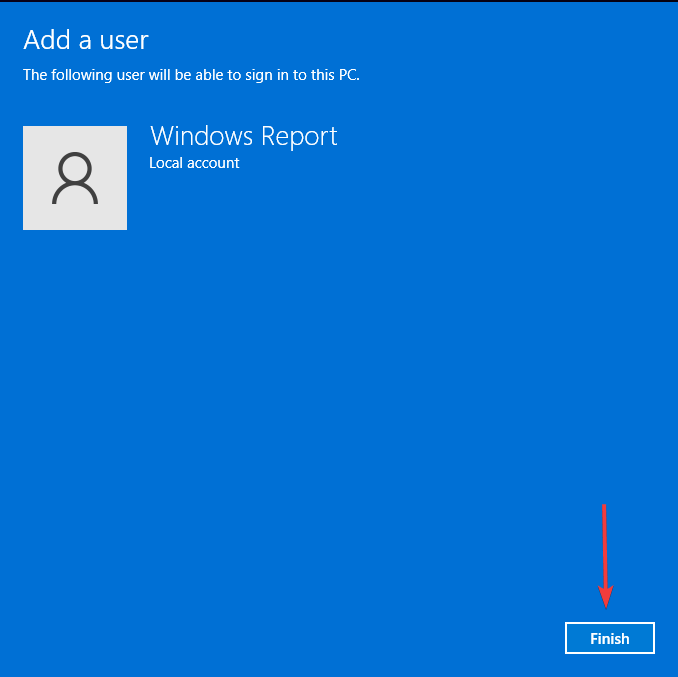
- Click on Finish to create the Local account.
If you create a new profile and the group by option is not greyed out here, your previous account may be corrupt. In this case, you need to repair your user profile and try again. Alternatively, you can copy your old user profile into the new one.
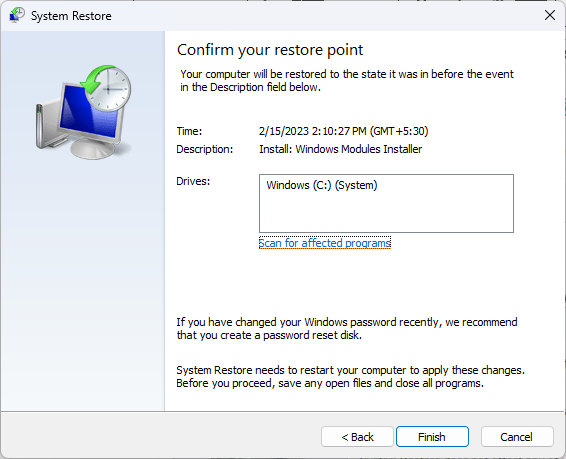
5. Perform a System Restore
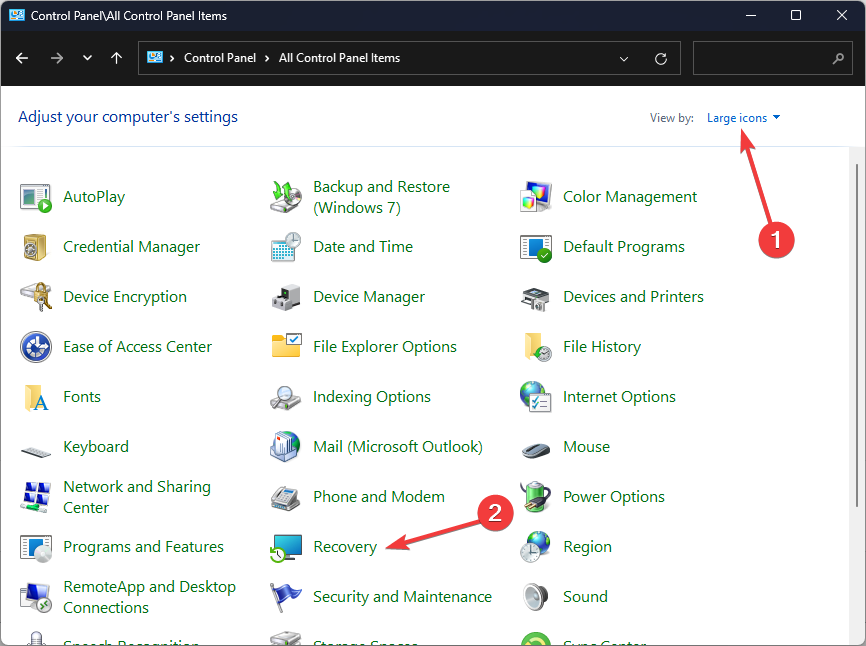
- Press the Windows key, type Control Panel, and click Open.

- Select Large icons as View by and click Recovery.
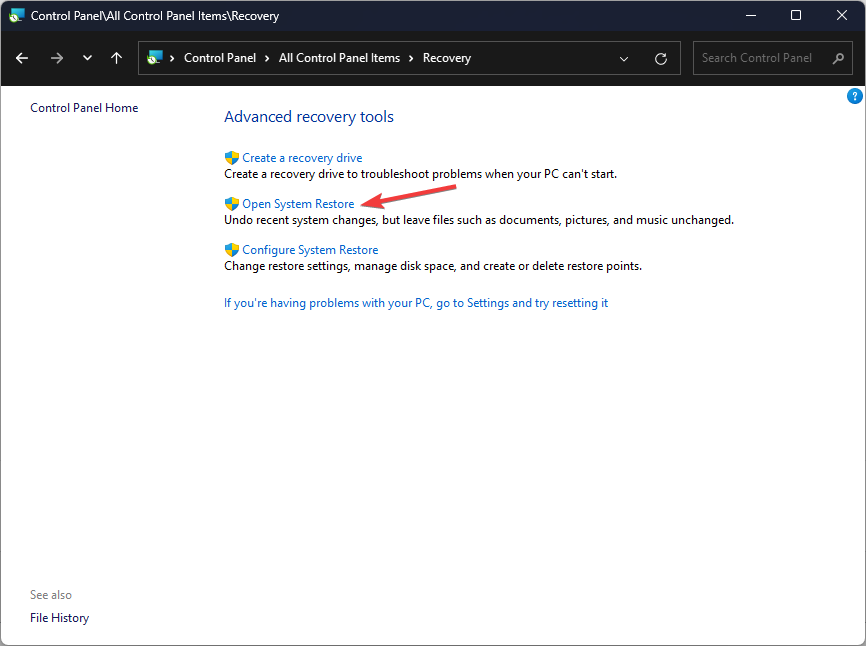
- Click Open System Restore.
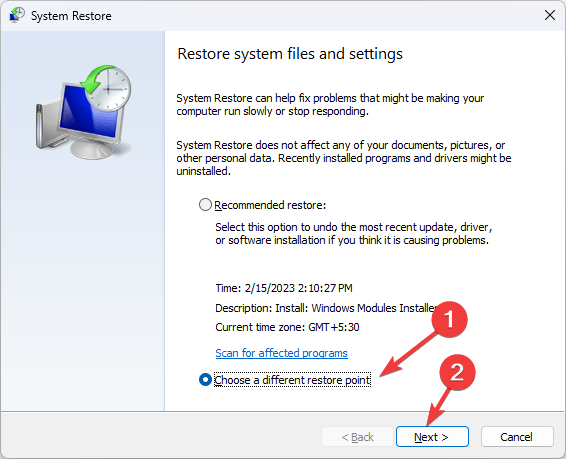
- Select Choose a different restore point and click Next.
- Now select the restore point and click Next.
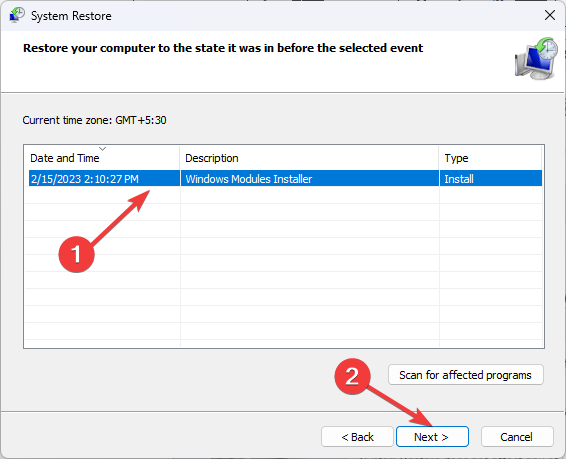
- Click Finish to restore the previous settings, and Windows will restart.
6. Use a third-party file manager
If all the above fail, you can always turn to other file manager programs. These apps have more advanced features that let you group your files by specific criteria more easily than File Explorer.
You may also discover that your new file manager is faster as Windows File Explorer tends to be slow at times especially if your PC is running low on memory.
Hopefully, we’ve shed light on how to get your group by option active again. Should you face any other related issues like File Explorer not opening, be sure to check out our recommended fixes.
That’s all we had for this article but if you have any other solutions that worked for you, don’t hesitate to share them with us in the comment section below.
Read our disclosure page to find out how can you help Windows Report sustain the editorial team. Read more


Improve this guide


User forum
0 messages