What is AutoEndTasks & How to Turn It On or Off
AutoEndTask feature is essential to prevent PC crashes
3 min. read
Updated on
Read our disclosure page to find out how can you help Windows Report sustain the editorial team. Read more
Key notes
- The AutoEndTasks feature on the Windows operating system delays the shutdown process of your PC.
- This feature automatically ends unresponsive applications when the system shuts down.
- You can enable or disable AutoEndTasks for current and all users with the Registry Editor.

When shutting down your computer, have you ever encountered a window that refuses to close? This can be frustrating and is often because of the AutoEndTasks feature. Therefore, this article will focus on AutoEndTasks and how to turn it on or off.
Alternatively, you can read about how to fix this app is preventing shutdown on Windows 11.
What is AutoEndTasks?
Windows Autoendtask is a feature that automatically ends tasks or processes that are not closing correctly when the system is shutting down. This feature helps prevent system crashes or data loss that may occur if unresponsive applications are allowed to continue running indefinitely.
Furthermore, AutoEndTasks sets a time limit for the application or process to shut down gracefully when the system is shutting down. If the application does not respond within the set time limit, Windows will automatically terminate it to ensure a smooth system shutdown.
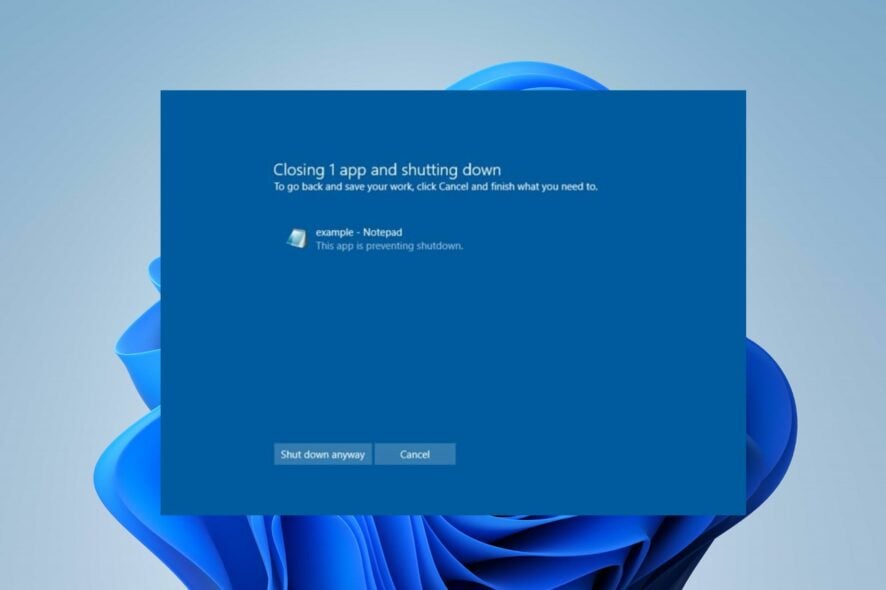
The feature also helps fix the Closing 1 app and shutting down error.
However, you can turn the feature off or on depending on your preferences. So, we will take you through the steps involved without posing any threat to your computer.
How can I turn on or off AutoEndTasks?
1. Enable and disable AutoEndTasks for all users
- Right-click the Windows icon and select Run from the list.
- Type regedit and press the Enter key. Select the Yes button on the User Account Control prompt to open the Registry Editor.
- Double click the HKEY_USERS to expand it and select the .DEFAULT to expand it. Double-click on the Control Panel to expand it and select Desktop.
- Right-click the right pane, click on New, and select String Value. Rename the New Value #1 to AutoEndTasks.
- Right-click the AutoEndTasks value and select Modify from the context menu.
You can use the Registry Editor to enable and disable AutoEndTasks on Windows for all users. Further, if the Windows Registry Editing has been disabled by the administrator, do not hesitate to check out our article on it.
2. Enable and disable AutoEndTasks for current users
- Press the Windows button, type regedit, and click on Run as administrator to open the Registry Editor.
- Navigate using the following directory and press Enter:
Computer\HKEY_CURRENT_USER\Control Panel\Desktop - Right-click the right pane, click on New, and select String Value. Rename the New Value #1 to AutoEndTasks.
- Right-click the AutoEndTasks value and select Modify from the context menu.
The above steps show how to turn off AutoEndTasks for Windows 10 & 11 for current user accounts.
In addition, it is important to learn what the Windows Registry Editor in Windows 11 is and how to navigate it to prevent issues.
Further, a similar article on fixing Windows if it’s not properly shutting down on your device might interest you for more reading.
Also, do not hesitate to check our detailed guide about disabling programs that still need to close alerts in Windows.
Should you have further questions or suggestions on this guide, kindly drop them in the comments section.


User forum
0 messages