3 Ways to Disable the HP Support Assistant in Windows
Expert-recommended solutions to disable the utility
3 min. read
Updated on
Read our disclosure page to find out how can you help Windows Report sustain the editorial team. Read more
Key notes
- The HP Support Assistant is an effective troubleshooting tool, but many want to disable it from quick access for several reasons.
- The tool is often blamed for high resource consumption and throwing notifications.
- You can disable HP Support Assistant from launching at startup, remove it from the Taskbar, and even uninstall the tool.
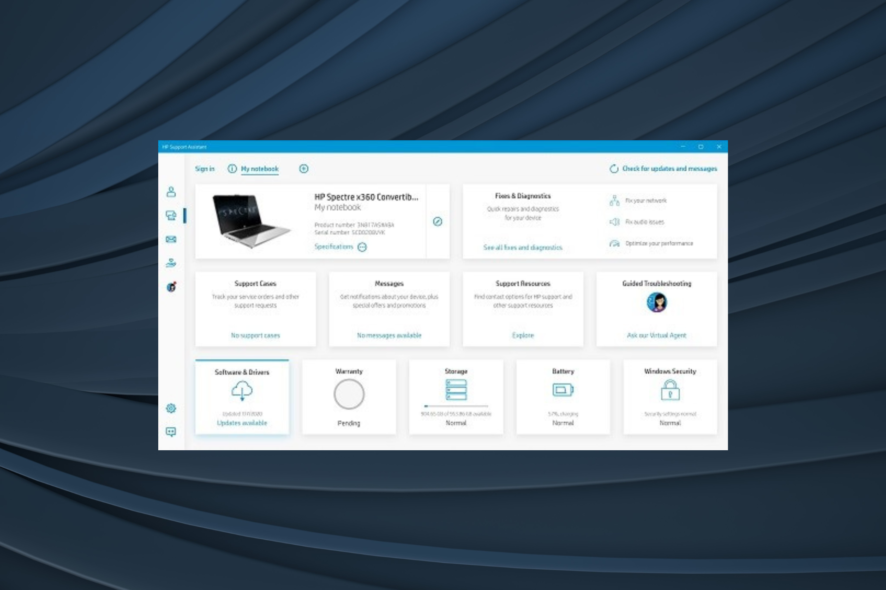
HP Support Assistant is a troubleshooting utility that comes preinstalled on HP computers. But, some users have been looking for ways to disable quick access to HP Support Assistant.
It’s usually due to the abundance of effective troubleshooting tools, some of which are free. However, while some users switch to these, others may have their reasoning. If you fall into either of the two categories, here’s how you can disable HP Support Assistant.
Should I disable HP Support Assistant?
Here are a few reasons you may want to disable the HP Support Assistant:
- Increases boot time – By default, the HP Support Assistant is configured to load at startup, thus increasing the load time of the OS at boot. You may also use the Startup Folder to remove the utility.
- Consumes high resources – In some cases, users reported that the HP Support Assistant is consuming high resources, which may affect the PC’s performance.
- Too many notifications – The utility may send far too many notifications to users, which is often a significant reason users uninstall the app.
How can I disable HP Support Assistant?
1. Disable HP Support Assistant from starting automatically
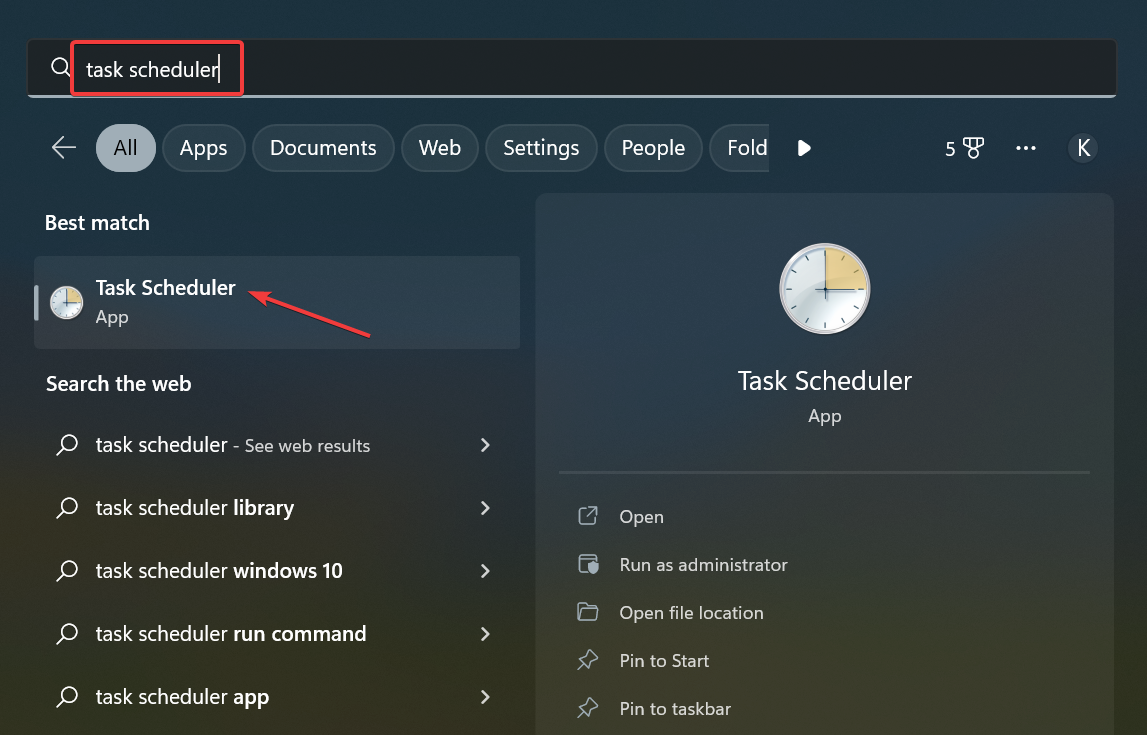
- Press Windows + S to open Search, type Task Scheduler in the text field, and click on the relevant search result.
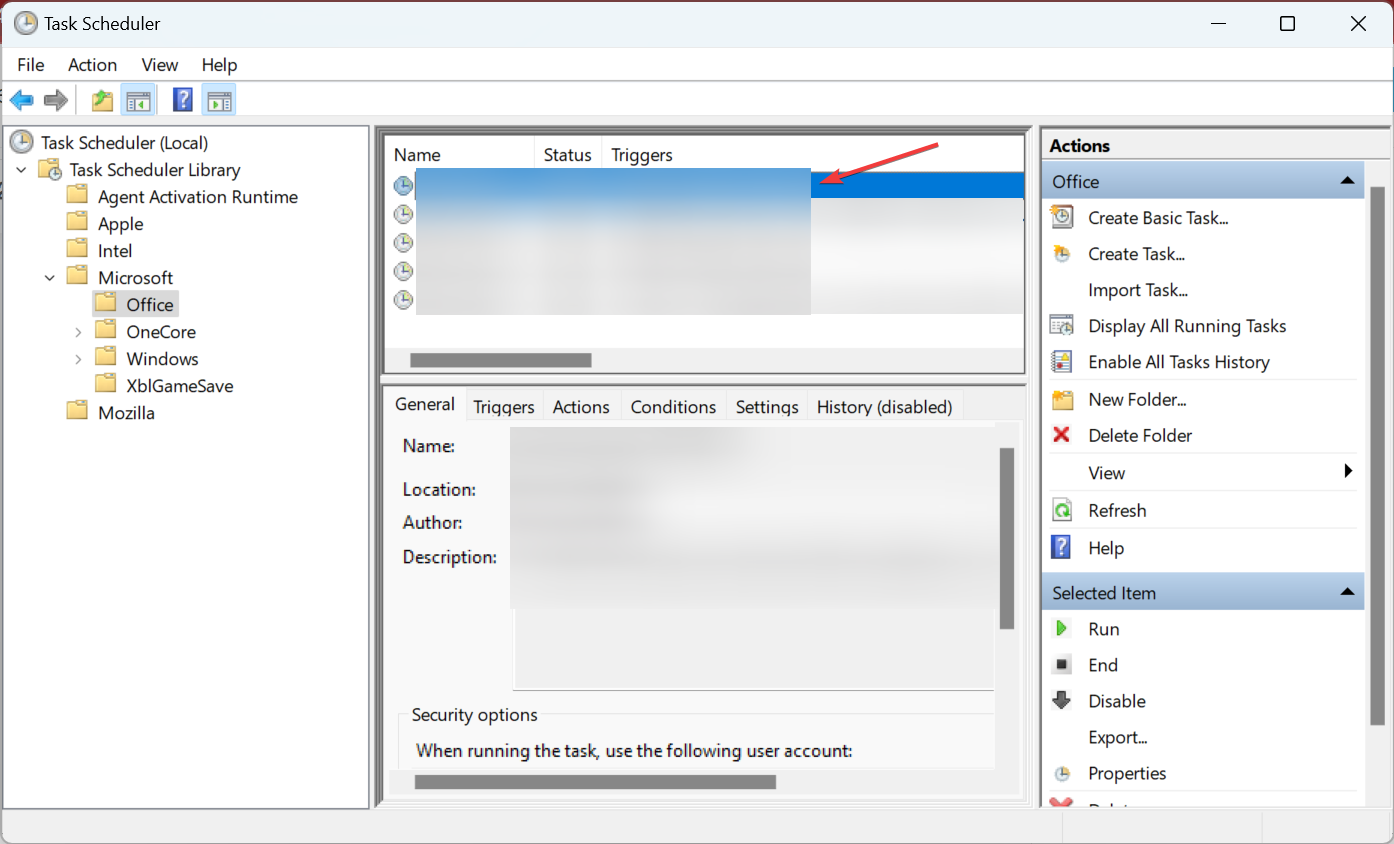
- From the navigation pane, locate Support Assistant under HP and double-click on a task from the right.
- Navigate to the Triggers tab, select the trigger, and click on Edit.
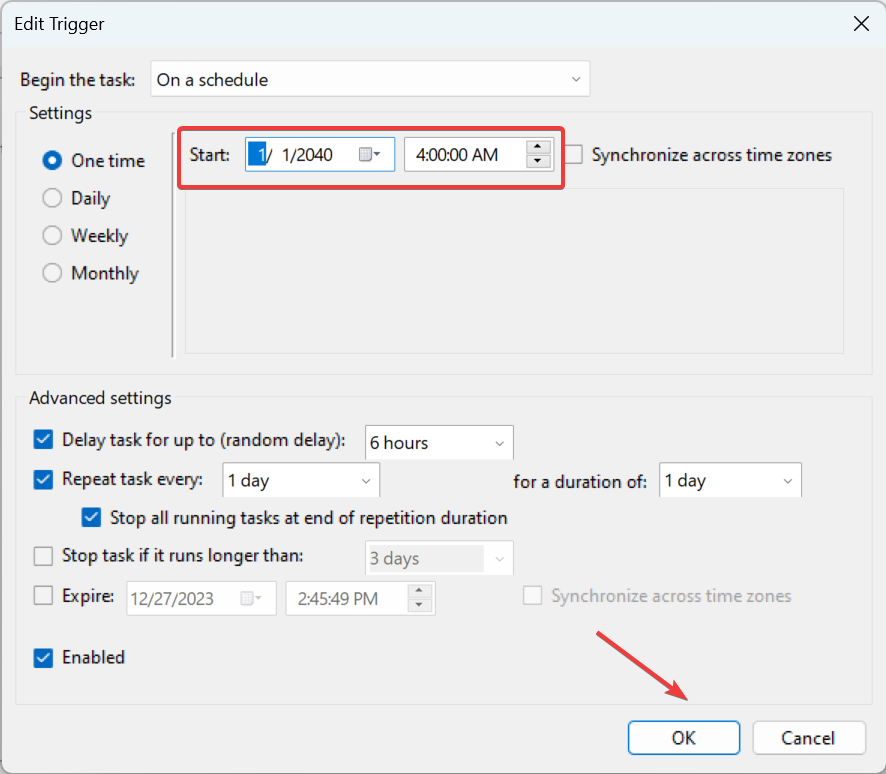
- Choose One-time, select a date in the future (say 20 years from now), and click OK to save the changes.
- Similarly, reschedule the others triggers and tasks to make sure that HP Support Assistant doesn’t launch automatically.
2. Remove HP Support Assistant from the Taskbar
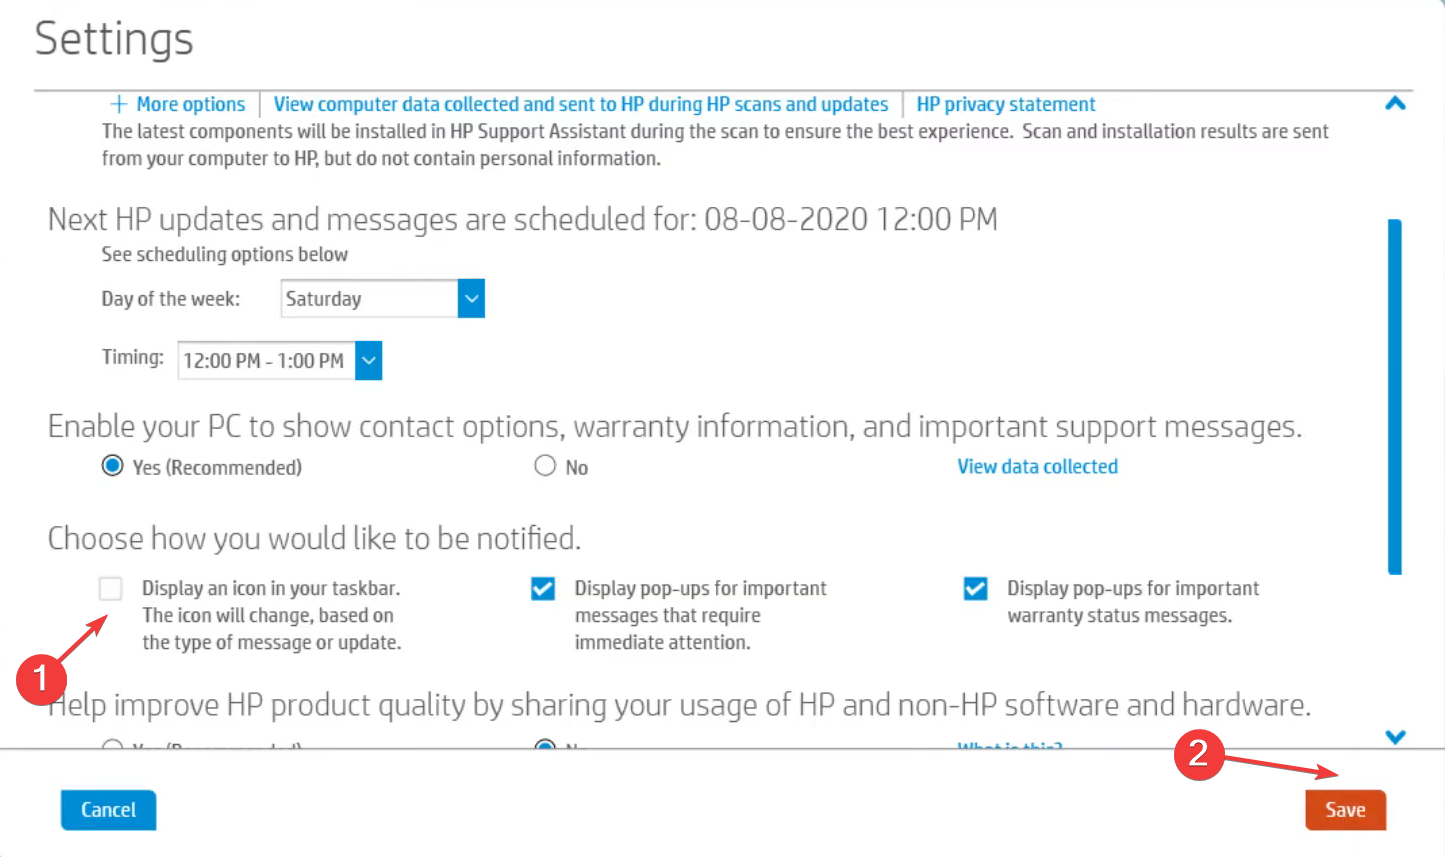
- Open HP Support Assistant, and click on the Settings option near the top-right.
- Now, uncheck the Display an icon in your taskbar option, and click on Save at the bottom.
- Once done, restart the computer for the changes to come into effect.
That’s it! This method should be handy if you were wondering how to remove HP Support Assistant from the Taskbar.
3. Uninstall HP Support Assistant
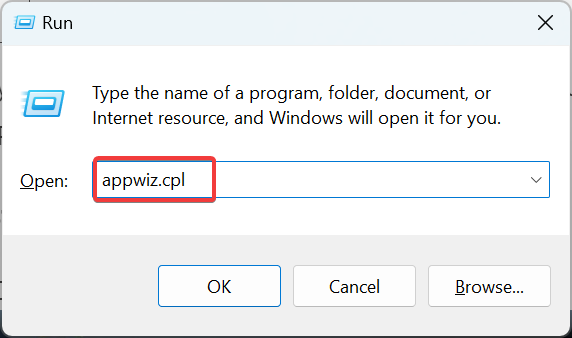
- Press Windows + R to open Run, type appwiz.cpl in the text field, and hit Enter.
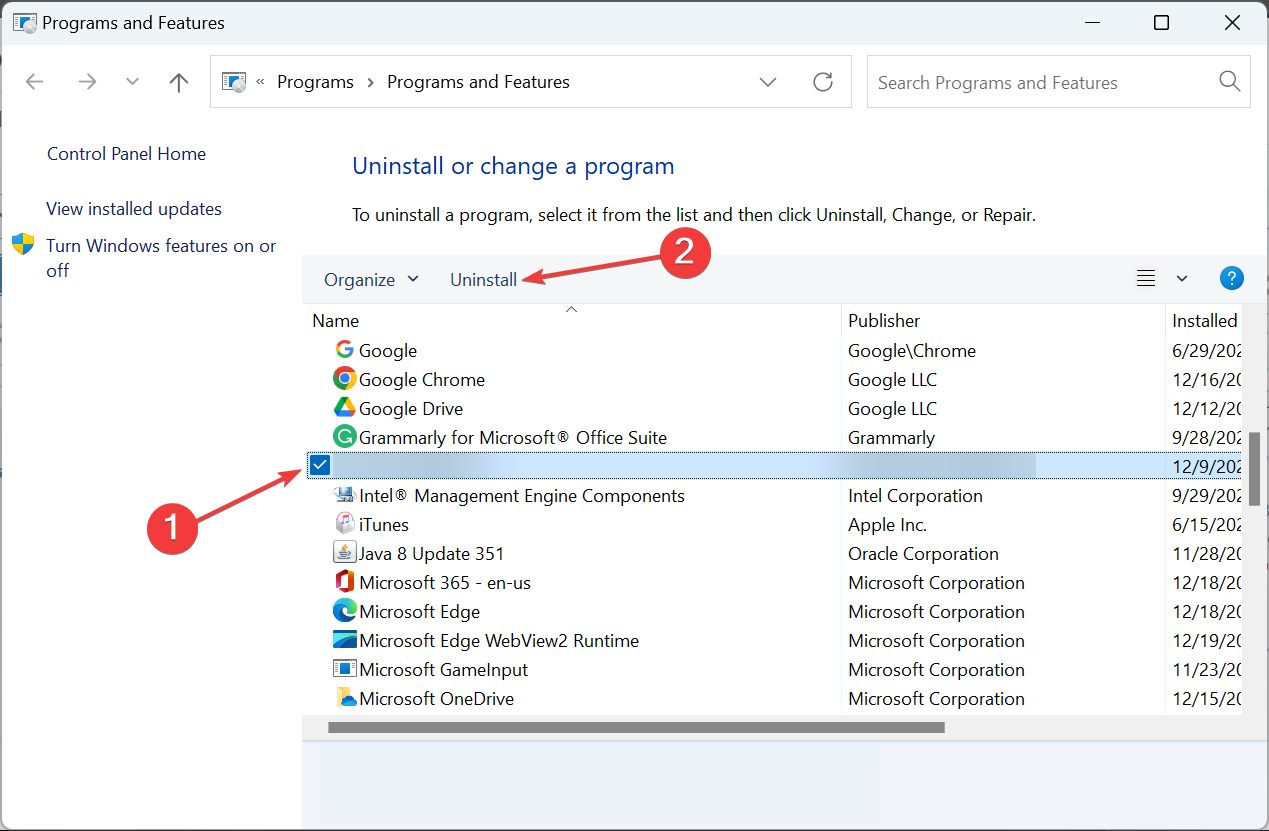
- Locate HP Support Assistant, select it, and then click on Uninstall.
- Now, follow the on-screen instructions to complete the process.
If the previous methods didn’t work out for you or the desired results were not achieved, you can always uninstall the HP Support Assistant from the PC.
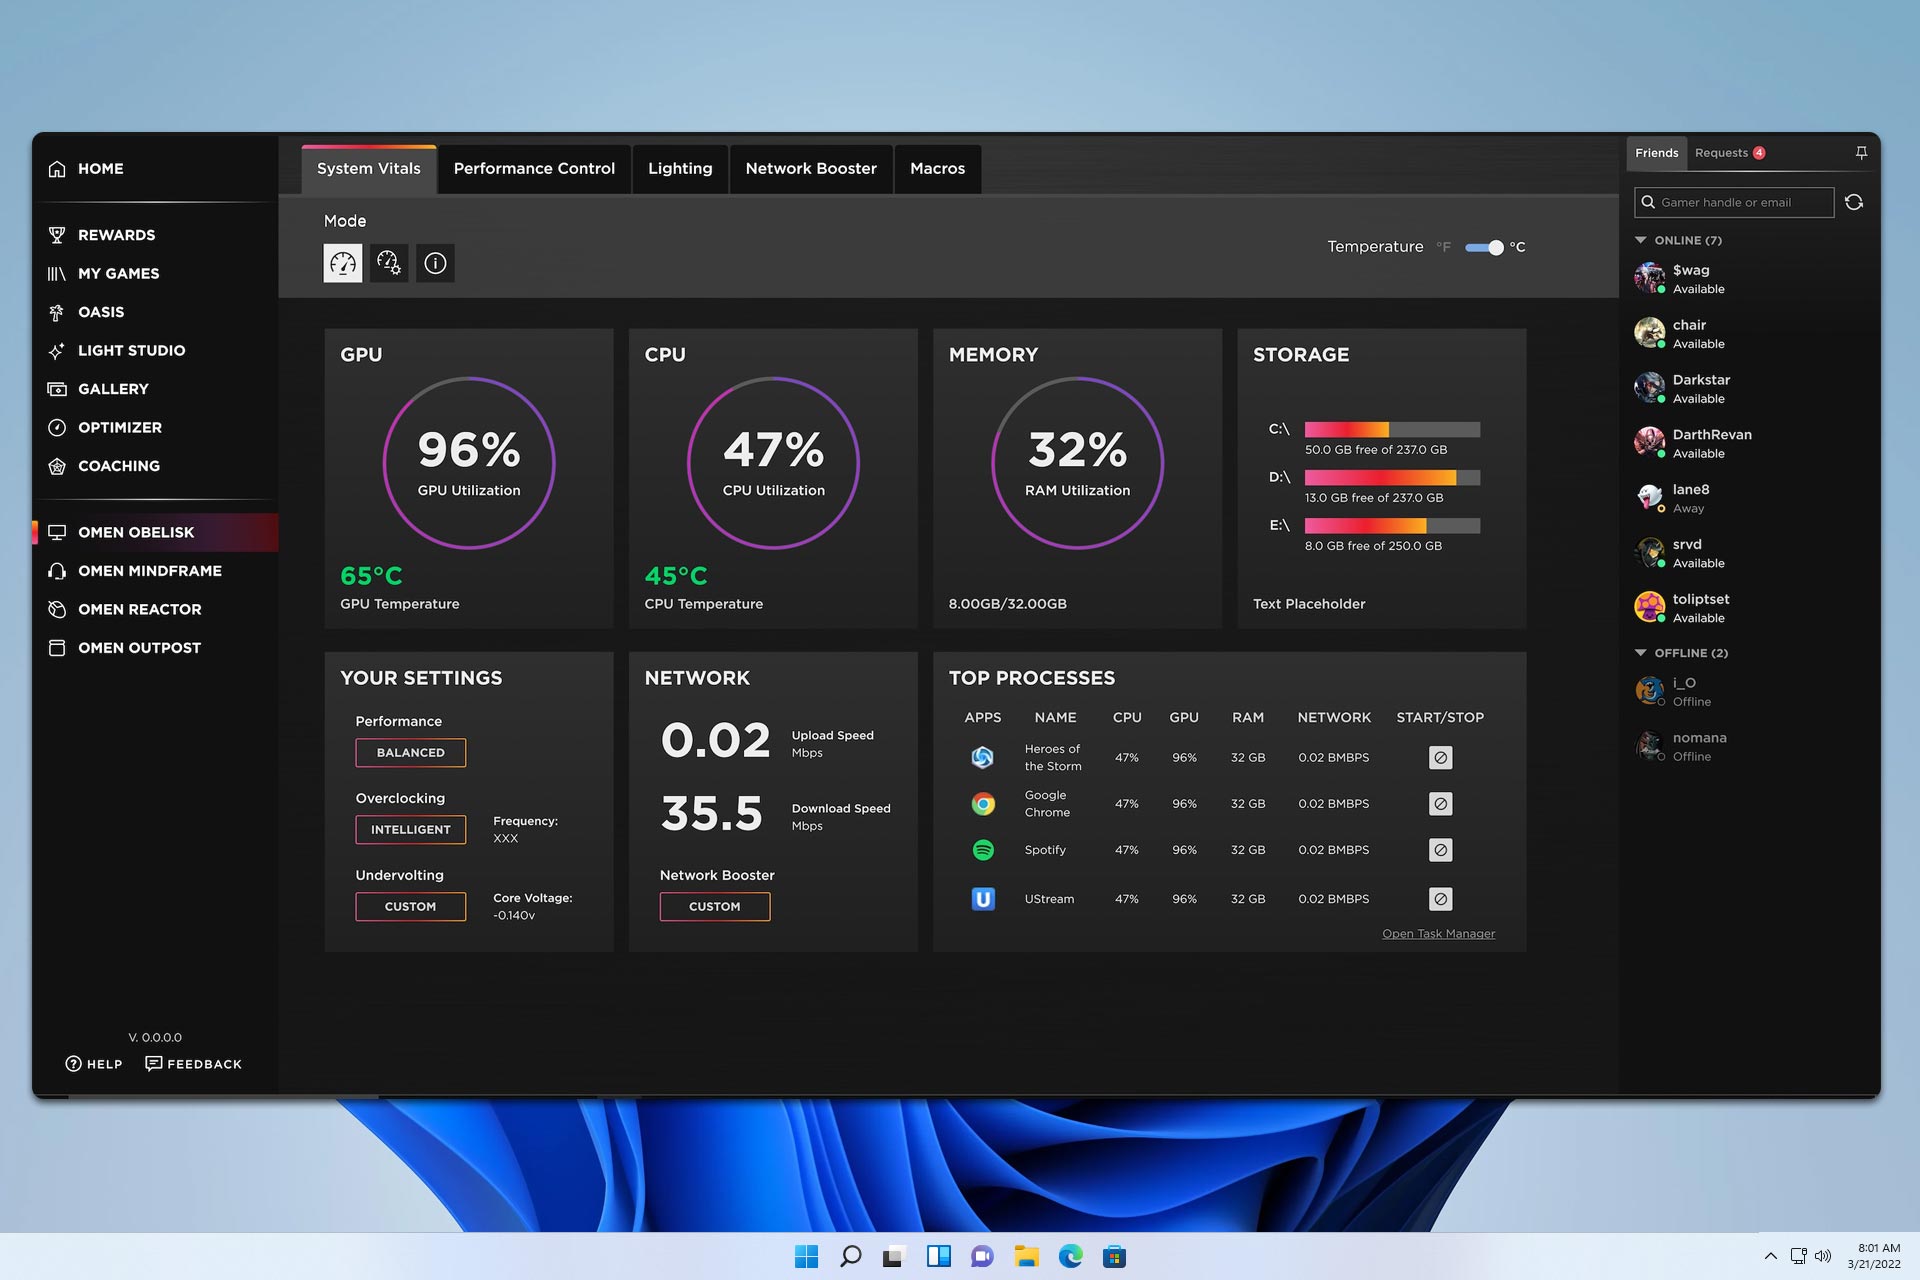
Once you have disabled HP Support Assistant from quick access, also make sure to optimize the settings for the best performance on the PC.
If you have any other queries or want us to cover a specific topic, drop a comment in the section below.





User forum
0 messages