3 Ways to Fix a Netgear Extender that Won't Connect to Your Router
Your search ends here as you can rely on our steps to end this issue
Key notes
- Netgear Wi-Fi extenders though great, sometimes won't connect to your router due to compatibility issues, or problems with the connection.
- To fix the problem, move the extender closer to the router and then establish a connection, or try the other methods here.
- Also, find out how to set up a Netgear Wi-Fi extender in no time.

Extenders often come in handy when your router is unable to cover a large space. Also, if there’s a weak connection in certain parts of the house, a great extender may come to your rescue. However, several users reported that their Netgear extender won’t connect to the router.
When it comes to Wi-Fi extenders, Netgear is one of the first names that comes to mind. And, encountering an error with it comes as a shock to many.
However, the problem is not limited to Netgear but is encountered with other extender manufacturers as well. You can expect to face similar issues with the brands listed below:
- TP-Link – Remove the wireless network profile from the range extender and reconnect it if just one end device is unable to connect to the range extender’s Wi-Fi.
- D-Link – Move in the direction of the reset button to restart the D-link extender. Rebooting your router requires waiting 2 to 3 seconds after pressing it for 5 seconds with the paper clip.
- Linksys – Your range extender’s Reset button should be pressed and held for five to ten seconds, or until the LED begins to blink.
Now, that you understand that the Netgear extender won’t connect to your router is not a complex problem, let’s walk you through the most effective fixes for it in the following sections.
Do Wi-Fi extenders make the Wi-Fi better?
First, understand that an extender is not the answer to every Wi-Fi network-related issue but only comes in handy in certain situations.
For instance, if there is a particular room that does not receive a Wi-Fi network, just install an extender and you are good to go. But in case it’s the whole house to be covered, what you require is a good mesh router system.
So, what does an extender actually do? As the name suggests, it basically extends the signal to a point the router cannot cover. You just put it between the router and the point without network coverage. And, it will receive the signal from the former and push it to the latter.

However, there’s a considerable loss in Internet speed in the process. For some, it was 50% or more. The loss certainly depends on the model, and the distance between the router, the extender, and the area to be covered.
So, in all, an extender does make the Wi-Fi better by enhancing its coverage in small to medium-sized houses. But if there’s a major loss of speed or there’s a large area to be covered, an extender wouldn’t be a viable option. Also, you can use your PC as a Wi-Fi extender and save some money.
What do I do if the Netgear extender won’t connect to the router?
1. Restart both your router and the extender
The first thing you should do in case the Netgear extender won’t connect to the router is to restart both devices.
This will fix trivial issues that are preventing the connection or create any conflicts. Restarting the device eliminates all such issues right away.
Unplug both from the power source, wait for at least a minute, and then replug them. Once done, your Netgear extender should now connect to the router. If the problem persists, try the next method.
2. Ensure there are no obstructions in between
Another common reason behind the Netgear extender not connecting to the router is the presence of obstruction between the two, or if they are kept far apart.
There is a particular distance up to which a router can transmit signals and similarly, an extender can catch these. So, if these two are placed at a large distance, bring them closer and make sure that there are minimum or no walls separating the two.
If possible, use an ethernet cable to connect the extender and router. This will fix any issue with the connectivity.
3. Keep electronic devices away
Many electronic devices are known to interfere with the signals and if there are any around, the Netgear extender won’t connect to the router. These could be a microwave, wireless telephones, baby monitors, or Bluetooth devices, amongst others.
So, if you have any of these or other similar items in the vicinity, turn them off for a while and check if the extender now connects to the router. In case it does, you now know what’s causing the issue and can take the appropriate remedial measure.
How to set up a Netgear extender?
 NOTE
NOTE
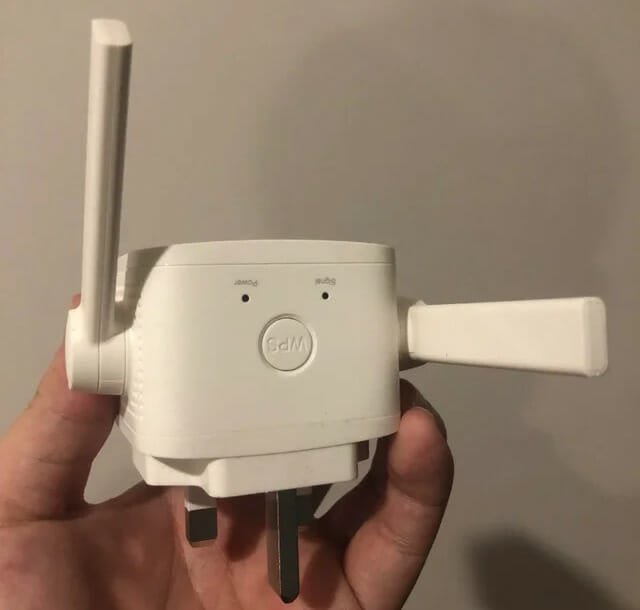
- Plug in your extender and wait for the Power light to turn on. Now make sure that the Power Link LED light is green or amber. In case it’s red, connect the extender to a location closer to the router.

- Now, use a device (mobile, tablet, or computer) to connect to the extender’s network. It will most likely appear as NETGEAR_EXT. Although there’s generally no password set, enter the word password, if it asks for one.

- If the Netgear Extender Setup page is not opened automatically, do so manually by clicking on the link.

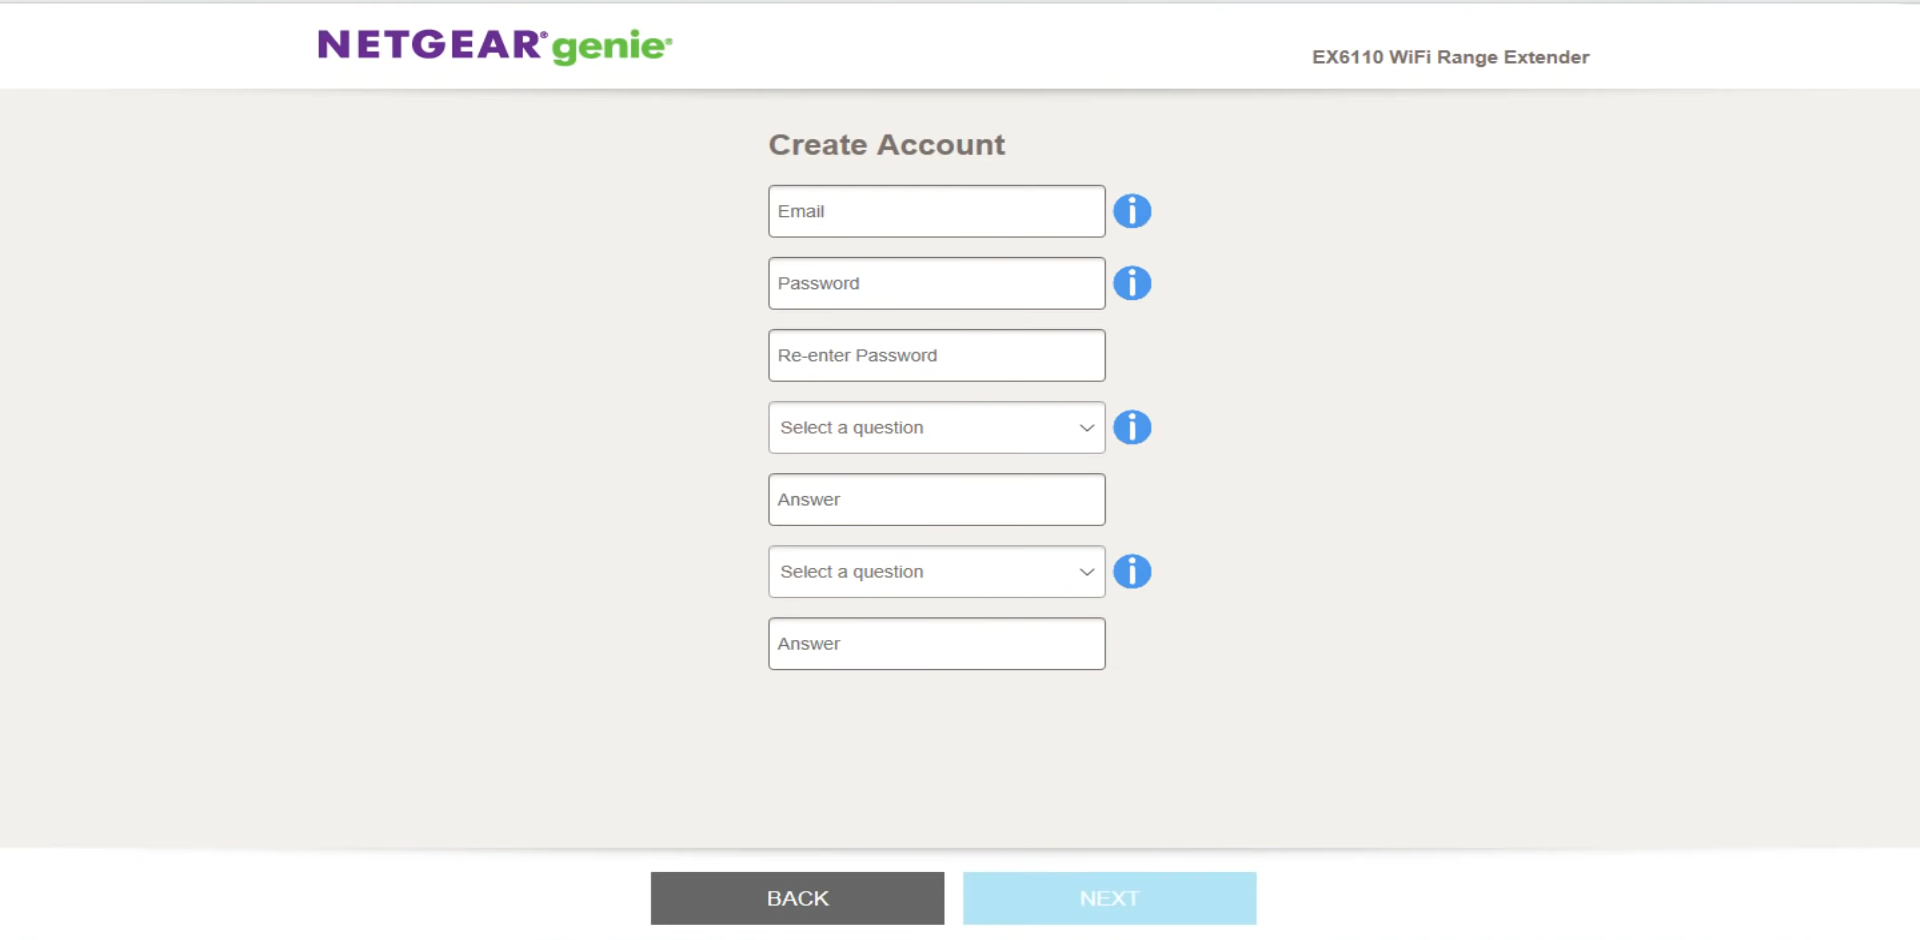
- Now, click on the NEW EXTENDER SETUP button.

- Enter the credentials in the text fields, and once done, click on Next at the bottom.

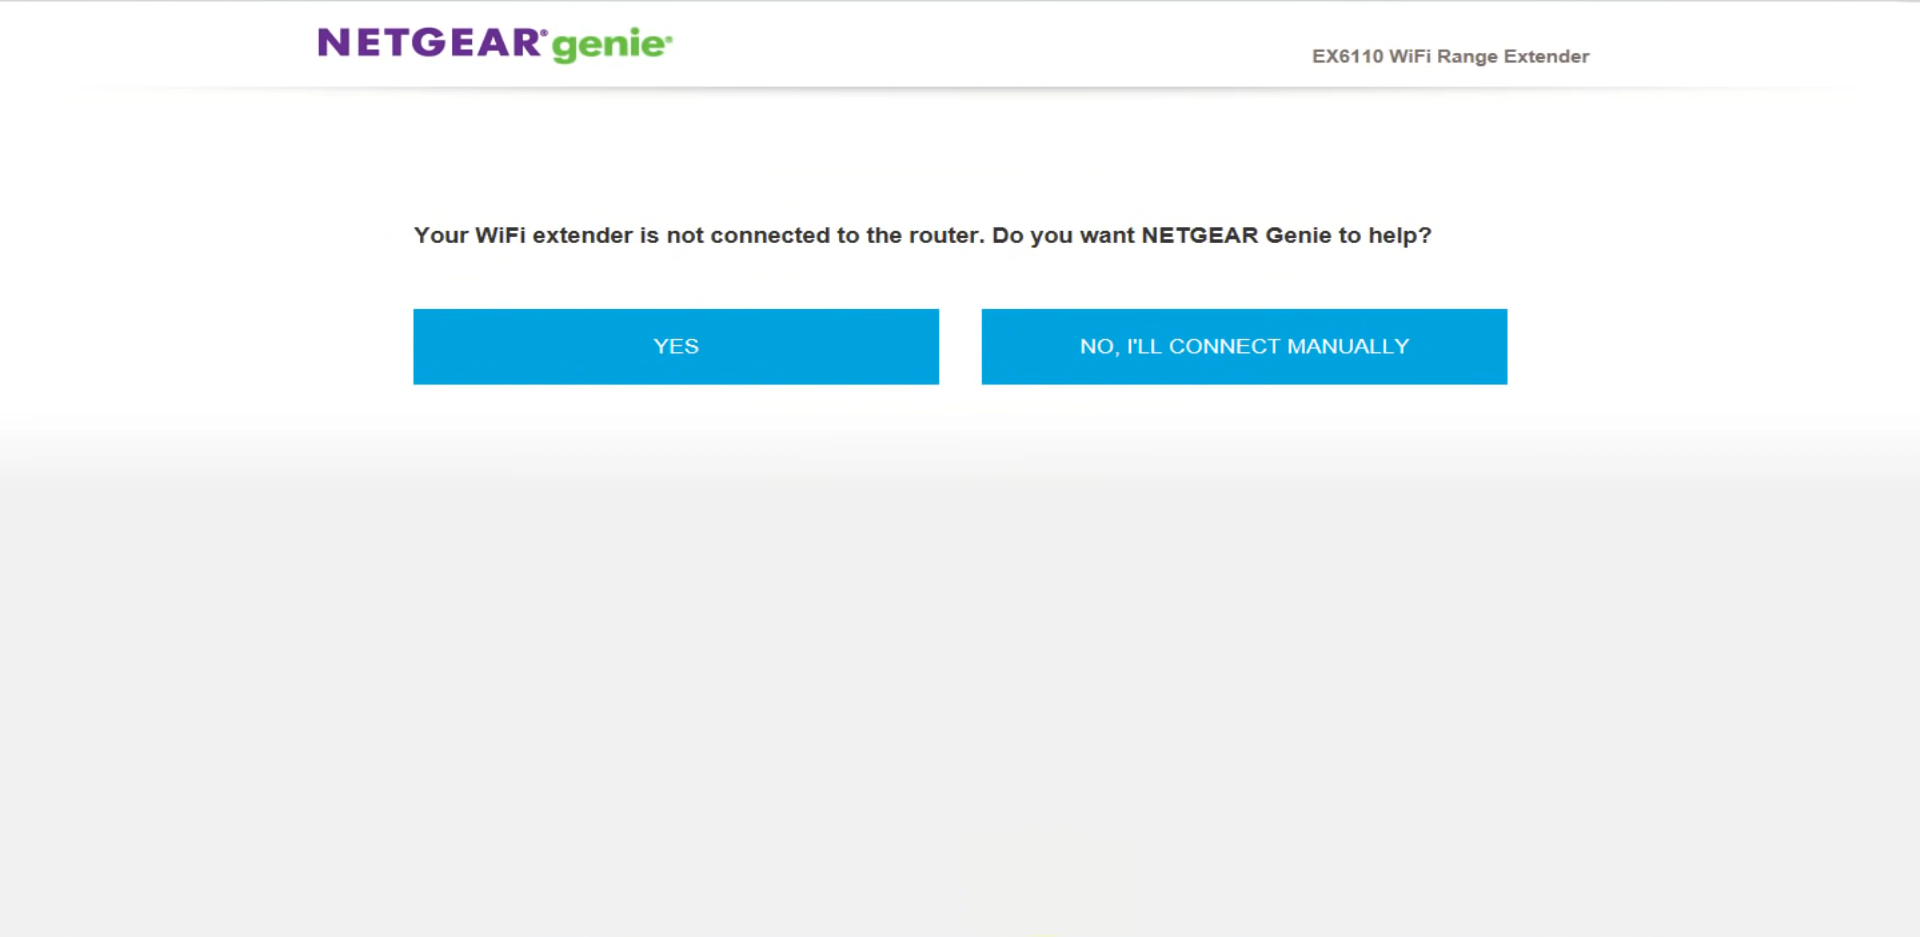
- Next, click on Yes to use NETGEAR Genie, a tool that simplifies the process, to connect to the router.

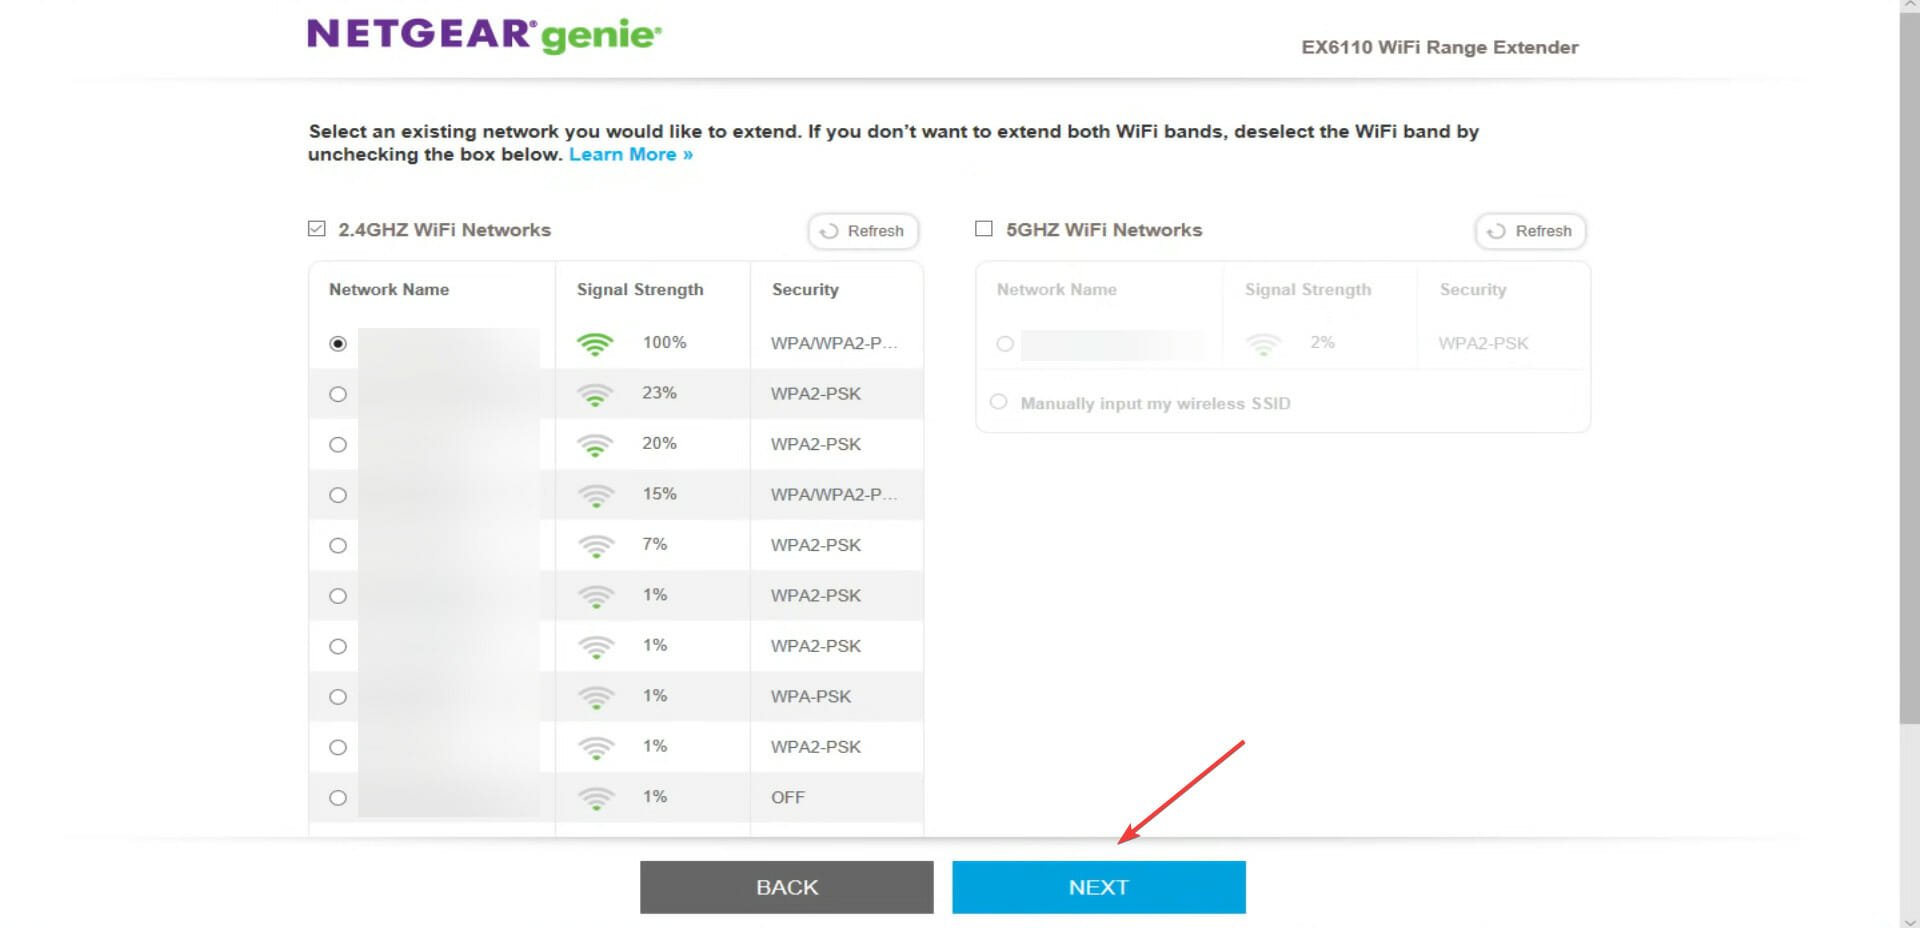
- Choose your Wi-Fi router from the list, when it appears, and then click on Next.

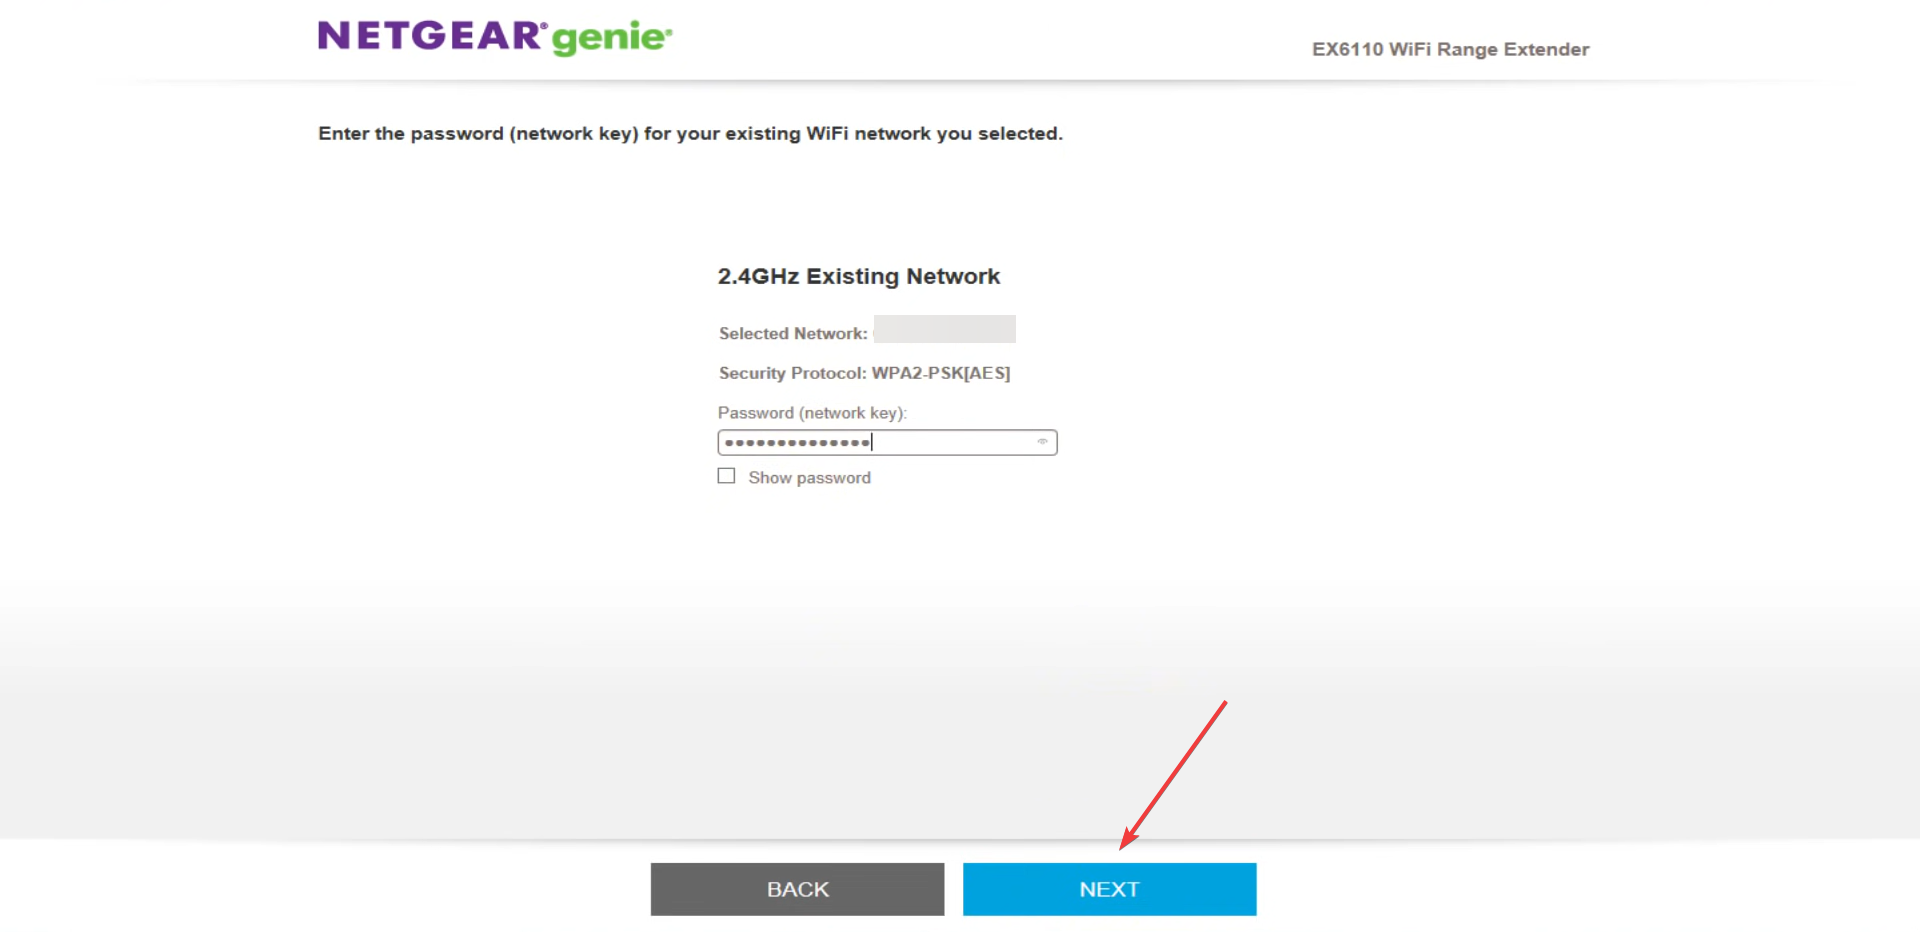
- Enter the password for your router’s network and click on Next.

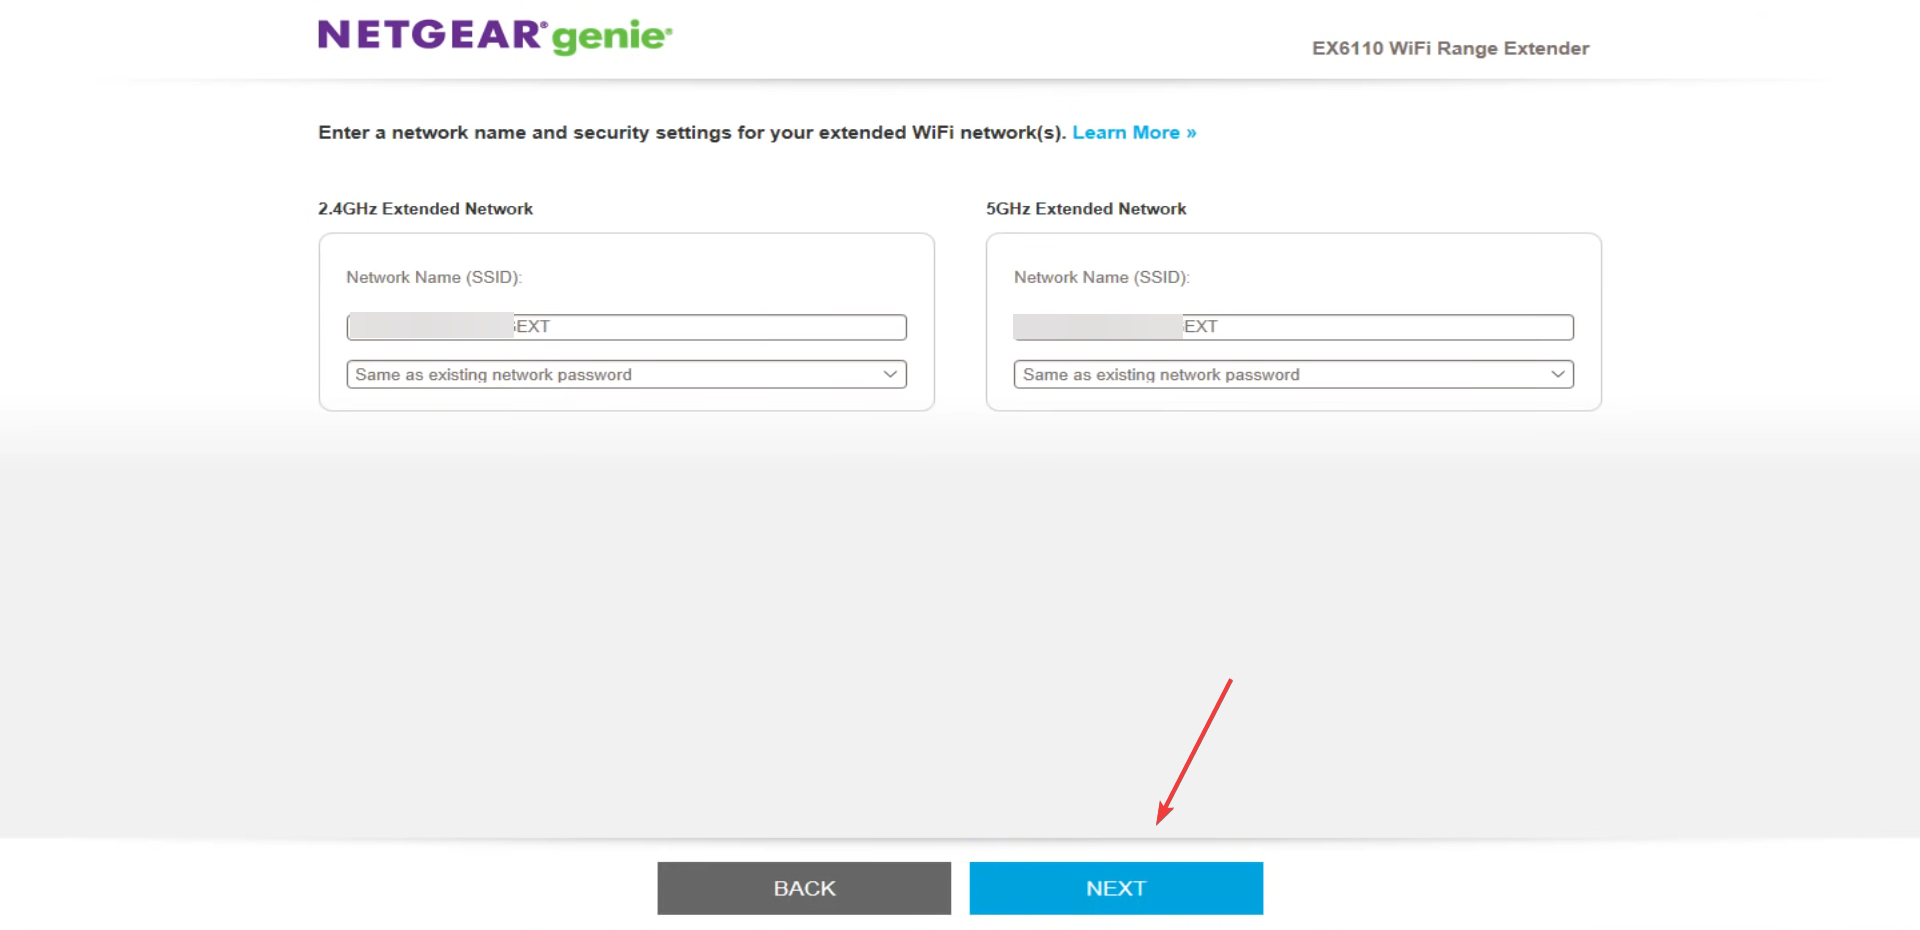
- Now, enter the network name, choose the password setting from the dropdown menu for both bands, if applicable, and click on Next.

- It will now list the current network settings. Click on Continue at the bottom to complete the process.


You can now connect the device to your extender just like you connect it to the router, and access the Internet.
By the time you reach this part of the article, the Netgear extender won’t connect to the router issue must be fixed, and you also know how to set up one.
In case the above methods don’t work, there is likely a problem with the extender or router themselves. In this case, you may purchase another reliable Wi-Fi extender or look for a good Netgear router to eliminate compatibility issues.
Also, find out how to fix issues with Netgear wireless adapters if you have one installed on your computer.
Tell us which fix worked and your experience with the Netgear Wi-Fi extender, in the comments section below.
Read our disclosure page to find out how can you help Windows Report sustain the editorial team. Read more


Improve this guide


User forum
0 messages