What Is Cryptographic Services & How to Fix Its High CPU Usage
You can try renaming the Catroot2 folder or scan your PC for virus

Is your PC performance slow or are you coming across frequent system crashes? This could very well be because a service is eating up most of your CPU resources. The service that we are talking about is the cryptographic service, which has been troubling Windows 10 users for quite some time.
Users are looking to fix the cryptographic services’ high CPU usage issue but in vain. Fortunately, in this guide, we have some effective solutions lined up for you that will help you resolve the service host cryptographic service’s high CPU usage problem on your Windows PC.
What is Cryptographic Service?
Before we get ahead with the solutions to resolve the cryptographic service high CPU usage problem, let us first understand what is this cryptographic service.
The cryptographic service in your Windows 10 PC is an official service by Microsoft that performs the action of encrypting and decrypting the data as and when it is accessed.
The reason why users are reporting service host cryptographic services high CPU usage problem is that the encryption software runs an algorithm to secure the data file and this process requires a lot of resources.
How can I fix the Crytpograhic Service high CPU usage issue?
Here are a few preliminary solutions that we would suggest you apply right away:
- Close all programs and restart your PC. This will make sure that all the system files are reloaded from scratch which might have been missed during the previous session.
- Check if you have any pending Windows updates ready to install. Often a new update fixes the bug related to a previous version.
- Scan your PC for viruses or malware as very often a virus can camouflage themselves as an essential process and slow down your PC by running the background.
Now, let us check out the advanced solutions and possibly fix the high CPU usage caused by the cryptographic service.
1. Rename the Catroot2 folder
- Open the Start menu.
- Search for the command prompt and run it as an administrator.

- Type the below command to temporarily disable the cryptographic service and press Enter.
net stop cryptsvc
- Wait till you see a message on cmd the cryptographic service was stopped successfully.
- Type the below command to rename the unwanted catroot2 folder to oldcatroot2 and press Enter.
ren %systemroot%\System32\Catroot2 oldcatroot2 - After a few seconds, type the below command and press Enter.
net start cryptsvc - Open Windows Explorer and navigate to the below path.
C:\Windows\System32\catroot2 - Open the folder F750E6C3-38EE-11D1-85E5-00C04FC295EE and delete any file inside it that starts with tmp.

- Restart your PC and check if this fixes the issue or not.
2. Clean boot your PC
- Press the Win + R keys to open the Run dialogue.
- Type msconfig and press Enter.
- Click on the Services tab.
- Check the box next to Hide all Microsoft services.

- Click on Disable all.

- Switch to the Startup tab.

- Click Open Task Manager.
- Switch to the Startup tab.

- Disable each of the enabled startup items one by one.

- Close Task Manager.
- Reboot your PC and check if this resolves the issue or not.
Clean boot will start your PC with a minimal set of drivers and startup items. Only essential programs will load. You can now check if the cryptographic service was having any issues with another process that was ultimately causing high CPU usage.
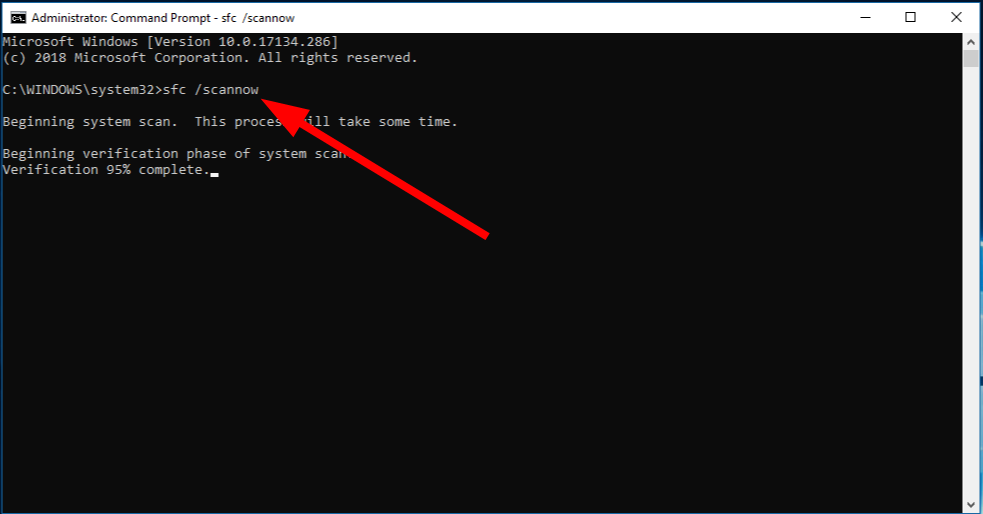
3. Run SFC Scan and DISM
- Open the Start menu.
- Search for the command prompt and run it as an administrator.
- Type the below command and press Enter.
sfc /scannow
- After the SFC Scan process completes, type the below command and press Enter.
DISM /Online /Cleanup-Image /RestoreHealth - Restart your PC.
We have a guide to help restore and repair corrupt system files on your Windows PC. It contains a bunch of effective solutions to fix system-file-related issues.
Otherwise, you can also use a dedicated third-party tool that can repair corrupt system files with just a few clicks.
It will help scan your PC, find new files to replace the corrupt ones, fix DLL-related issues, fix BSOD errors, and much more.
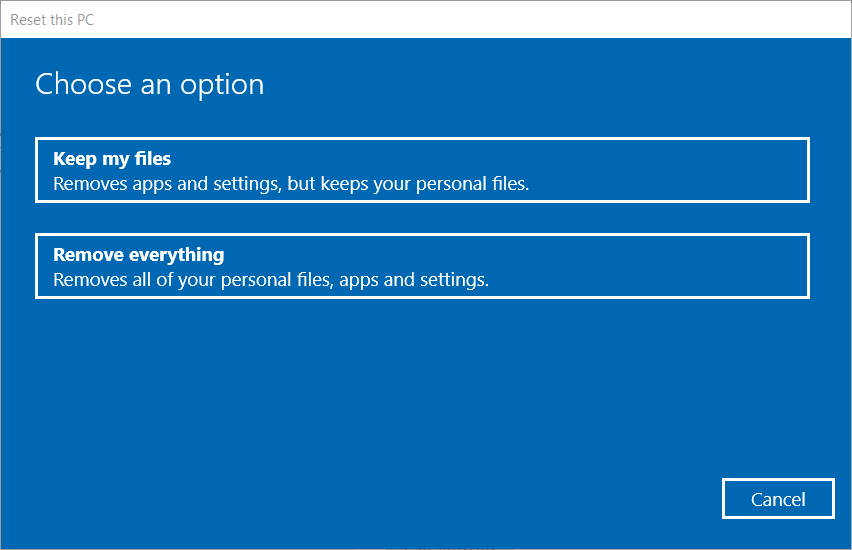
4. Reset your PC
- Open the Start menu.
- Type recovery and open Recovery options.
- Click on the Get started button under the Reset this PC option.

- Choose the Keep my files option to only remove apps and settings but save all your personal files.

- Follow the onscreen prompts till your PC is reset.
This should be performed only as a last resort if none of the above solutions work for you. Chances are the cryptographic service itself is faulty, and a reset would help replace the file and also resolve the issue of high CPU usage.
We also have a bunch of solutions to fix the high CPU usage issue that can trigger without any reason. In such a case a dedicated virus infection or malicious remover software can come in handy, and we would recommend you make use of ESET HOME Security Essential.
There is also a chance that the cryptographic service itself isn’t causing the high CPU usage issue, but the other background processes are conflicting with it and causing the problem. For such situations, you can refer to our guide on how you can fix too many background processes running on your PC.
Before you leave, you might want to visit our Windows Cryptographic Service Provider reported an error guide for more useful information.
That is it from us in this guide. Let us know in the comments below, which one of the above solutions helped you resolve the problem.
Read our disclosure page to find out how can you help Windows Report sustain the editorial team. Read more


Improve this guide


User forum
0 messages