How to Update Your Gigabyte BIOS [3 ways]
You can make use of the Q-Flash method to update the BIOS
Key notes
- Updating the BIOS is essential for your motherboard to perform operations optimally.
- You can use the Gigabyte App Center to update the BIOS of your PC.
- Else, you can opt for the Q-Flash+ method and update the firmware quickly.

Fixing any motherboard-related issues require you to make sure that you are running the latest version of the BIOS. Updating the BIOS of a Gigabyte motherboard can be a complex task and you should follow proper steps to accomplish it.
In this guide, we will share with you all the different ways via which you can easily update Gigabyte BIOS on your PC. Let us check out the methods.
How to check the BIOS version you currently have?
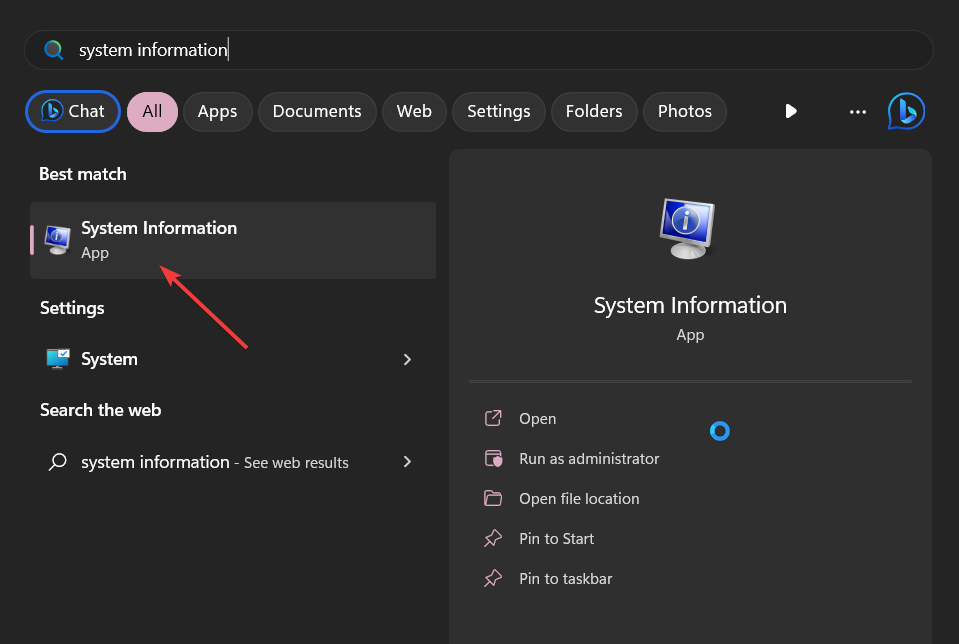
- Open the Start menu by pressing the Win key.
- Type System Information and open the top result.
- Locate BIOS Version/Date section on the right side.

Note down the version of the BIOS you are running. This will let you decide whether you are running the latest version or not.
How can I update Gigabyte BIOS?
1. Use the Gigabyte App Center
- Download the Gigabyte app center.
- Install the App Center on your PC and launch the program.
- Click on the downward arrow in the top-right corner.

- Click on @BIOS.

- Switch to the Update from Server tab.

- Choose the closest server.
- The App Center will automatically detect your motherboard details and provide you with the latest BIOS update.
- Click on the file and select Next.
- Follow the on-screen prompts and install the BIOS update.

Updating the Gigabyte motherboard BIOS using the App Center is probably the easiest way. It simply needs you to perform some clicks and you are all set.
Apart from updating BIOS, you can also use the Gigabyte App Center to update the drivers as well. You can manually update the BIOS using the App Center as well. For that, you need to download the BIOS update file onto a USB drive and then select it within the App Center.
2. Use Gigabyte Q-Flash
2.1 Format the USB drive to FAT32
- Insert the USB flash drive to your PC.
- Press Win + E to open the File Explorer.
- Right-click on your USB drive and click on Format.

- Choose FAT32 from the File system dropdown menu.

- Click on the Start button.
2.2 Download the Gigabyte BIOS update
- Visit the official Gigabyte motherboard support page.
- You can search for the BIOS file based on your processor, chipset, or even your computer’s model name.
- Select BIOS for your computer model.

- Under the BIOS section, download the latest available update.

- Once the download is complete, extract the contents onto your FAT32 formatted USB drive.

2.3 Update the BIOS
- Insert the USB drive containing the Gigabyte BIOS update file into any USB port on your PC.
- Restart your PC and when it is booting up enter the BIOS menu by pressing the Del key.

- Select Q-Flash menu.

- Choose Update BIOS option.

- Locate the BIOS update file and select it.

- Start the BIOS update process.
- Once the BIOS is updated, switch to the Save & Exit tab, and select Load optimized defaults.

This process of the Q-Flash method may look a bit complex, but in reality, it isn’t. All you need to do is follow the steps mentioned above carefully and you will be done with the Gigabyte BIOS update process without any issues.
Make sure that the USB drive onto which you have copied the BIOS update file is in FAT32 format.
3. Use the Q-Flash+ update method
- Copy the BIOS update file downloaded from the Gigabyte official website to the FAT32 formatted USB drive.
- Insert the USB drive into the white USB port on your motherboard.

- Turn on the motherboard.
- The LED light next to the USB will flicker indicating the BIOS update is in progress.

- Once the update is complete, the LED will stop blinking.
- Start your PC and wait for the BIOS update process to complete.
This is another one of the Gigabyte exclusive ways of updating the BIOS. However, there are some other manufacturers that offer the same process of updating the BIOS. You should check with your manufacturer about that.
That is it from us in this guide. You can check out our guide that gives you a proper explanation of what is BIOS and everything that you need to know about BIOS.
We have also listed 3 different ways to access the BIOS menu on your computer that will be beneficial to update the BIOS. In case you come across any issues, you can read our guide to fixing the BIOS corruption issue on a Windows PC.
Feel free to let us know in the comments below, which one of the above methods you used to update the Gigabyte BIOS.
Read our disclosure page to find out how can you help Windows Report sustain the editorial team. Read more


Improve this guide


User forum
0 messages