Windows 10 Update Settings Not Opening? Try This!
A file system corruption can lead to this unfortunate outcome
5 min. read
Updated on
Read our disclosure page to find out how can you help Windows Report sustain the editorial team. Read more
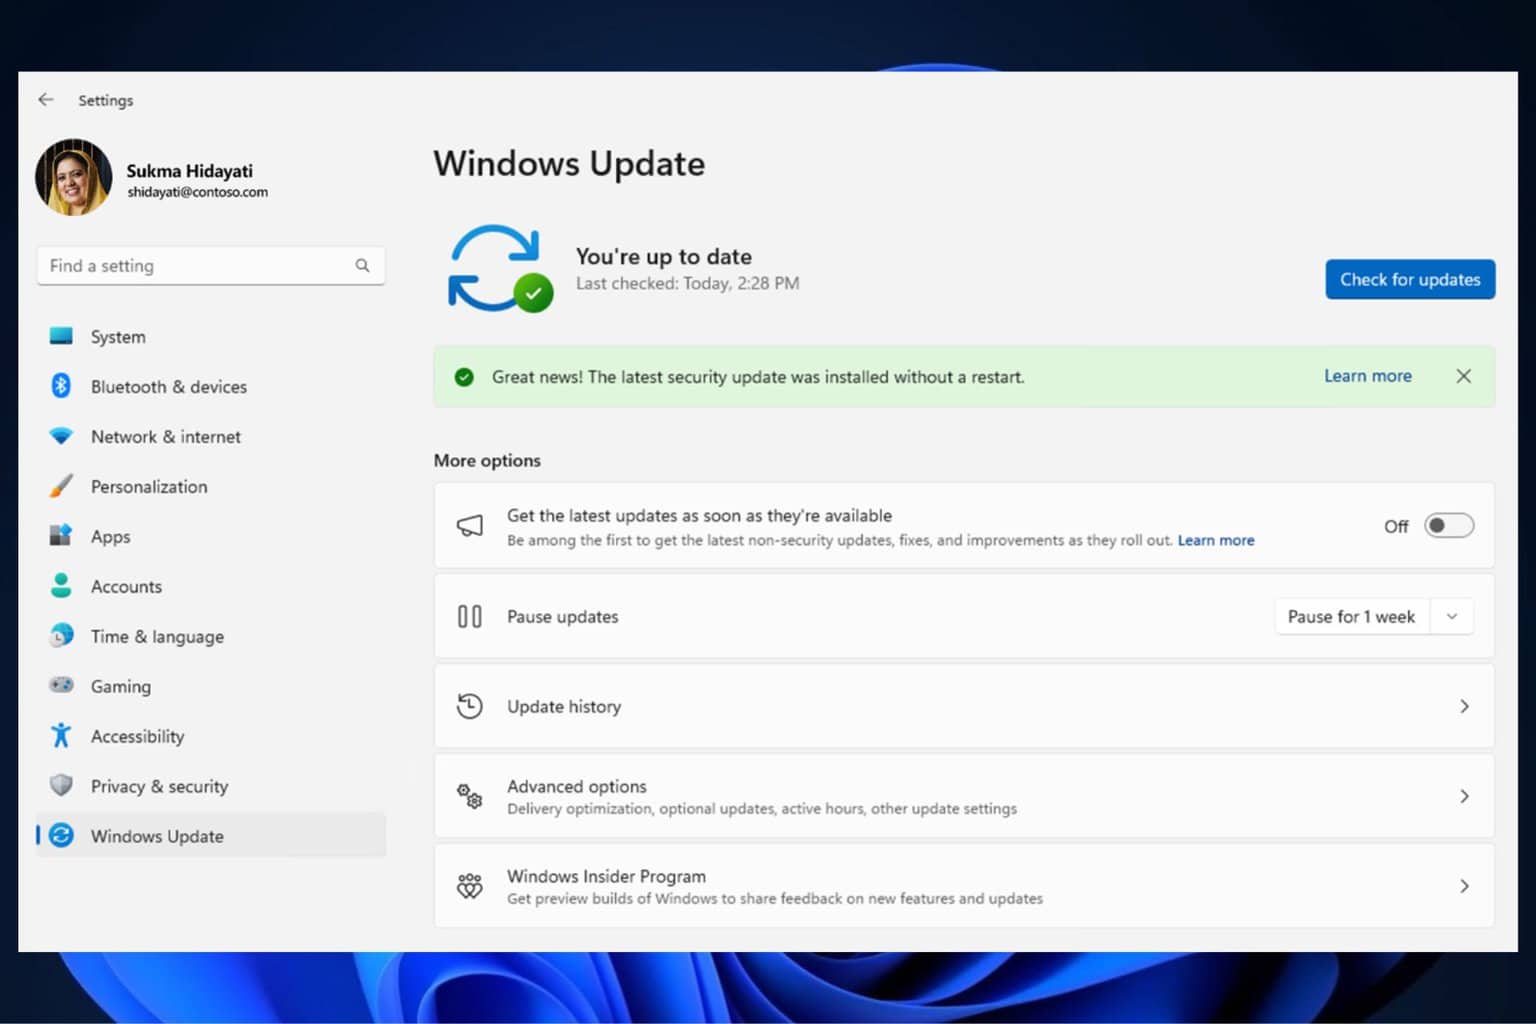
If your operating system is Windows 10, then you might have stumbled upon the annoying Windows 10 update settings not opening issue.
This issue reacts in such a way with your system that it will prevent you from opening the Updates feature as well as the Settings feature.
What can I do if Settings is not opening on Windows
1. Install the necessary updates
- 1. Start Control Panel
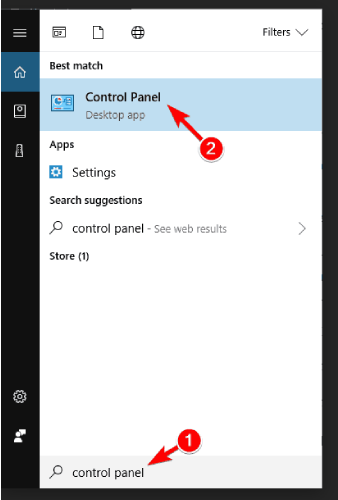
To do that, press Windows Key + S and enter Control Panel. Select Control Panel from the list of results.
- 2. Type Windows Updates
In the search box in the top right corner enter Windows Updates. Click on View Installed updates after the search has finished.
- 3. Install the updates
Check for and install the update KB3036140 if it is not already installed.
- 4. Reboot your PC
After you successfully updated to KB3036140 you will need to reboot the Windows 10 once more.
- 5. Check the Update Settings
Now check to see if you’re Updates and Settings feature are working for you.
You can install Windows updates using our practical example in order to fix settings errors on Windows 10 in a short time.
This solution will allow you to prevent the error of Windows update settings not opening. Following these steps will install all updates necessary for your operating system.
2. Create a new user
- Open Control Panel like we showed you in the previous solution.
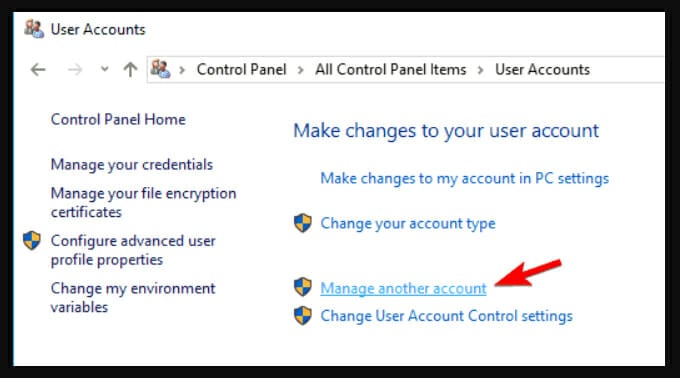
- Select User Accounts from the list.
- Left-click or tap on the option that says Manage another account.
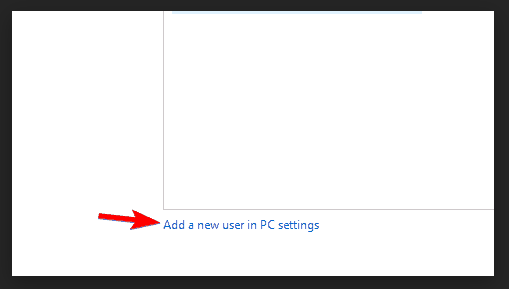
- Now left click or tap on the Add new User in PC settings.
- After you created a new user account reboot your Windows 10 Technical Preview system once more.
- Log in with the new user account you created and check to see if you still have the same issue.
Can’t add a new profile? Here’s what to do when Windows won’t let you add a new user.
You can also create a new user account by using Command Prompt. To do that, you need to do the following:
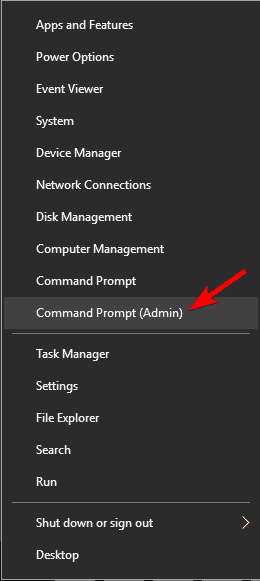
- Press Windows Key + X to open Win + X menu and choose Command Prompt (Admin) from the list of results. If Command Prompt isn’t available, you can choose PowerShell (Admin) instead.
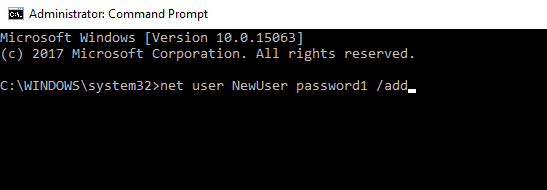
- When Command Prompt starts, enter net user NewUser password1 /add.
- Now enter net localgroup administrators NewUser /add.
After doing that, switch to NewUser account and use password1 to access the new account.
Once you log in to the new account, you need to install the missing updates. To do that, you need to do the following:
- Press Windows Key + I to open the Settings app.
- When Settings app opens, select Update & security.
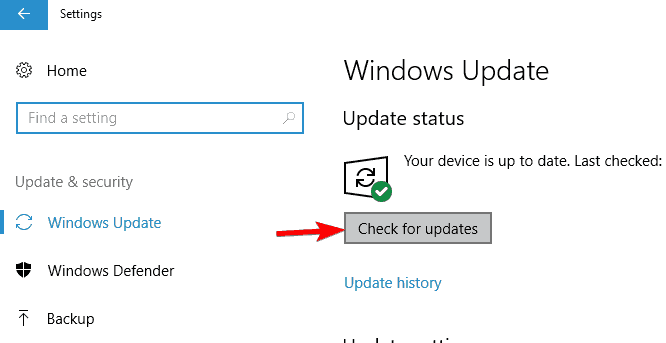
- Now click on Check for updates button.
Windows will download and install the missing updates. After installing the updates, you can switch back to your main account and everything should start working again.
You can also create a new account by doing the following:
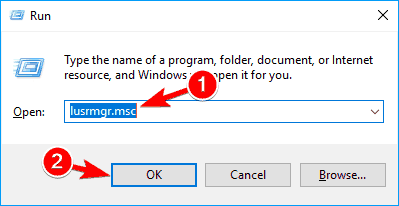
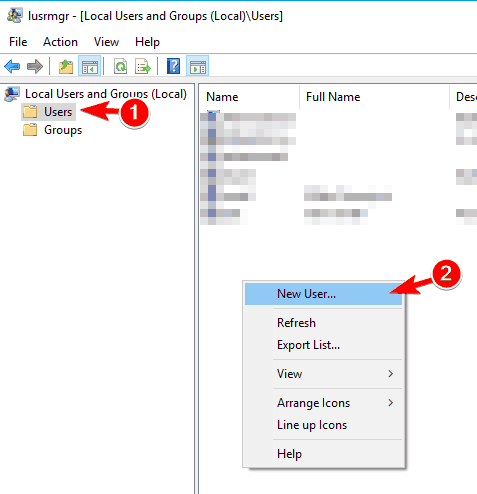
- Press Windows Key + R and enter lusrmgr.msc. Press Enter or click OK.
- Select Users from the left pane, and right click the empty space in the right pane. Choose New user from the menu.
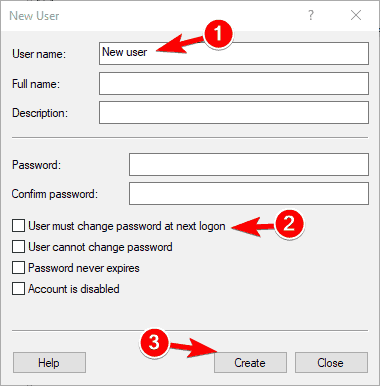
- Enter the desired user name and uncheck User must change password at new login. Now click on Create button.
After creating a new user account, switch to it and check if the problem is resolved. If the issue is resolved, you need to move your personal files to the new account and use it as your main one.
3. Use Microsoft Safety Scanner
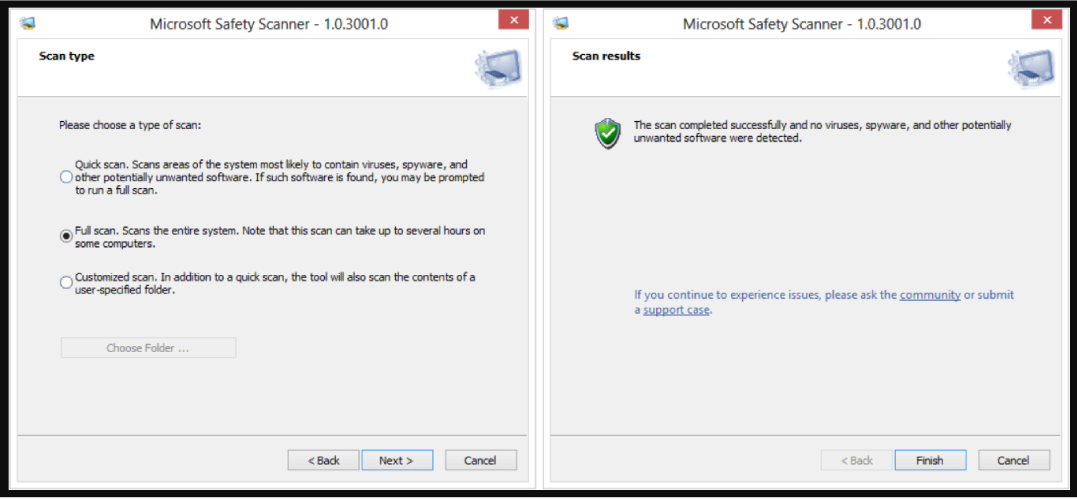
- Left click or tap on the link posted below to download the Microsoft Safety Scanner.
- Download here Safety Scanner
- Left click or tap on the Download Now button situated in the upper side of the page accessed above.
- Follow the instructions on the screen to finish the downloading process and installation process.
- Run a scan and let the application fix any potential threats to your system.
- Reboot your Windows 10 after the process has finished.
- Check again to see if your updates and settings features are working.
There were a few situations in which users reported to solve the Windows update settings not opening issues with Microsoft software. In this regard, we recommend you install and run Microsoft Safety Scanner.
Follow the simple steps described above and your computer will be able to update its operating system.
4. Run the SFC scan
- Press Windows Key + X and choose Command Prompt (Admin) from the menu.
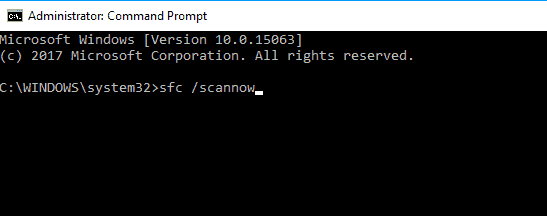
- When Command Prompt opens, enter sfc /scannow and press Enter to run it.
- SFC scan will now start. Keep in mind that this process can take 10 minutes or more, so don’t interrupt it.
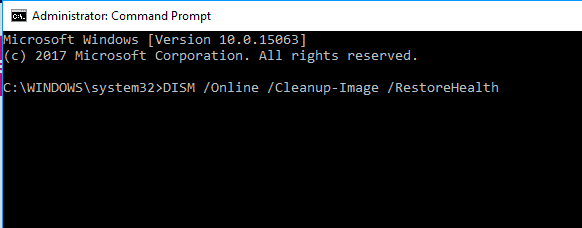
After the scan is finished, check if the problem is resolved. If the problem still persists, or if you can’t run an SFC scan at all, you might want to try using a DISM scan instead.
To do that, start Command Prompt and enter the following command: DISM /Online /Cleanup-Image /RestoreHealth
5. Reset Windows 10
- Open the Start Menu, click the Power icon, press and hold the Shift key and choose Restart from the menu.
- You’ll be presented with three options. Choose Troubleshoot > Reset this PC > Remove everything.
- You might be asked to insert Windows 10 installation media to proceed, so be sure to have it ready.
- Select your version of Windows and choose Only the drive where Windows is installed > Just remove my files.
- Now click the Reset button to start.
- Follow the instructions on the screen to complete the reset process.
After the reset is done, you’ll have to move your files from the backup and install your applications again. Keep in mind that this is a drastic solution, and you should use it only if other solutions don’t work.
There it is guys, a few simple methods on how to fix the Updates and Settings options you have in Windows 10 in only ten minutes of your time.
Also if you found any other way or if you need further assistance don’t hesitate to write us in the comments section of the page situated a few lines below and we will help you as soon as possible.








User forum
26 messages