FIXED: Biometric Devices Not Showing in Device Manager
5 min. read
Updated on
Read our disclosure page to find out how can you help Windows Report sustain the editorial team. Read more

Got a laptop with Biometric devices, but they won’t show in Device Manager in Windows 11? You’re not alone. Many users have trouble configuring those devices. Luckily, this is pretty easy to fix.
Follow along as we explain below how to make Device Manger recognize Biometric devices so you can log in with fingerprint and face recognition.
What do I do if biometric devices are not showing in Windows 11’s Device Manager?
1. View hidden devices in Device Manager
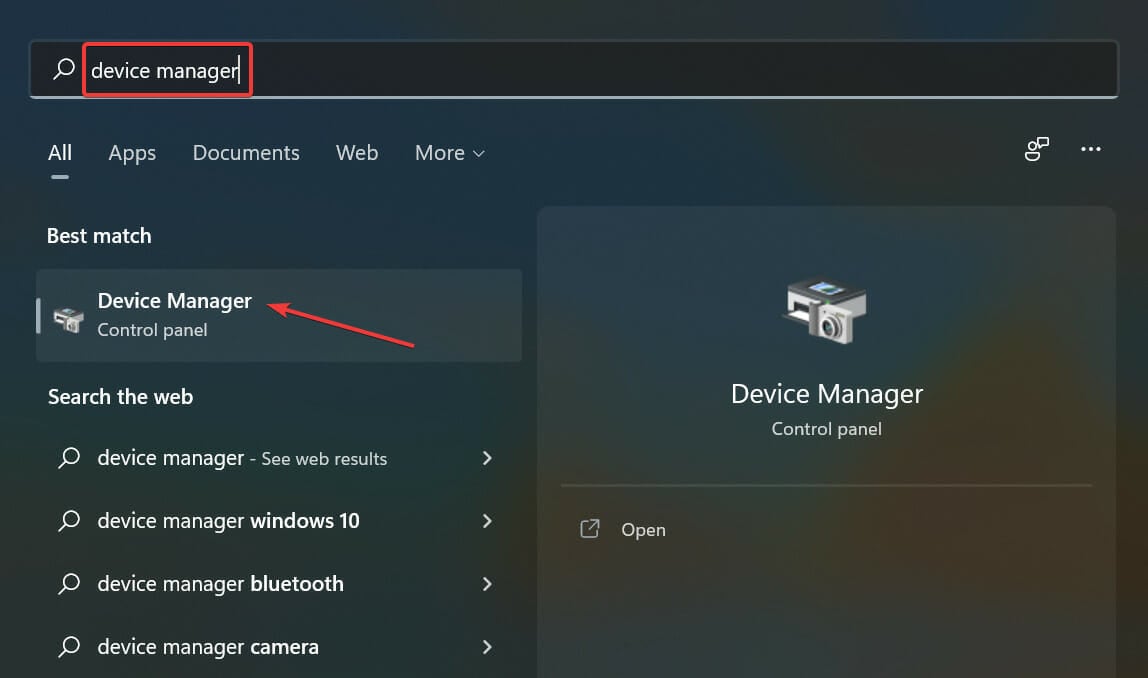
- Press Windows + S to launch the Search menu, enter Device Manager in the text field at the top, and click on the relevant search result.
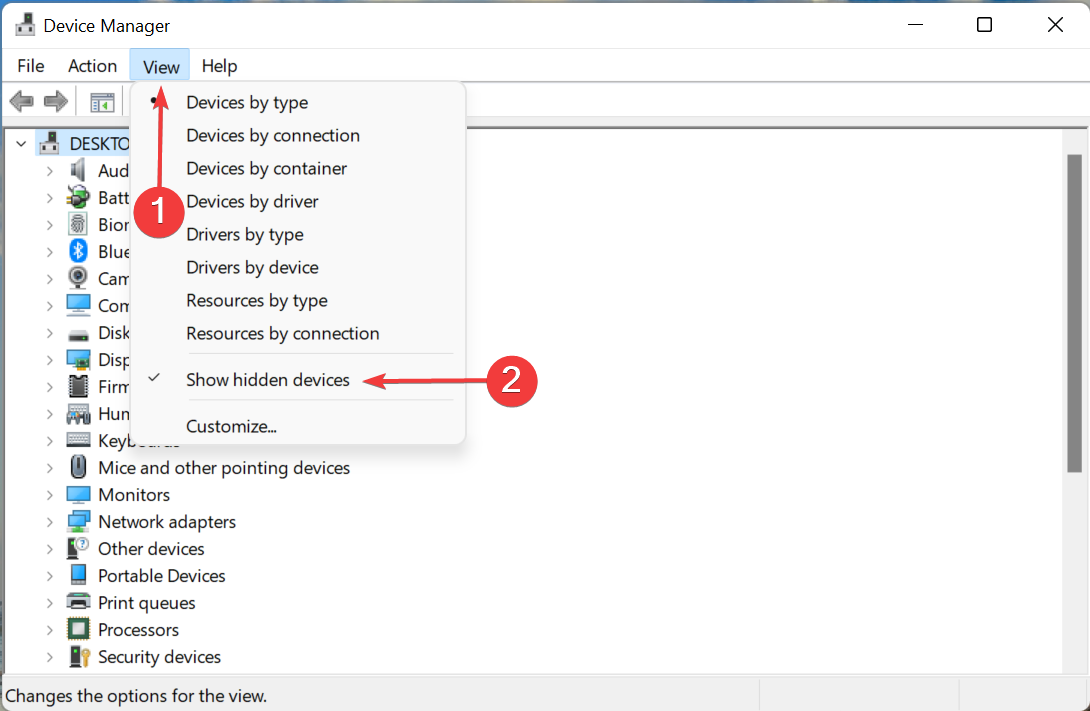
- Click on View menu, and then select Show hidden devices from the list of options.
- Now, check if the Biometric devices entry appears, and you are able to see the fingerprint scanner and the facial recognition device there.
If you are able to view the biometric devices after making the changes, it indicates that these are either disconnected, not working, or disabled from the BIOS. So, make sure to check the connections, and that the biometric device isn’t disabled in BIOS.
When you connect a device to your computer, Windows will, most likely, automatically install a driver for it. However, when you disconnect it, the driver is kept so that you can easily use this device the next time.
But, these devices are hidden so as to keep the Device Manager uncluttered. In case the biometric devices are not showing in Device Manager in Windows 11 even under the hidden ones, try the other methods listed below.
2. Check Windows Update for drivers
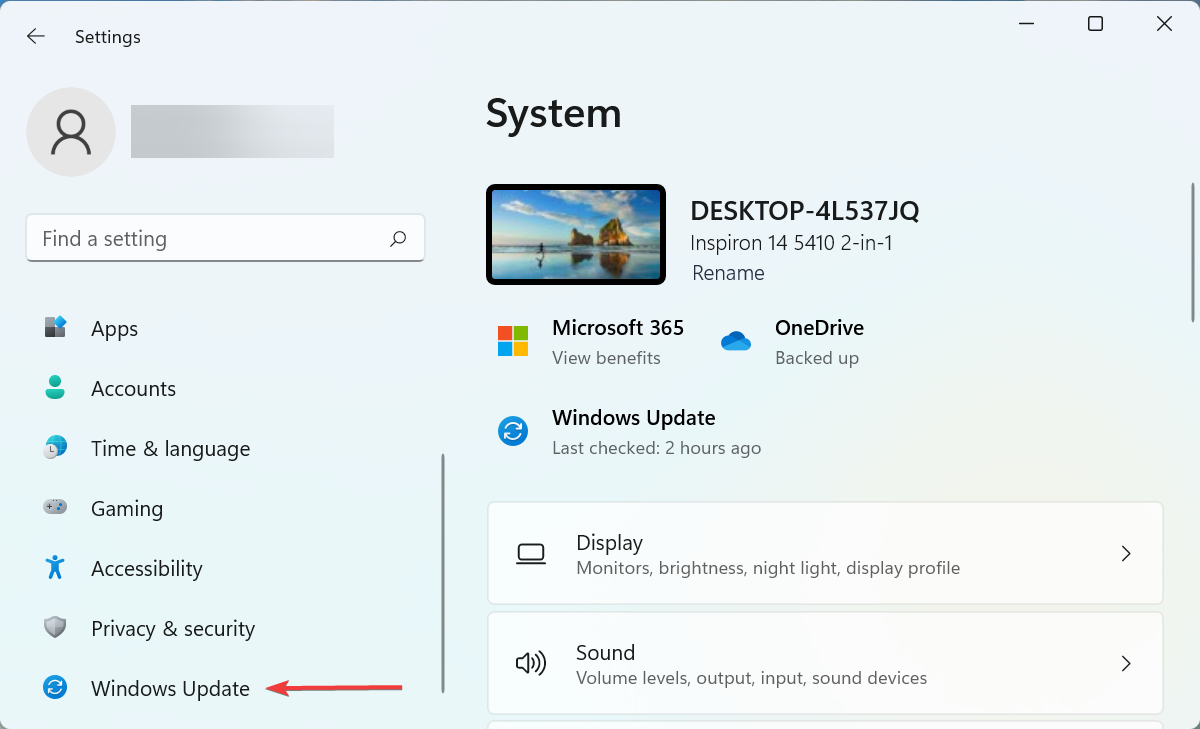
- Press Windows + I to launch the Settings app, and select Windows Update from the tabs listed in the navigation pane on the left.
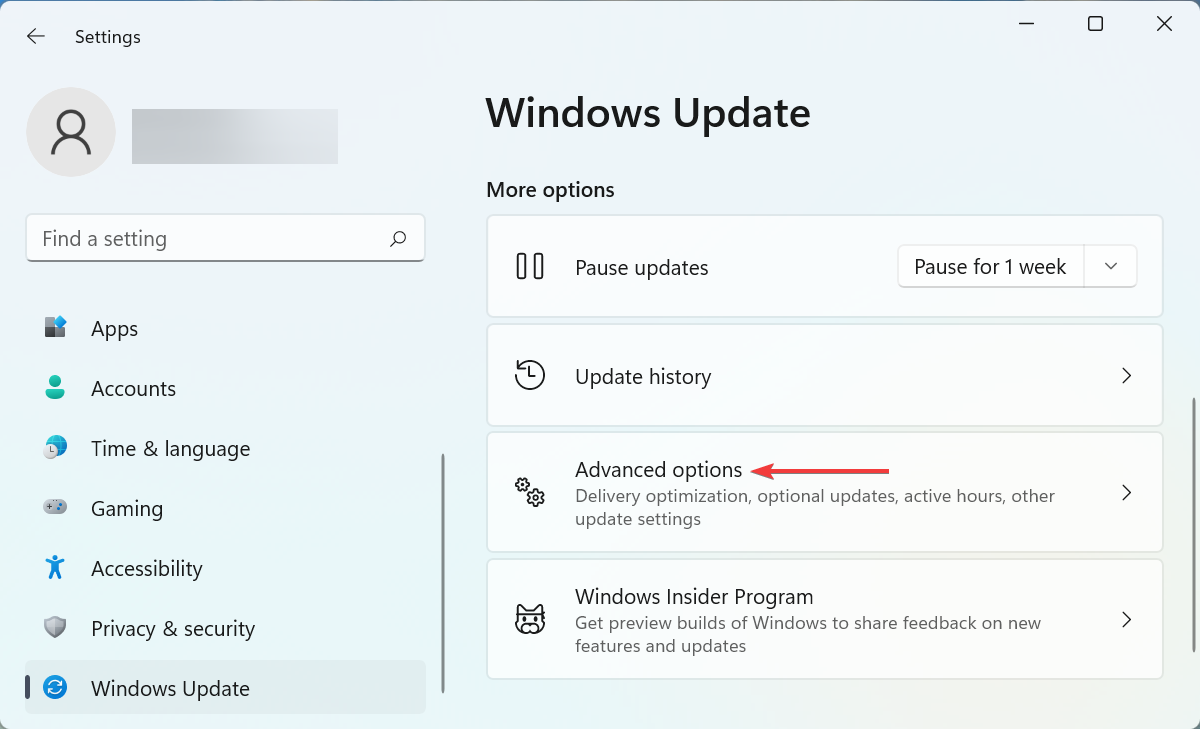
- Click on Advanced options on the right.
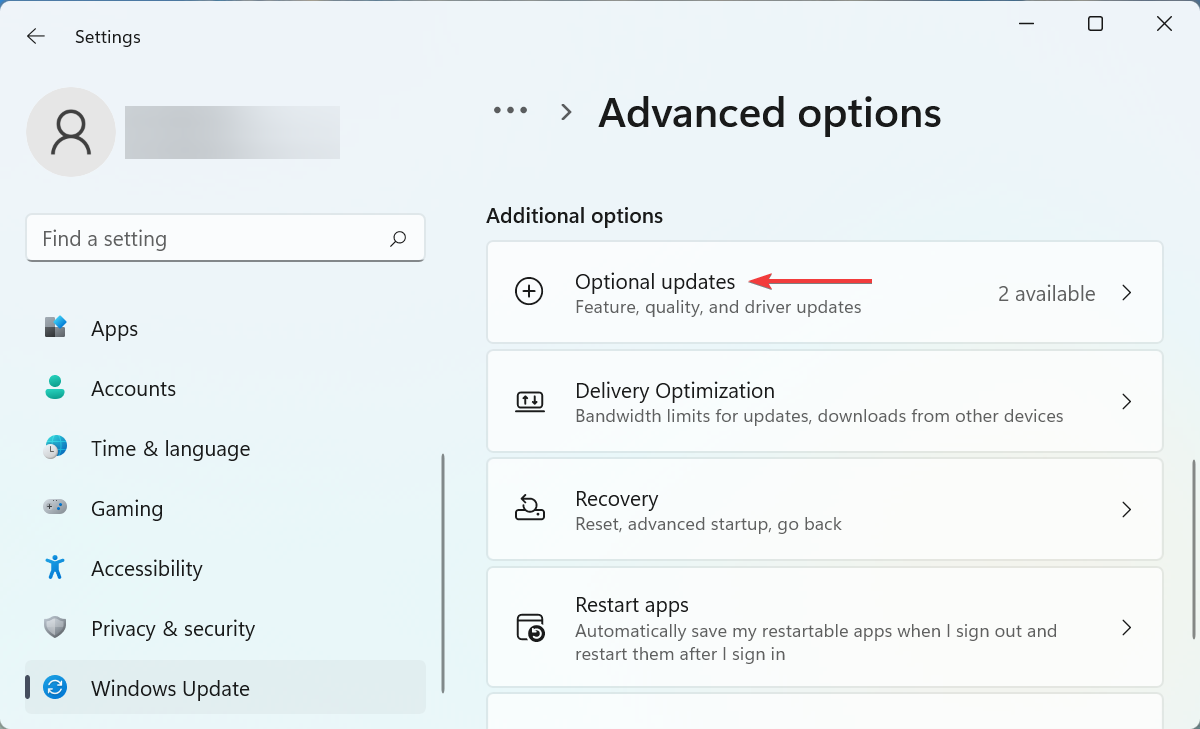
- Next, click on Optional updates under Additional options.
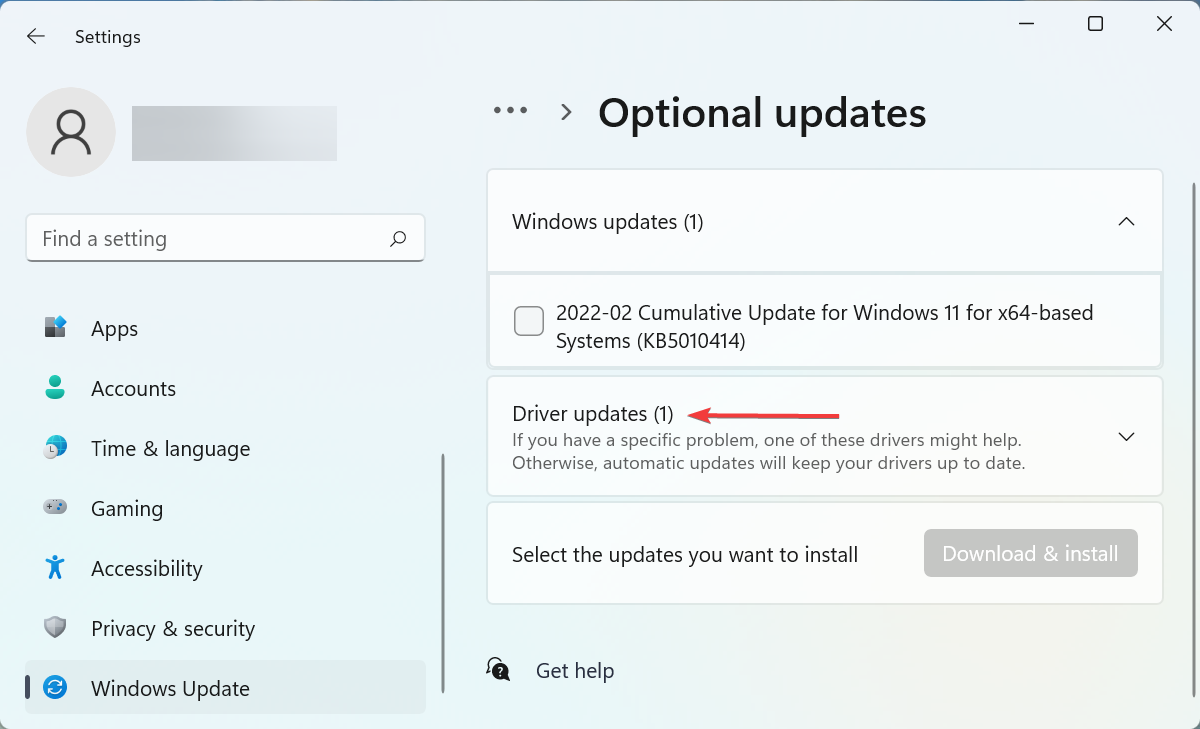
- Select Driver updates here.
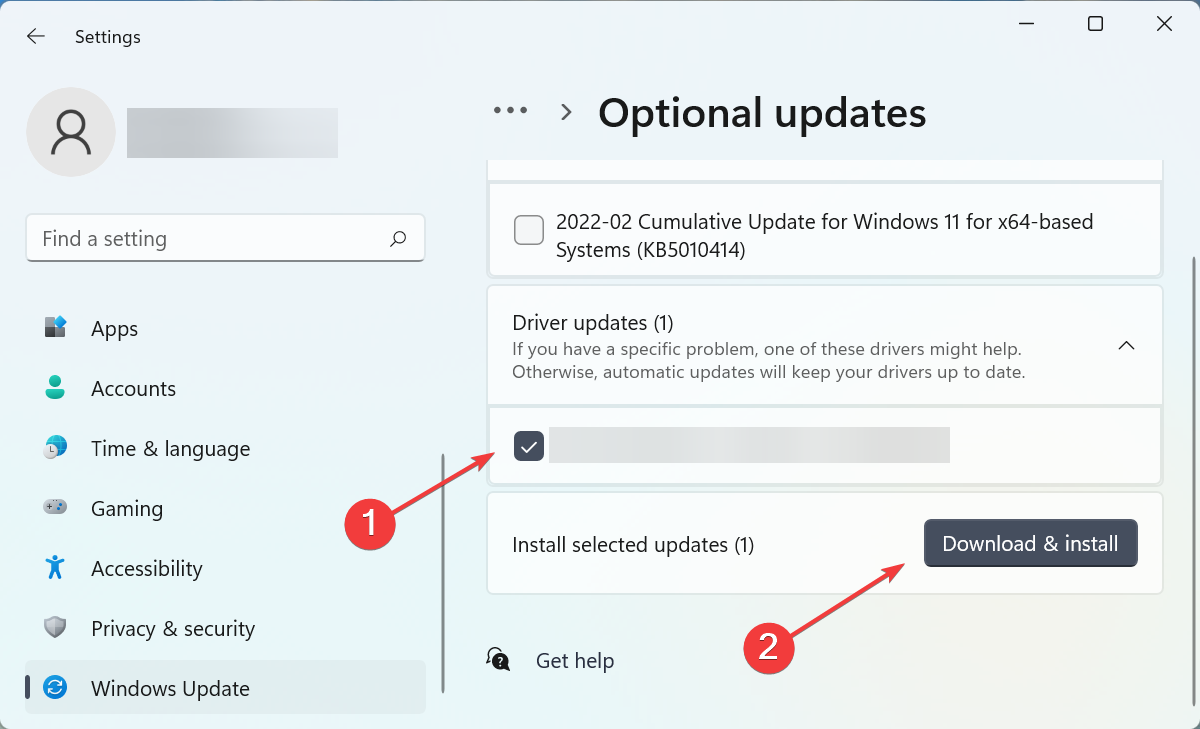
- If there’s a driver for the biometric devices listed here, tick the checkbox for it, and click on Download & install.
Making sure drivers are also updated is essential, especially when you upgrade your OS.
3. Download the driver from the manufacturer’s website
 NOTE
NOTE
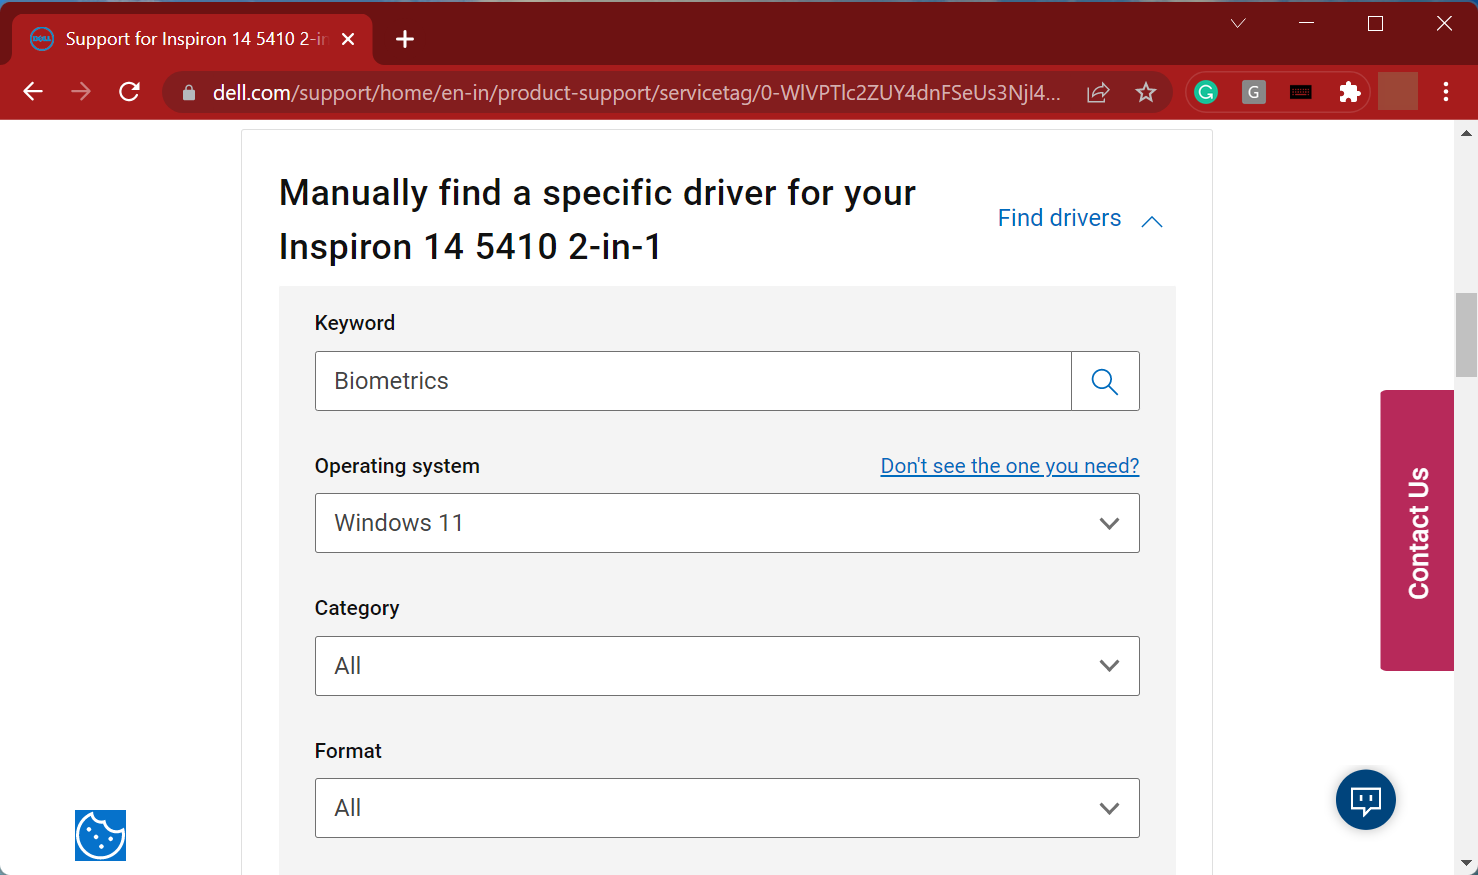
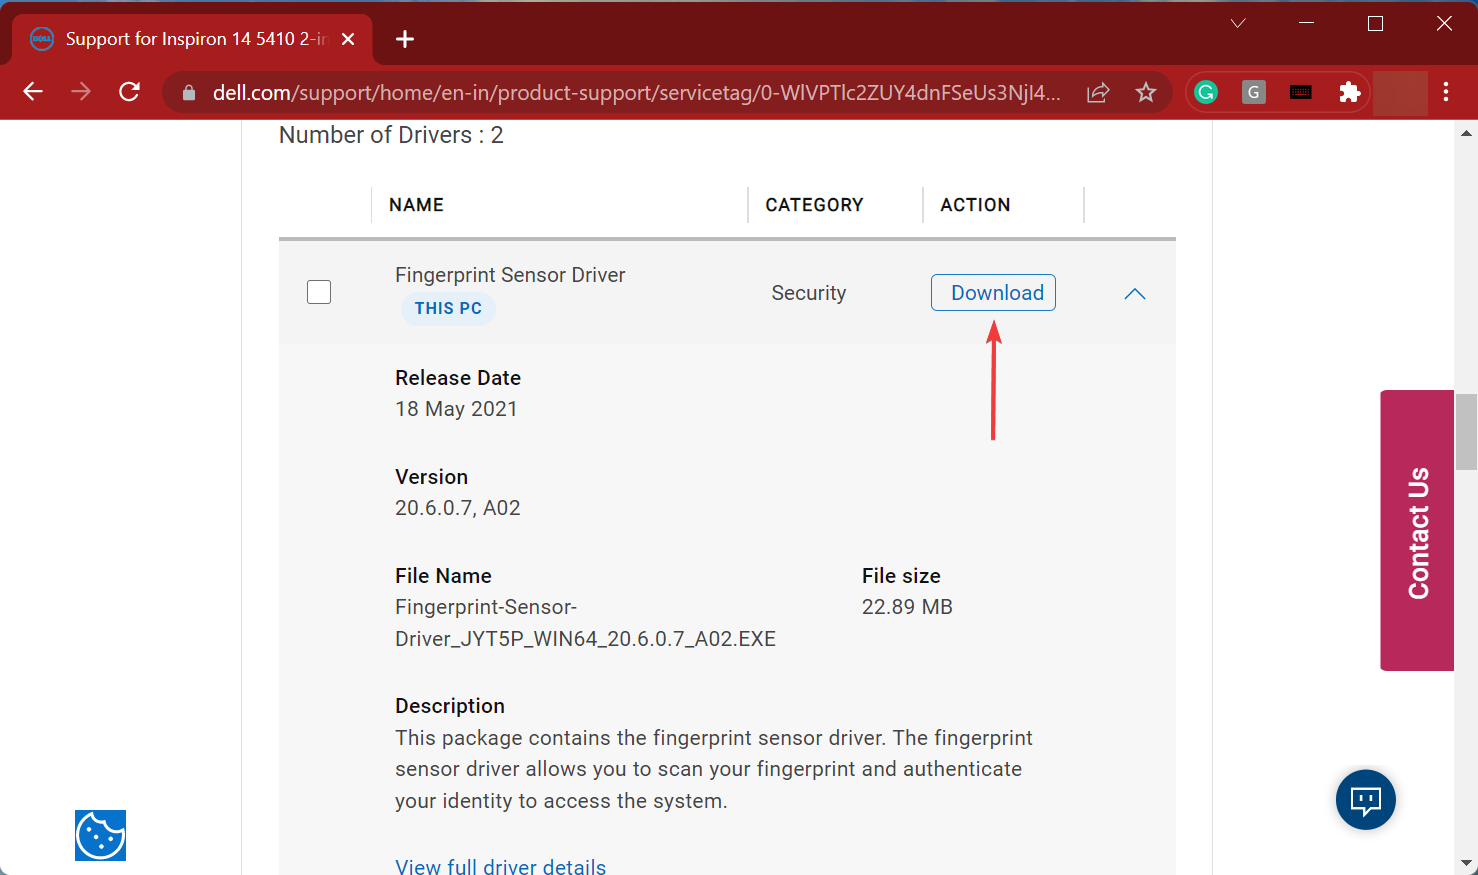
- Open any effective web browser, go to the system manufacturer’s official website, head to their Drivers section, and search for the Biometrics drivers.
- Now, click on the Download button to get the setup for it.
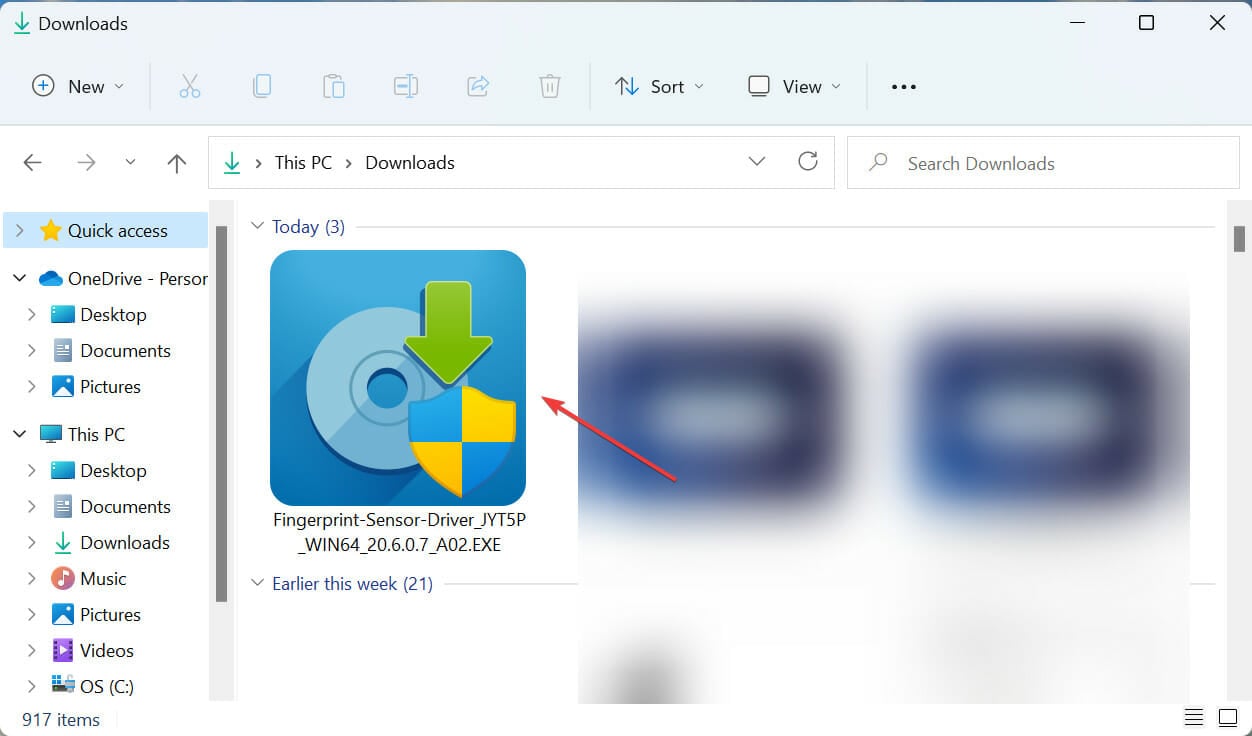
- Double-click on the downloaded file to launch the installer.
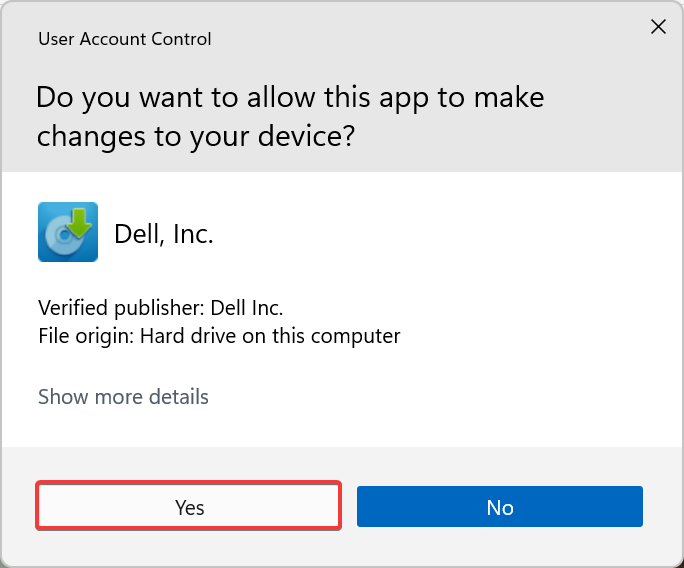
- Click Yes on the UAC (User Account Control) prompt that pops up.
- Now, follow the on-screen instructions to complete the download process.
If this looks like too much work or you’re afraid you’ll end up with a wrong driver, we recommend getting a dedicated driver updater.
A reliable tool like PC Helpsoft driver updater you can automatically scan and install the driver updates, thus ensuring that the installed ones are always up-to-date.
4. Run DISM tool & SFC scan
- Press Windows + S to launch the Search menu, enter Windows Terminal in the text field at the top, right-click on the relevant search result, and select Run as administrator from the context menu.
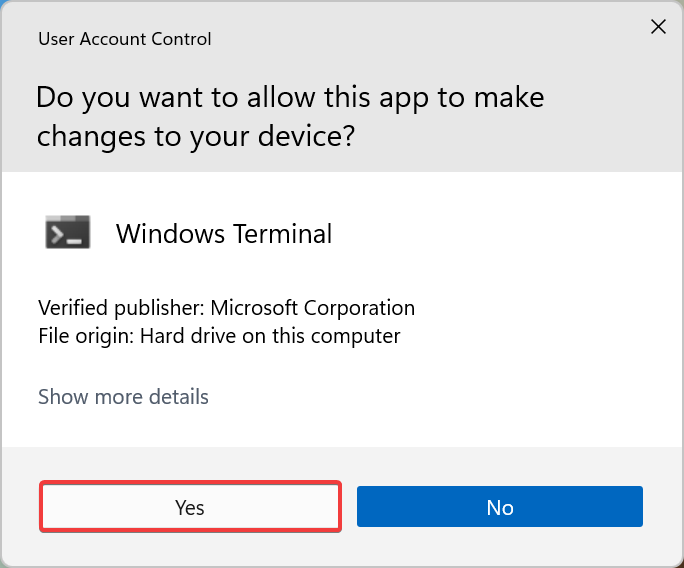
- Click Yes on the UAC (User Account Control) prompt that pops up.
- Now, click on the downward-facing arrow the top, and select Command Prompt from the list of options. Alternatively, you can press Ctrl + Shift + 2 to launch Command Prompt in a new tab.
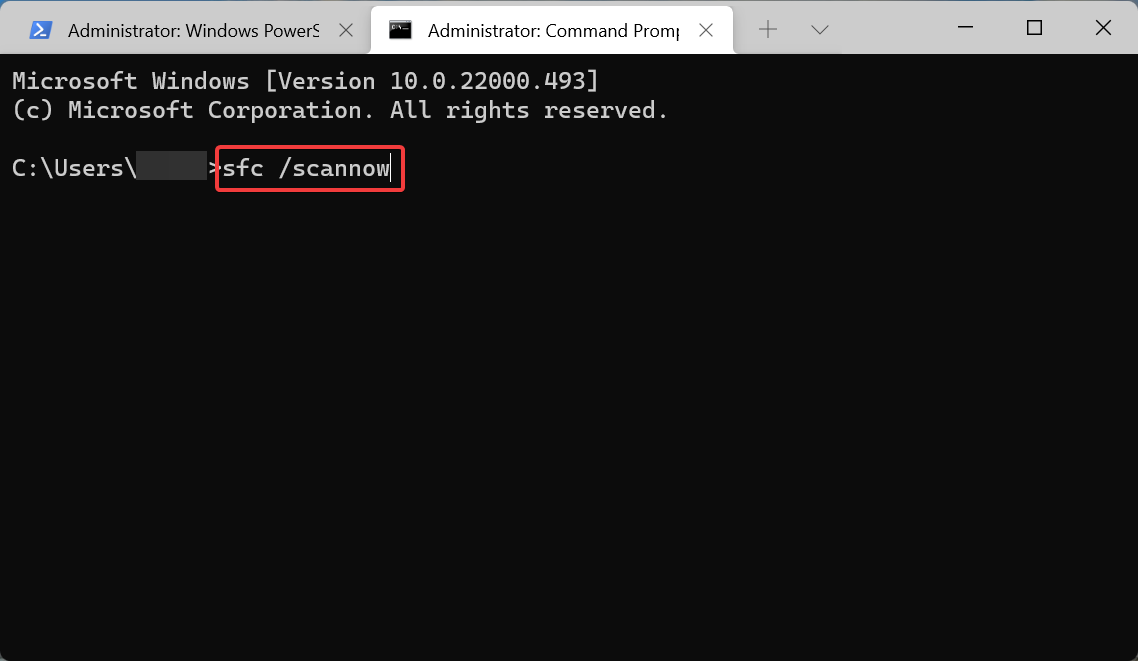
- Now, execute the following commands one at a time. To execute, simply paste the command, and hit Enter after each:
DISM /Online /Cleanup-Image /CheckHealthDISM /Online /Cleanup-Image /ScanHealthDISM /Online /Cleanup-Image /RestoreHealth - After running the DISM tool, execute the following command to run the SFC scan:
sfc /scannow
5. Uninstall the last Windows update
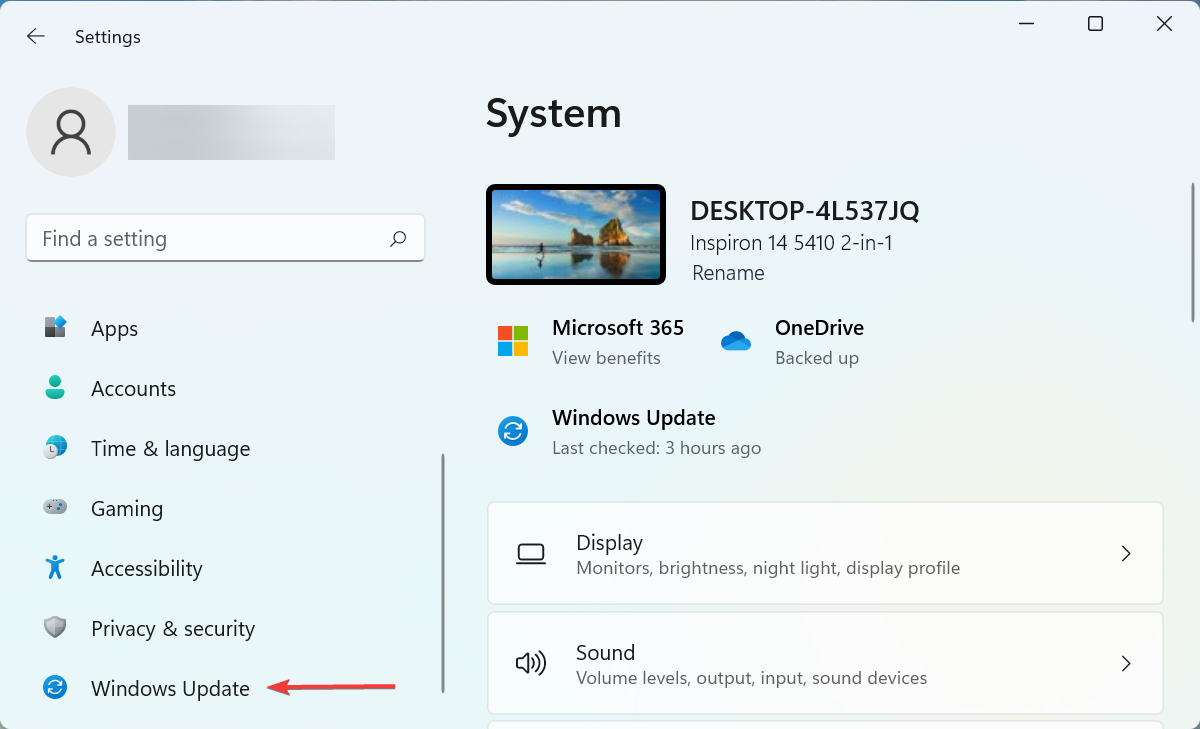
- Press Windows + I to launch Settings, and select the Windows Update tab from the navigation pane on the left.
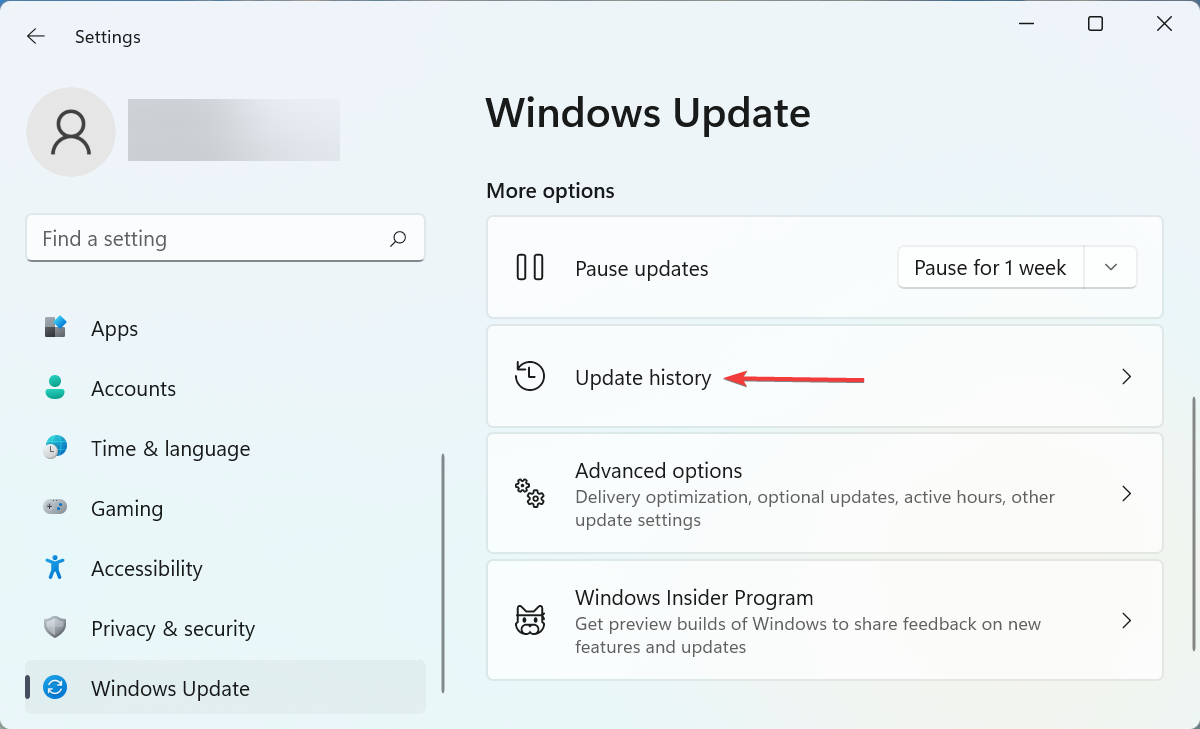
- Click on Update history on the right.
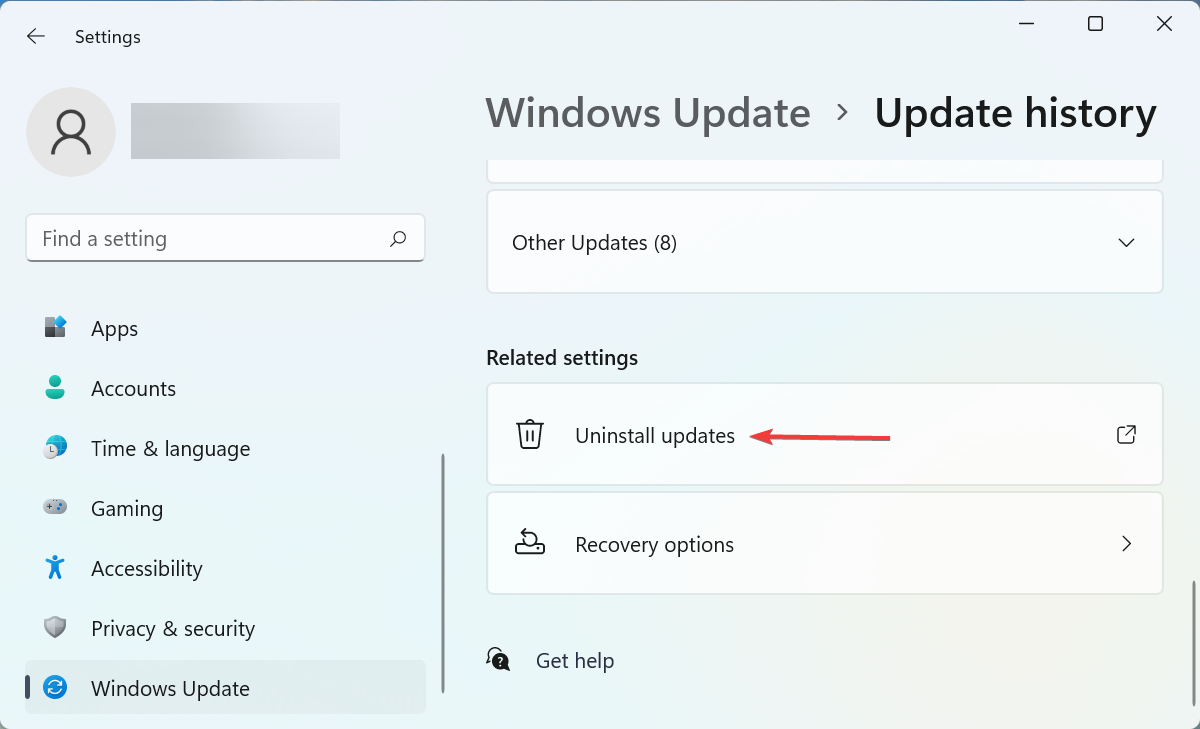
- Scroll down to the bottom, and click on Uninstall updates under Related settings.
- Select the last installed update, and click on the Uninstall option.
- Finally, click Yes in the confirmation prompt that pops up.
If you started encountering the issue after installing an update in Windows 11, uninstalling the update and reverting to the previously installed version might help.
6. Roll back to Windows 10
If none of the methods listed above work, it could be that the installed drivers and the ones available on the manufacturer’s website are not compatible with Windows 11.
In this case, you have no option but to roll back to Windows 10. This should get biometric devices up and running and start showing in the Device Manager.
However, this option is not available for long, and you may have to do a clean install of Windows 10.
Windows biometric drivers are essential if you want to fix sign-in problems. Keeping them up to date will also address face recognition errors and resolve fingerprint reader issues.
That’s all there’s to the biometric devices not showing in Device Manager in Windows 11 issue.





User forum
0 messages