Best Online Background Removers & How to Use Them [Photo, Video, PDF]
A background remover can really come in handy when you want to make your subject stand out or aren’t really fond of what’s going on behind it.
Many apps let you do this, but today we’ll focus on the easy & simple ones: online background removers. We’ll explain how they work and how to use them so you’ll know exactly what to pick.
Best online background remover
First, let’s take a quick look at our top picks so you can quickly scroll down to the one you figure has the best capabilities for your needs:
| Feature | inPixio online editor | Adobe Express | Remove BG | Clipping Magic | Canva | Unscreen |
|---|---|---|---|---|---|---|
| Automatic Background Removal | ✔ | ✔ | ✔ | ✔ | ✔ | ✔ |
| Editing Tools | ✔ | ✔ | ✔ | ✔ | ✔ | ✔ |
| Download Options | JPG only | PNG, JPG | PNG, JPG | JPG only | PNG, JPG, PDF, SVG | GIF, PNG, single frames |
| User Interface | ✔ | ✔ | ✔ | ✔ | ✔ | ✔ |
| Bulk Processing | ✘ | ✘ | ✔ (with subscription) | ✔ (with subscription) | ✘ | ✘ |
| Advanced AI Capabilities | ✔ | ✔ | ✔ | ✔ | ✔ | ✔ |
| Video Background Remover | ✘ | ✘ | ✘ | ✘ | ✘ | ✘ |
Now, let’s see how to use them
How to remove image background with an online tool
1. Use inPixio online editor
- Go to the inPixio Remove Background website.
- Click on the ADD Photo button or simply drag and drop your image in the designated area.

- In the next window you will see the image you uploaded and now you only need to click the Remove background button.

- As you can see from our screenshot, the app identified all the objects in the foreground and removed the background.

- If you don’t like the result, you can always use the Undo and Redo buttons from the top.
- You can also add a different background if you click on the Background genius button from the left and select one of the tens of choices available.

- If you still can’t find one that fits your creation, you may also click the Generate backdrop genius button to generate a background using AI.

- You can use a prompt or an existing image, but this is a paid feature so you will need a paid account to use it.
- When you’re done, you can click the Download button from the top-right corner, select one of the options and click the bottom Download button.

- You will notice that the free option will download the image with an inPixio logo at a lower resolution (400×400 pixels in our case). For high resolution and no logo, you will need a paid inPixio Pro account.
As you have seen above, inPixio Remove Background comes with an artificial intelligence feature that automatically recognizes objects within an image so it’s a lot easier to achieve your goal.
It works best with images where foreground objects are clearly outlined, though it handles some out-of-focus details too.
It’s free and allows unlimited image processing, but saves files only in JPG format, limiting background changes.
Some of inPixio’s Remove Background key features include:
- Background remover
- Image resize and crop
- Auto image correction
- Red-eye remover
- Photo filters
- Image effects
2. Use Adobe Express online app
- Go to the Adobe Express online background remover website.
- Click on the Upload your photo button.
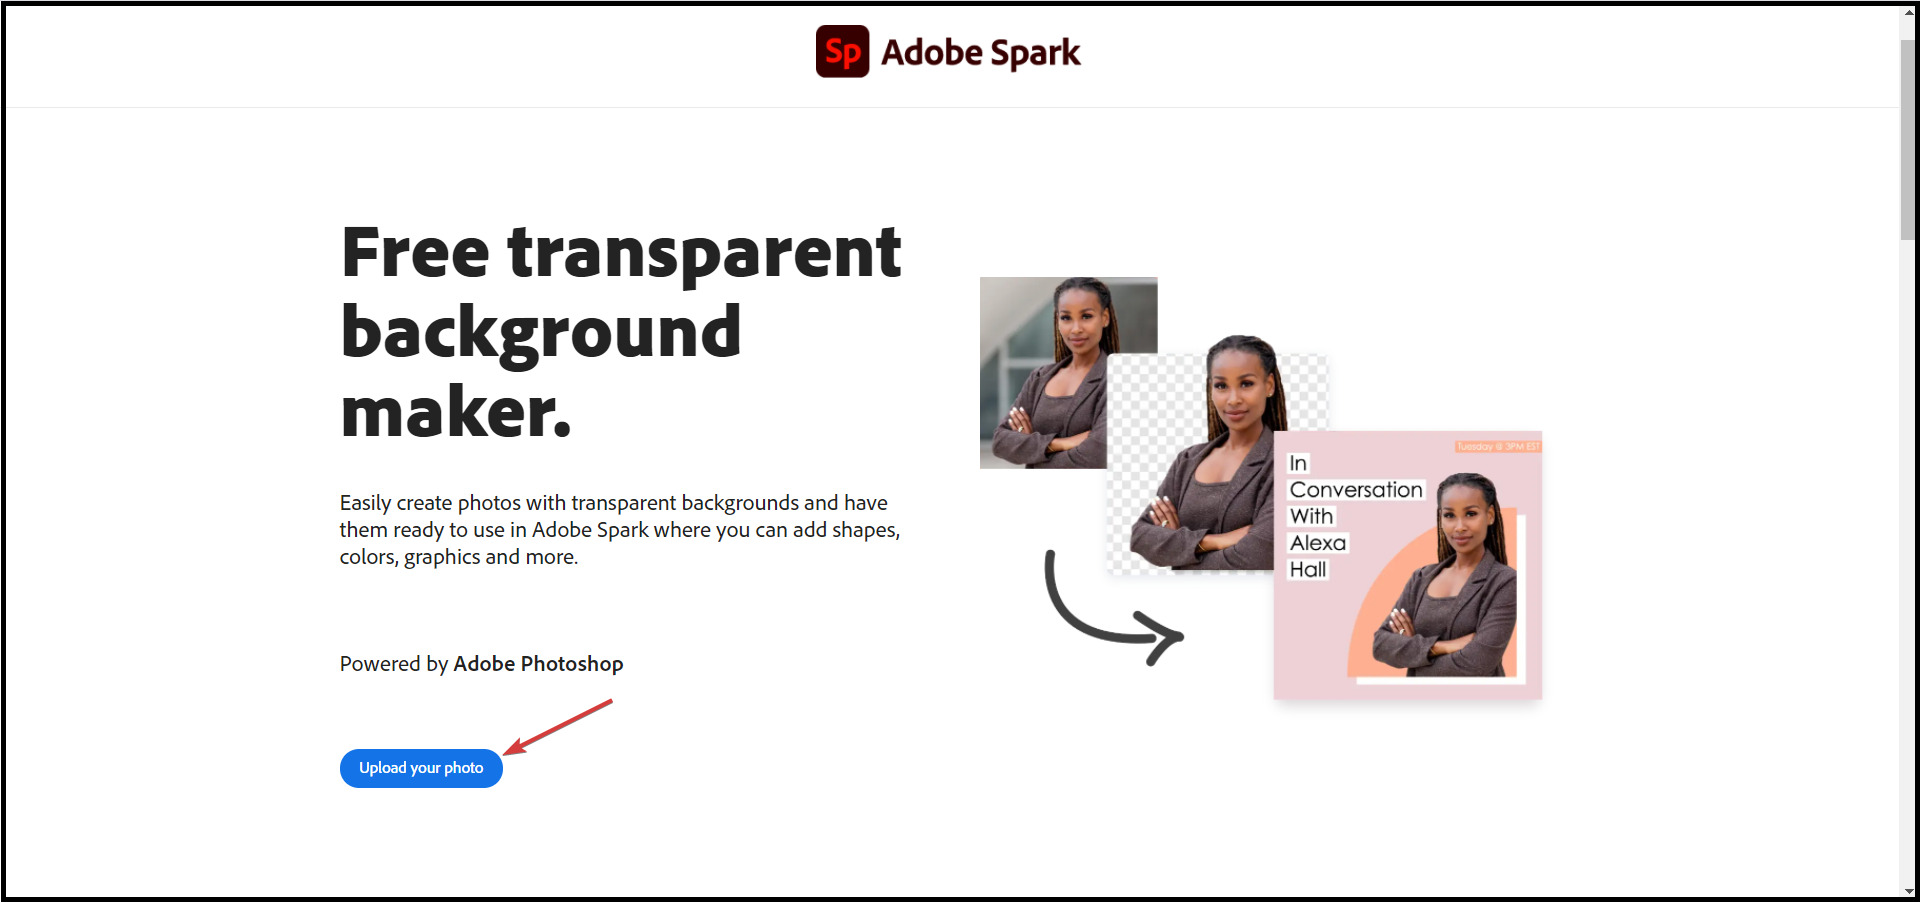
- You can now either drag and drop your image in the designated area, click the Browse your device or pick a sample photo.
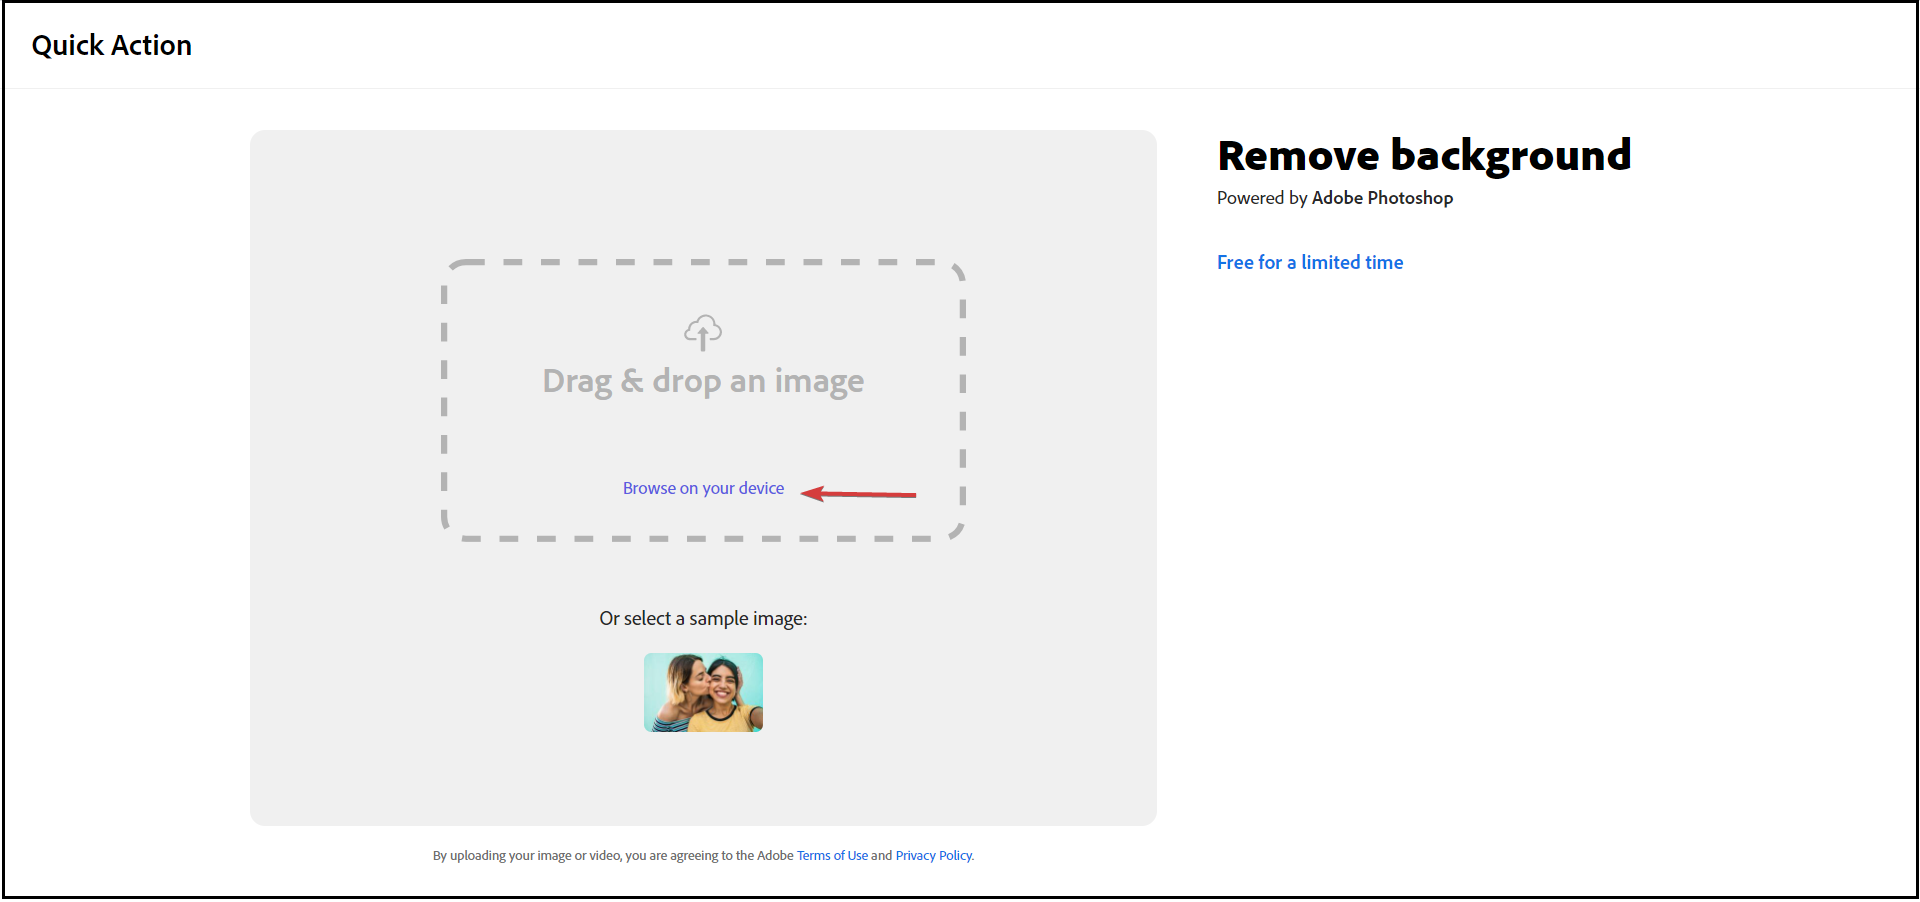
- As soon as you indicate the file, it will be uploaded, processed and you will see the final result.
- You now need to click the Download button but you will need to sign-in in your account.
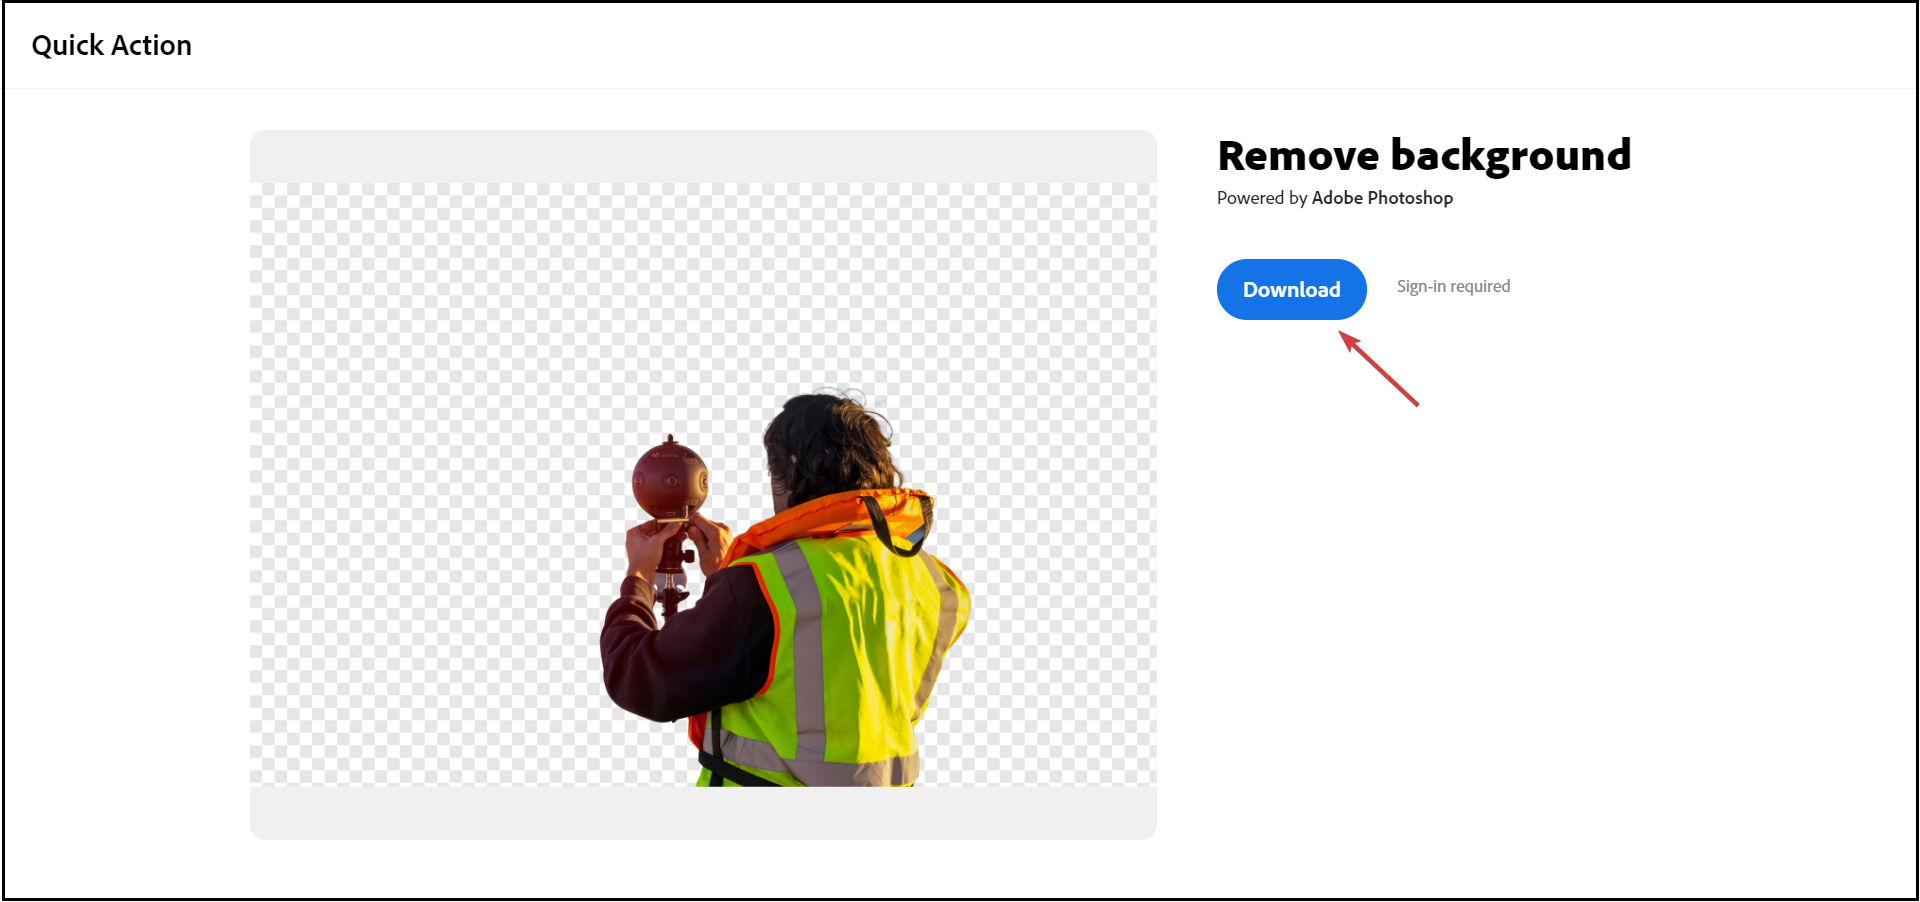
- In the next window, you can either choose to Sign up or Sign in if you already have an account.
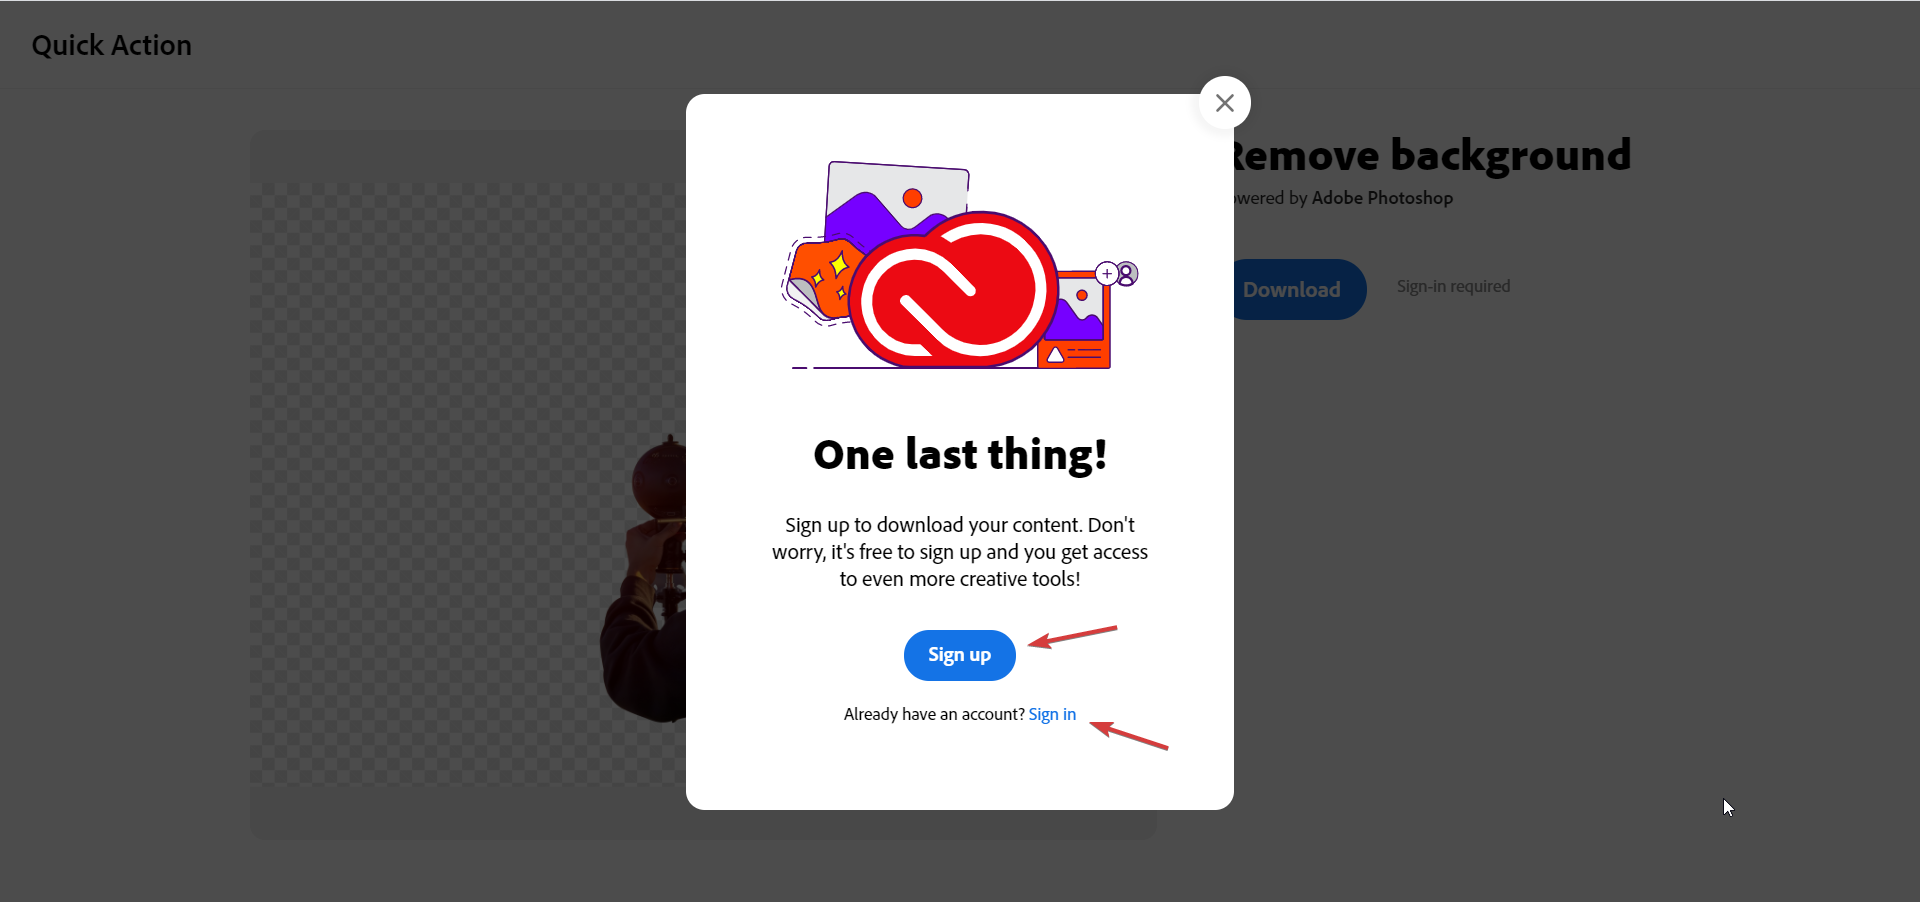
- If you choose the first option, you need to fill some data in a dedicated form and click on the Create account button at the bottom.
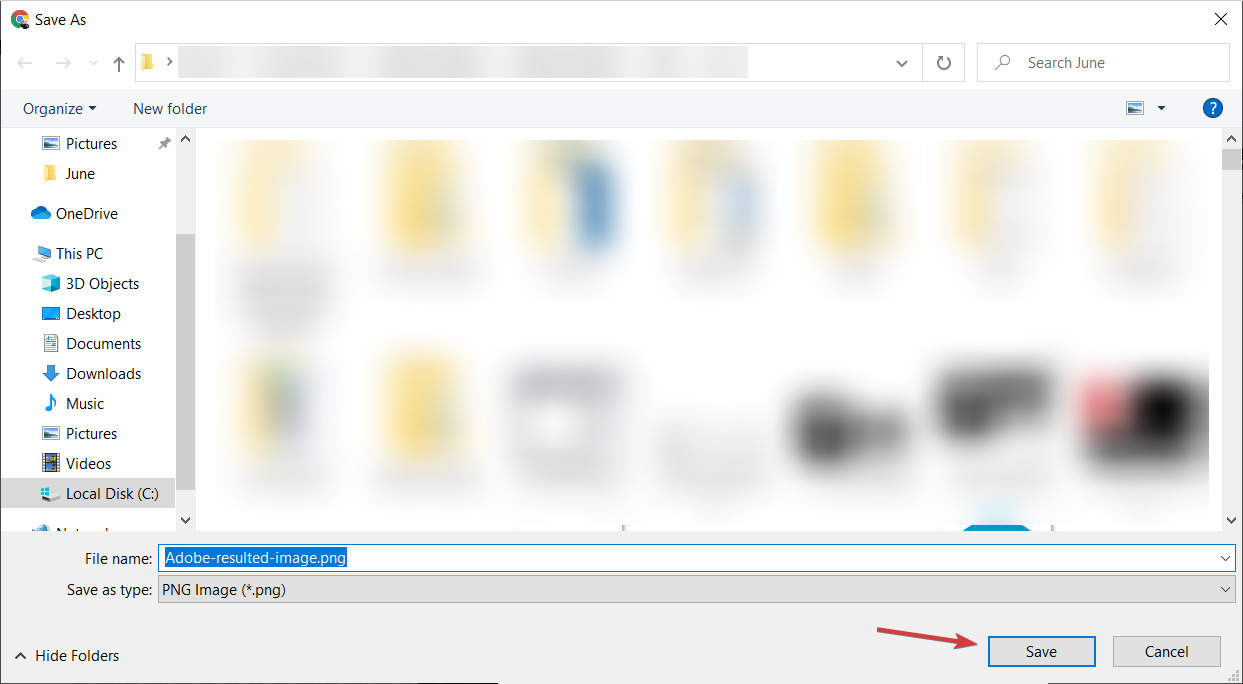
- Once you create the account or sign-in, you will automatically be prompted to select the desired location of the file and rename it as you wish.
- After you download the file, you will see a dialogue inviting you to use the resulting image in a dedicated editor.
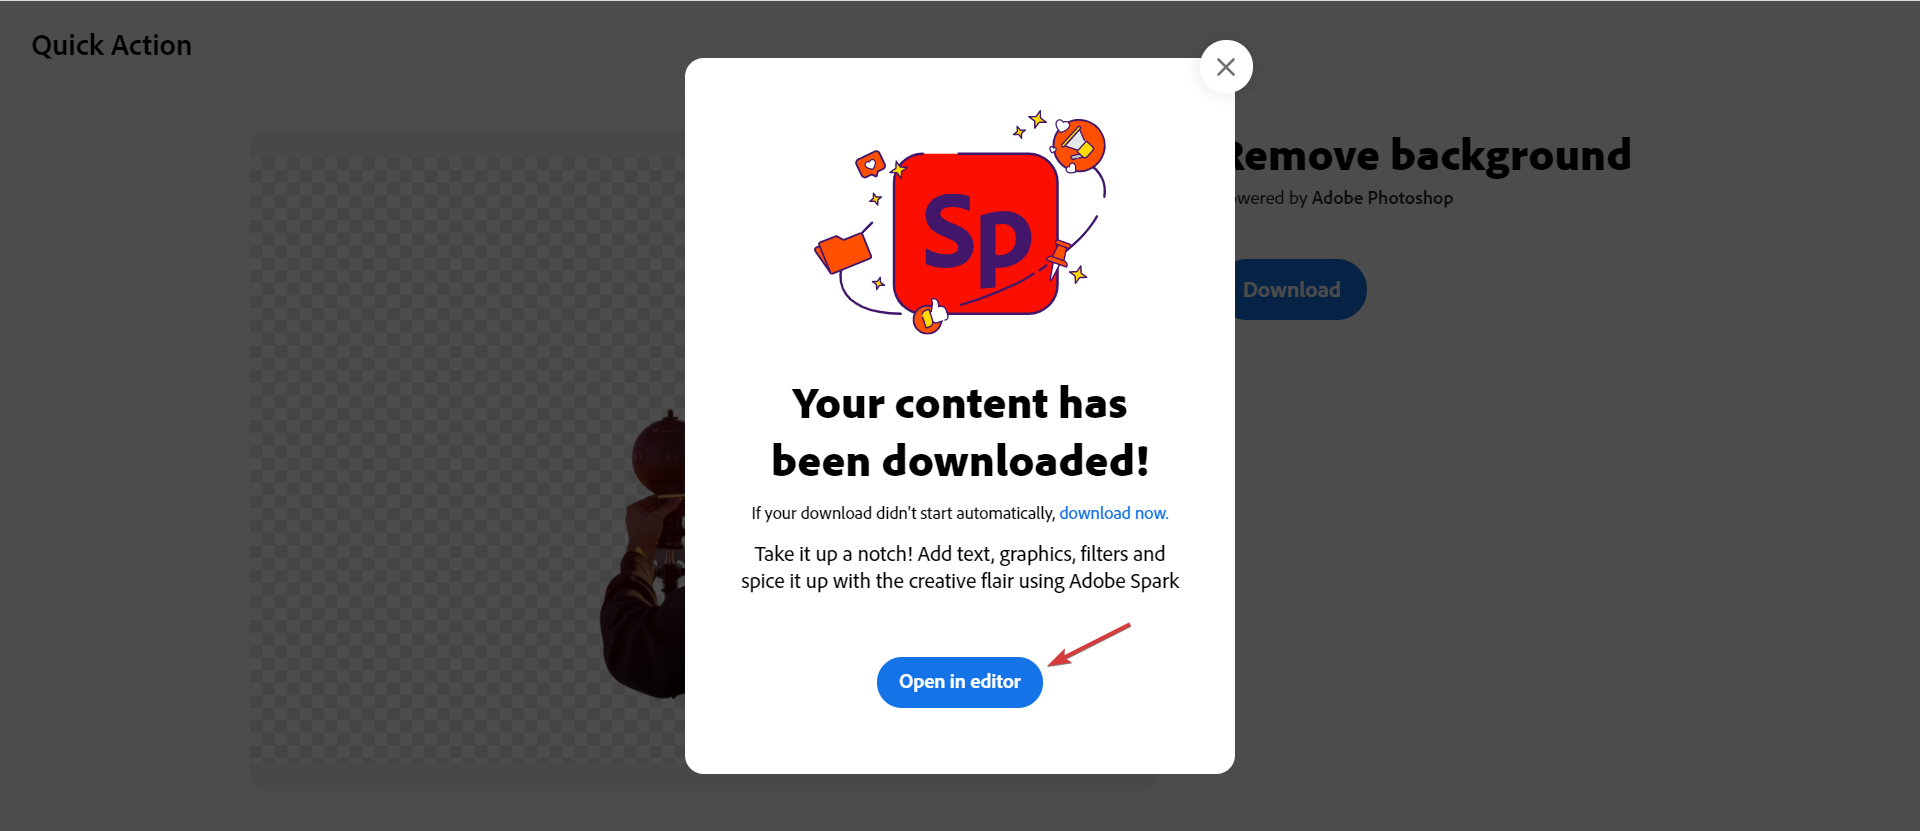
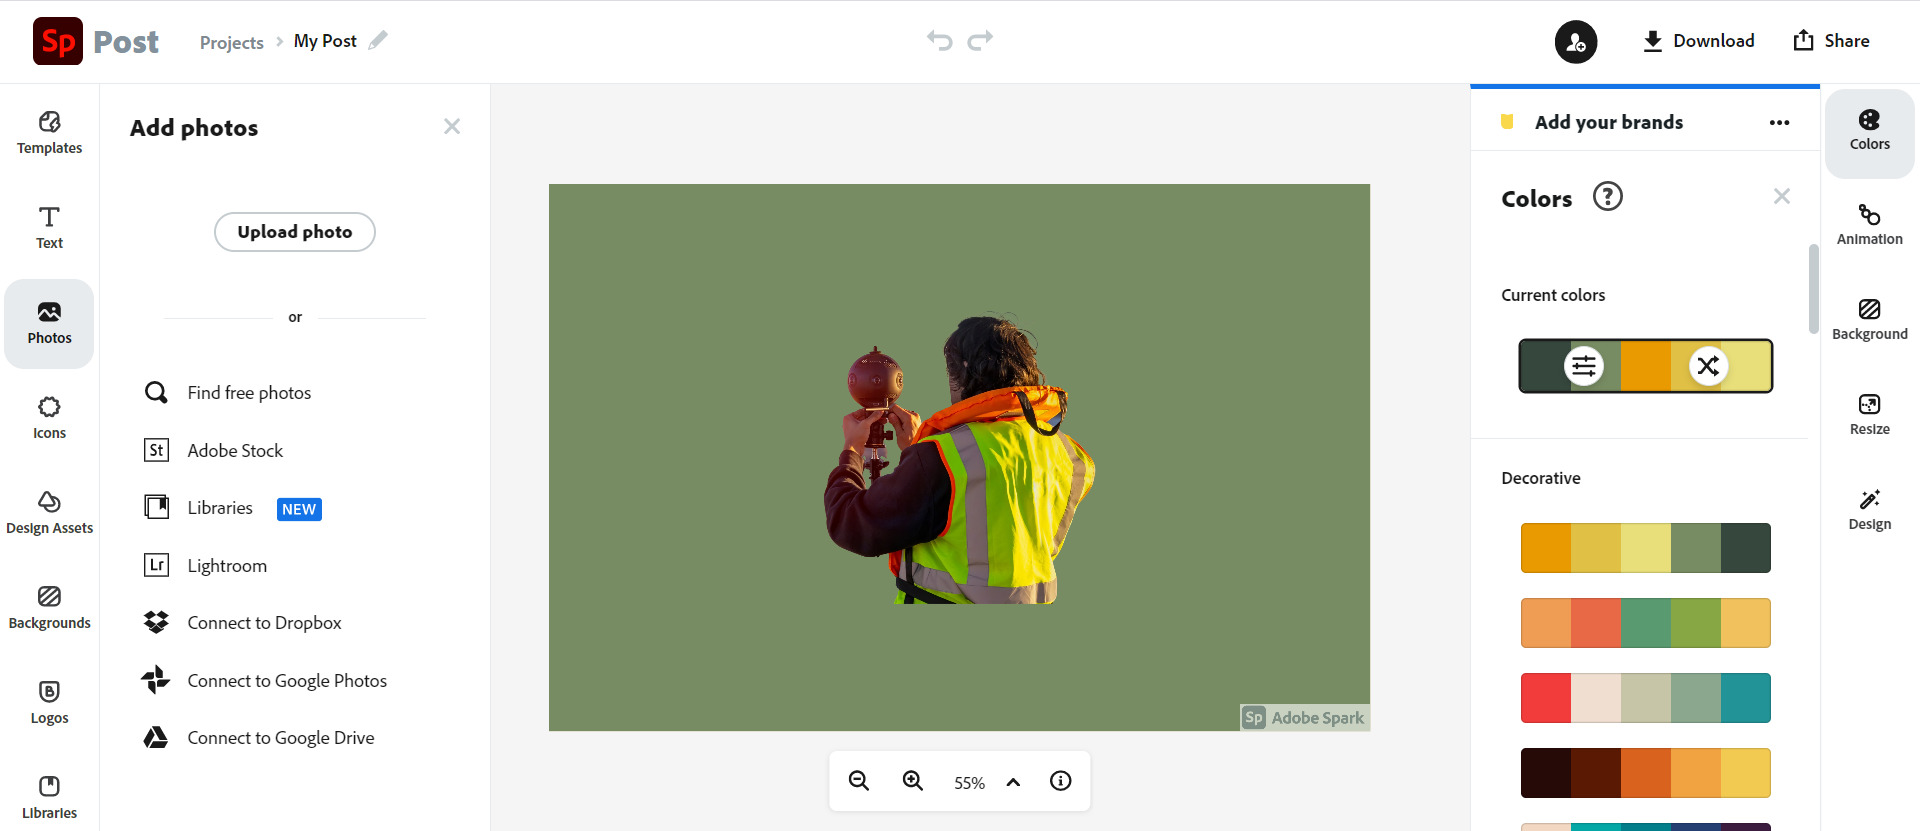
- If you choose to go with the editor, you will find countless options to insert the background from your collection or select one from the library, to resize the object, to replace the brand and colors with your own and much more.
Separating your subject from the background is incredibly easy when using the Adobe Express background remover online tool.
The tool removes even complex backgrounds with precision. After downloading your image as a transparent PNG, you can easily integrate it into other visuals using a photo editor.
Adobe Express also offers extensive personalization options, including rebranding, adding effects, and adjusting dimensions.
Key features:
- Easy to use
- Fast background removal in two steps
- Advanced AI for precise outlining
- Free for a limited time
- Transparent PNG download
⇒ Get Adobe Spart online background remover
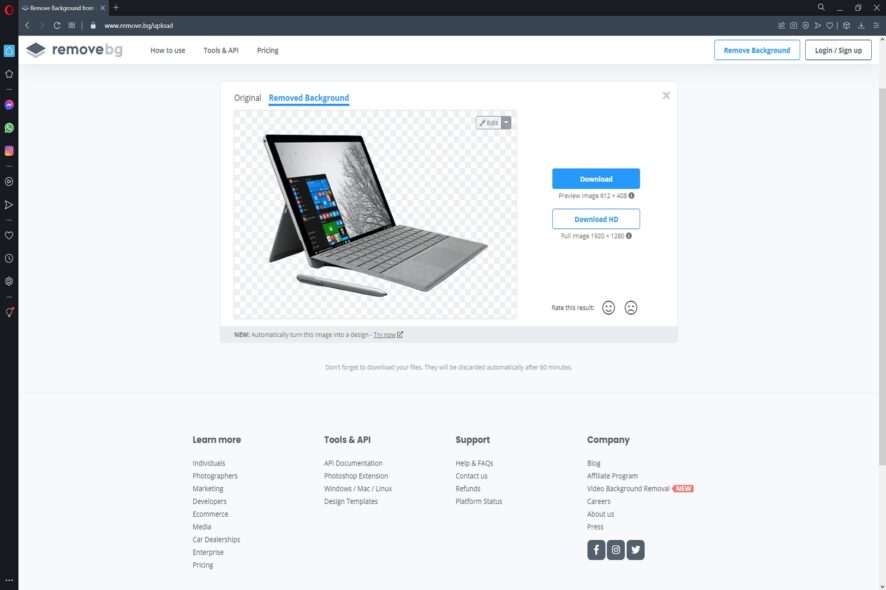
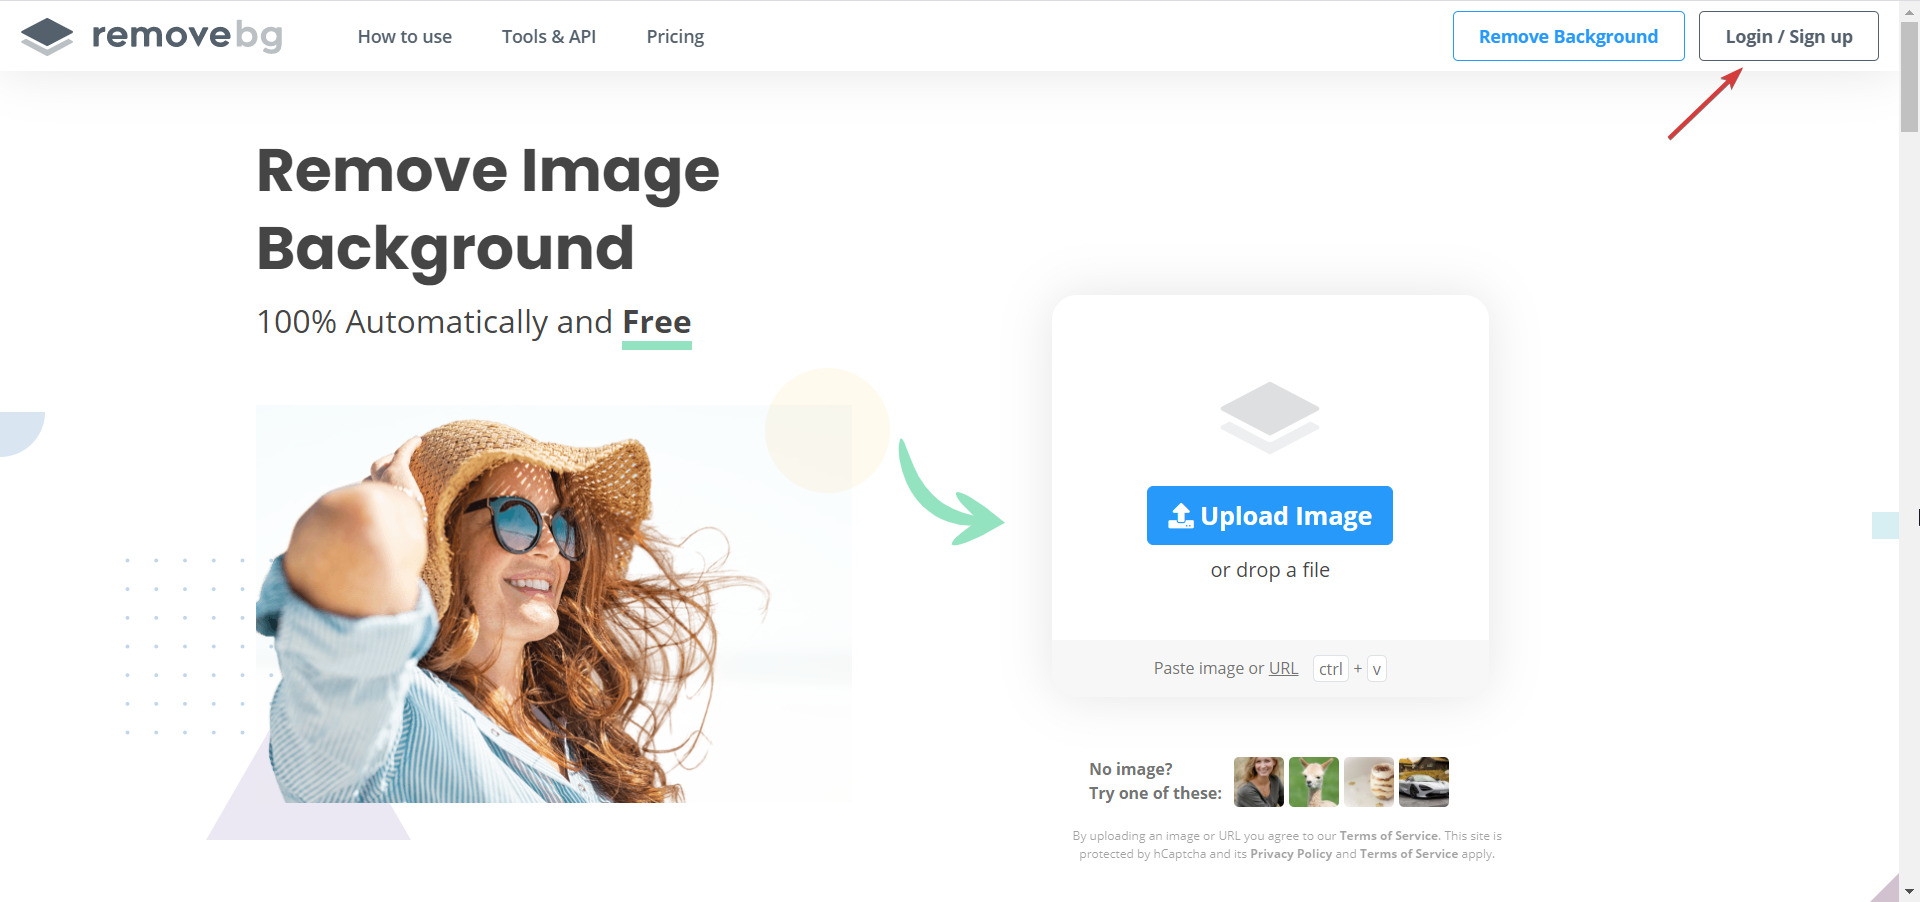
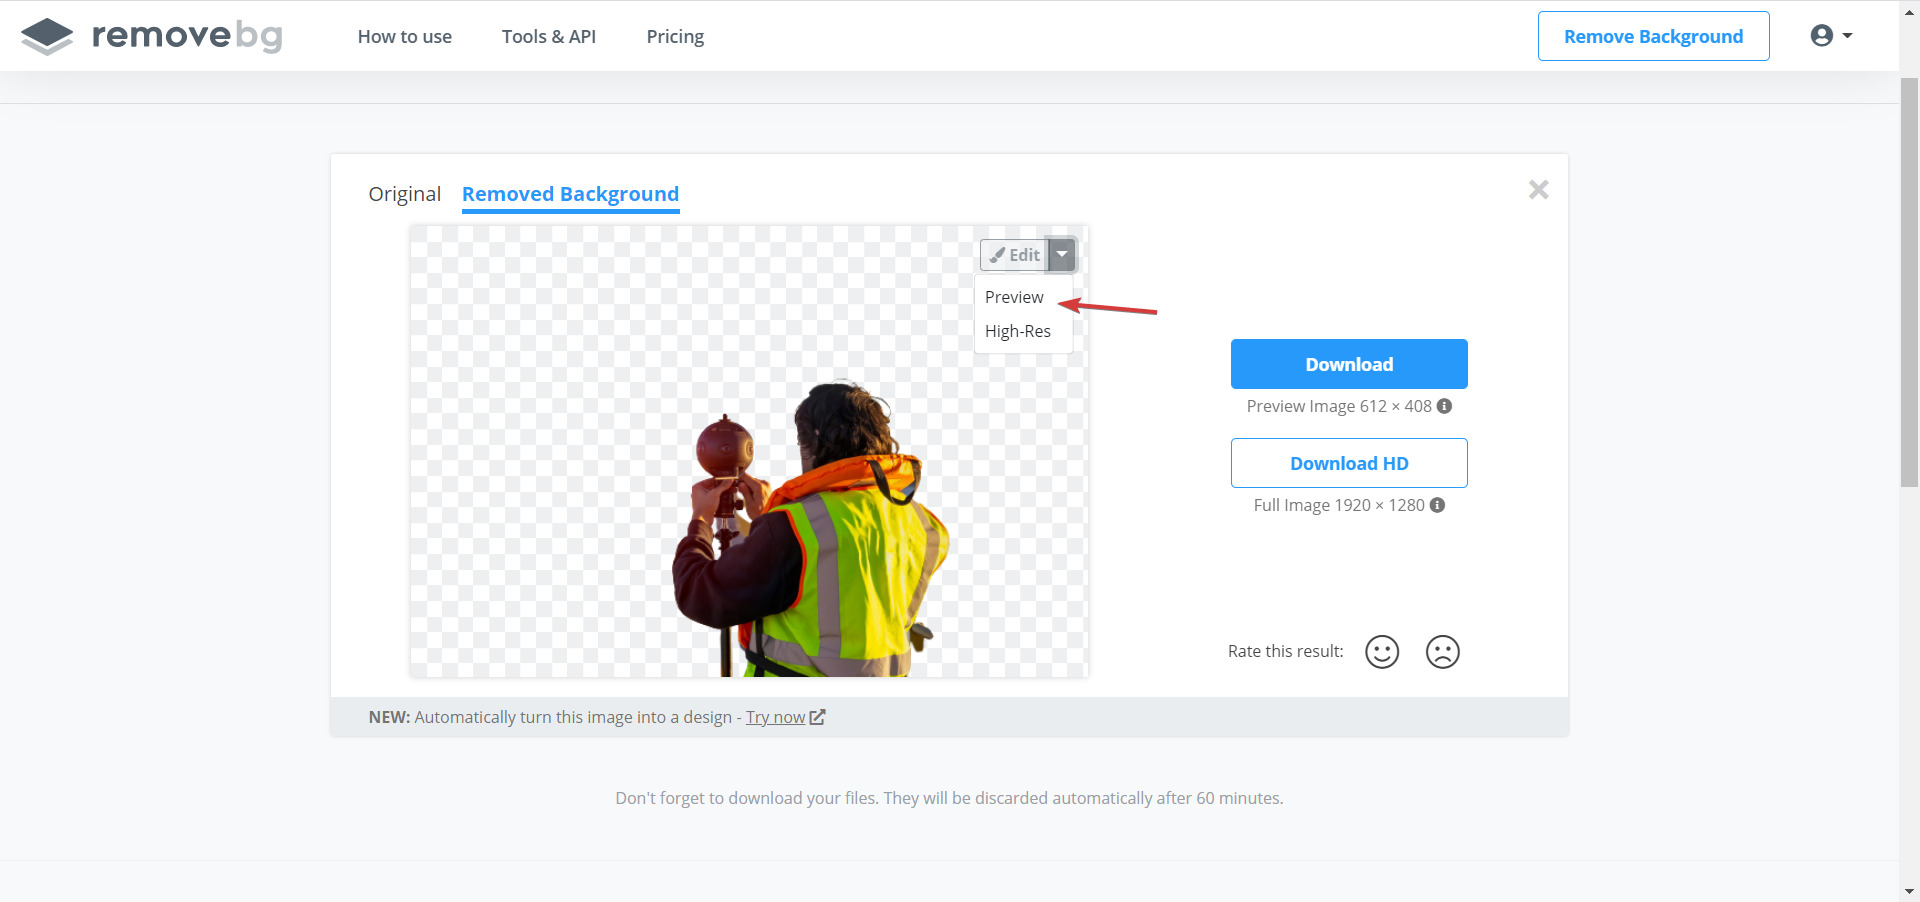
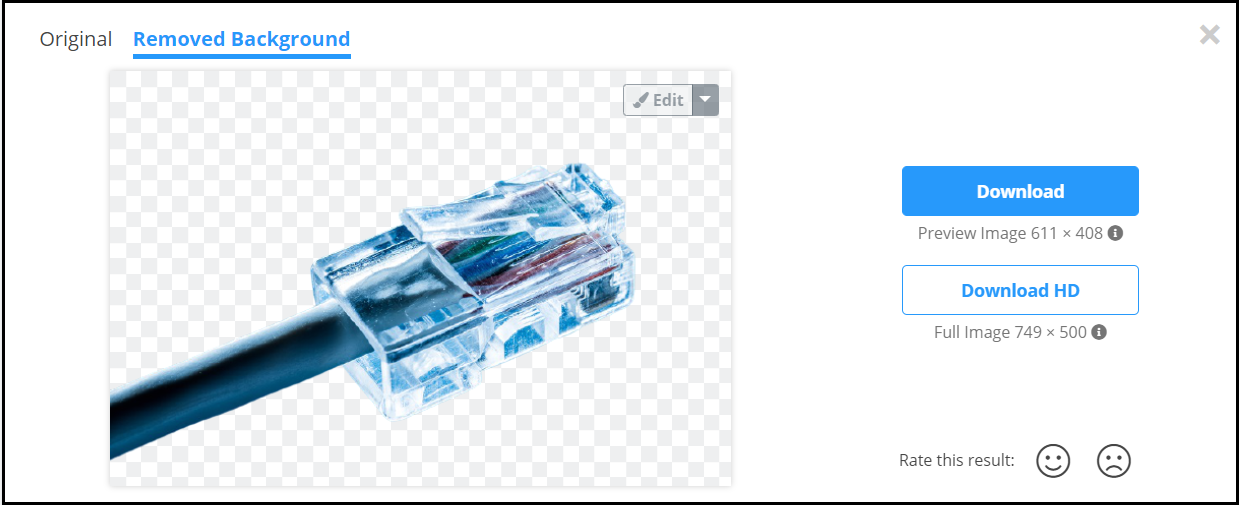
3. Use Remove BG online tool
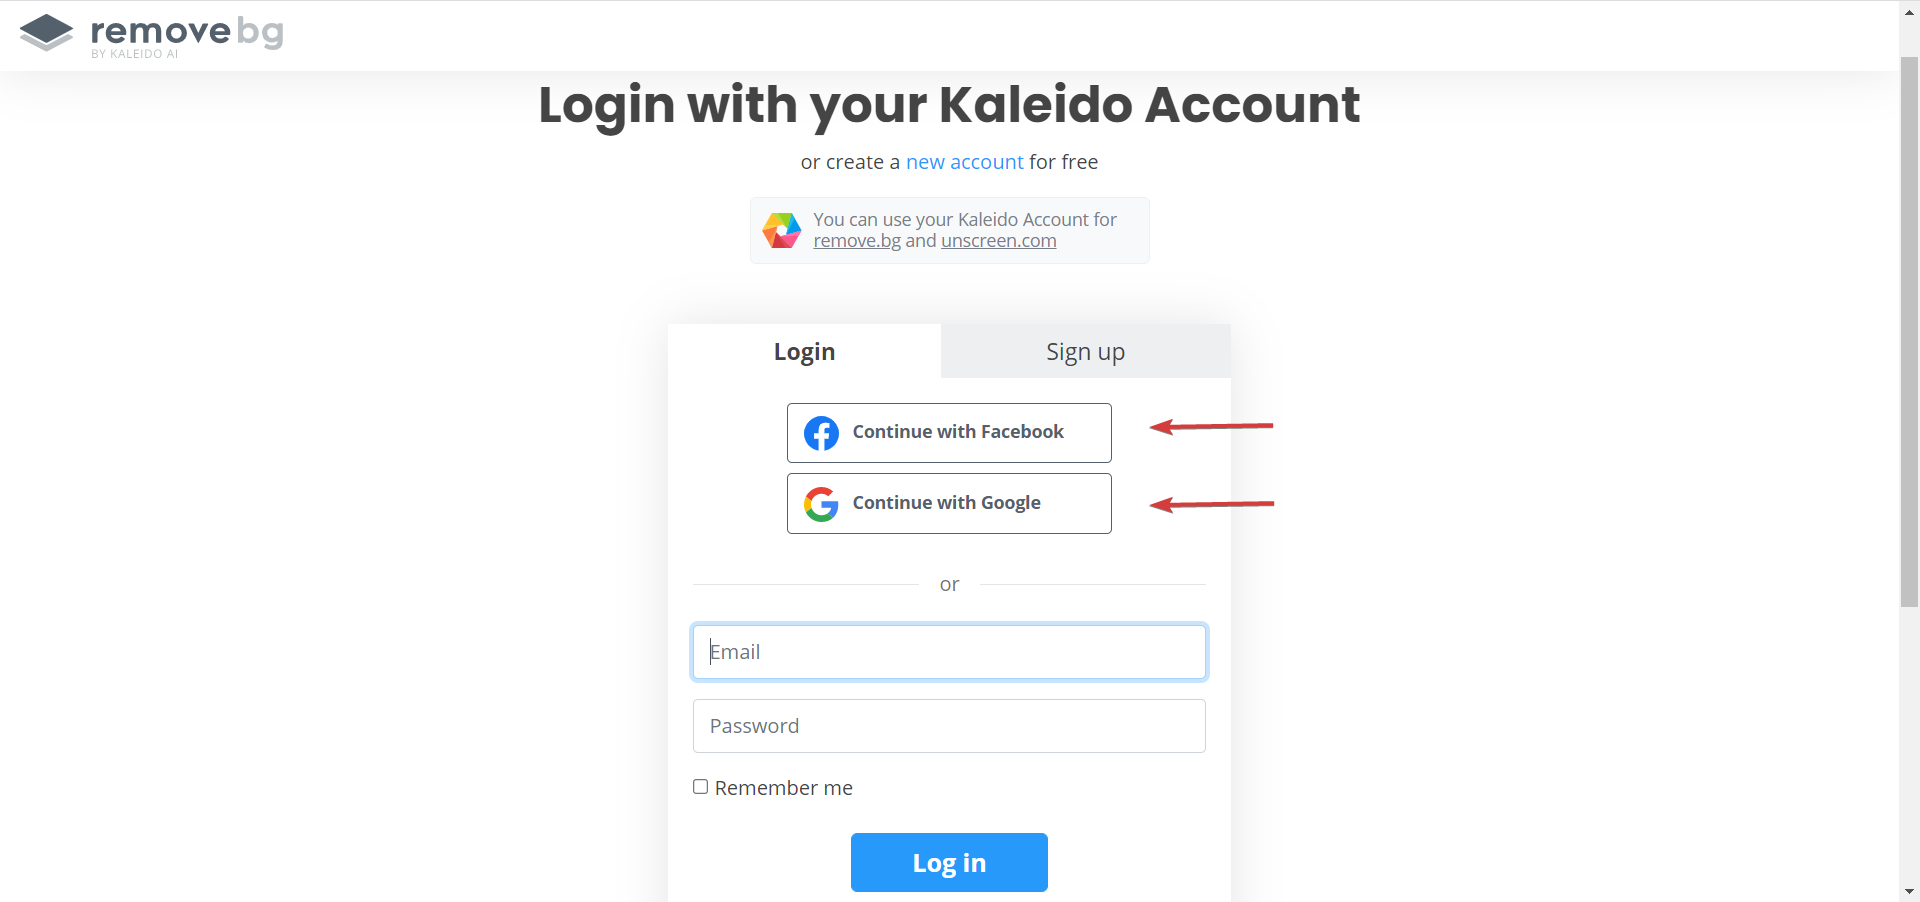
- Go to the Remove BG website and click on the Login / Sign up button from the top-right.
- Now you can either log in with a Kaleido account or create a new one or go with the easier way of logging in with your Facebook or Google account.
- Click on the Upload image button.
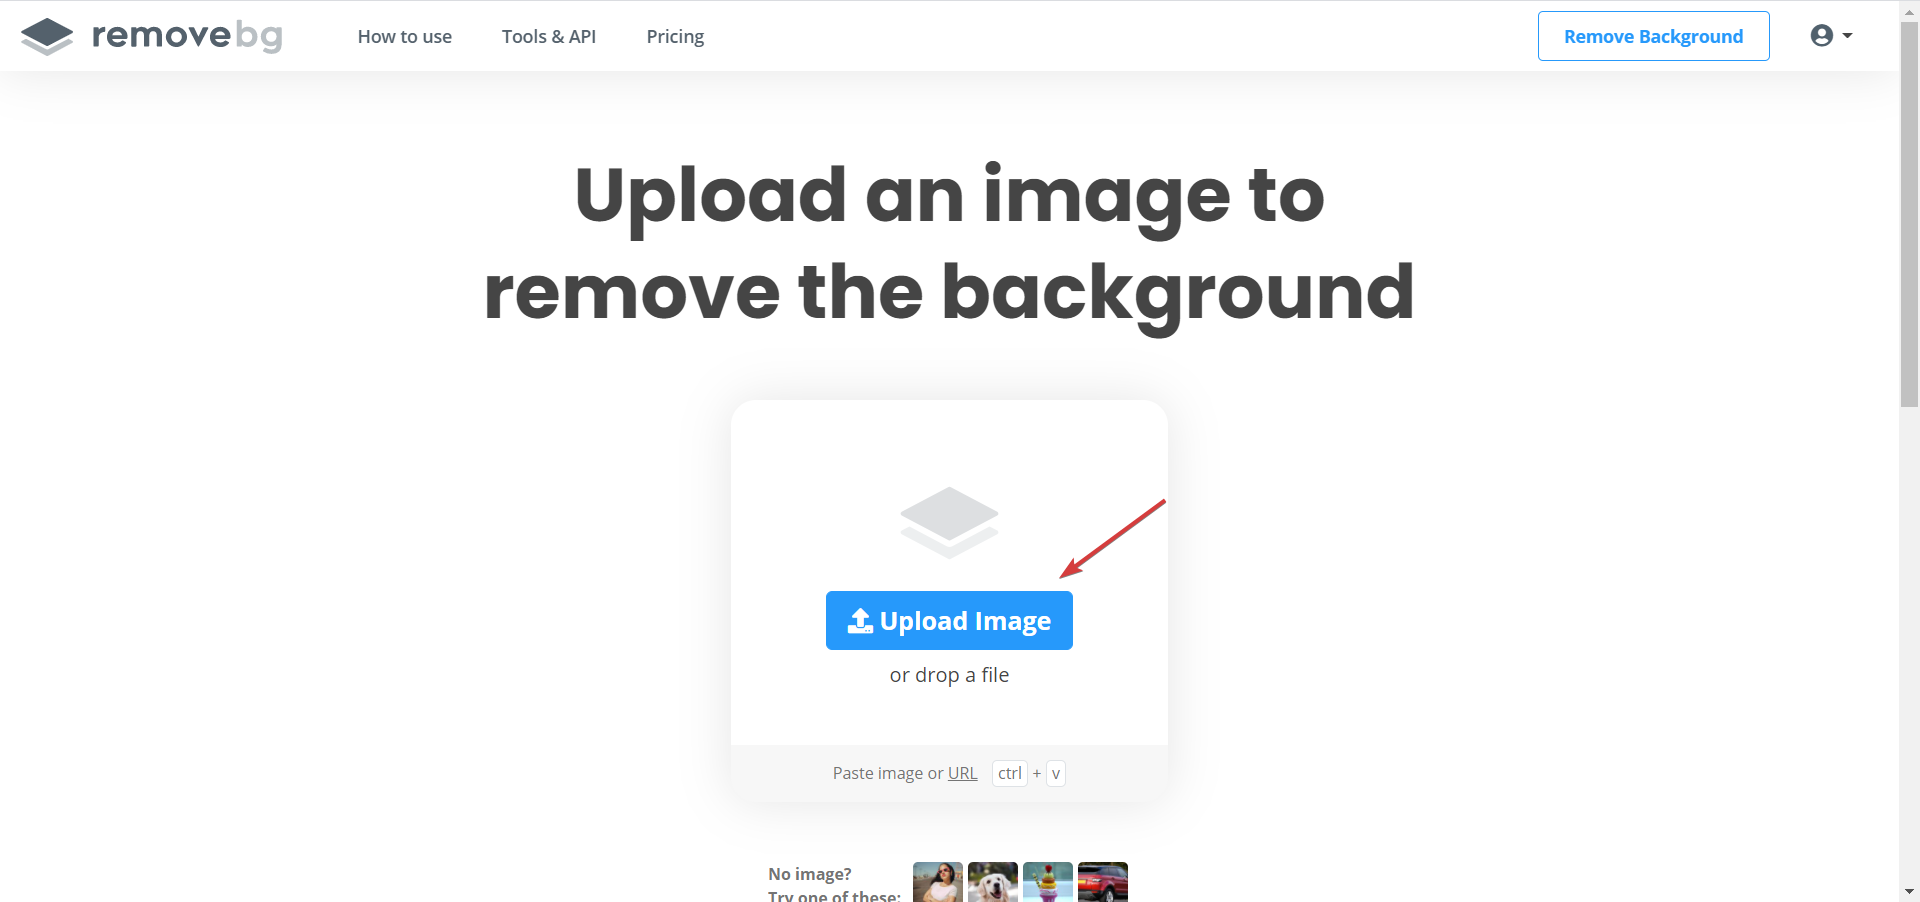
- Once you pick the photo from your hard drive, the image will be analized and the background will disappear like magic.
- Now you only need to download the result in a preview resolution or the original resolution, up to 25 megapixels.
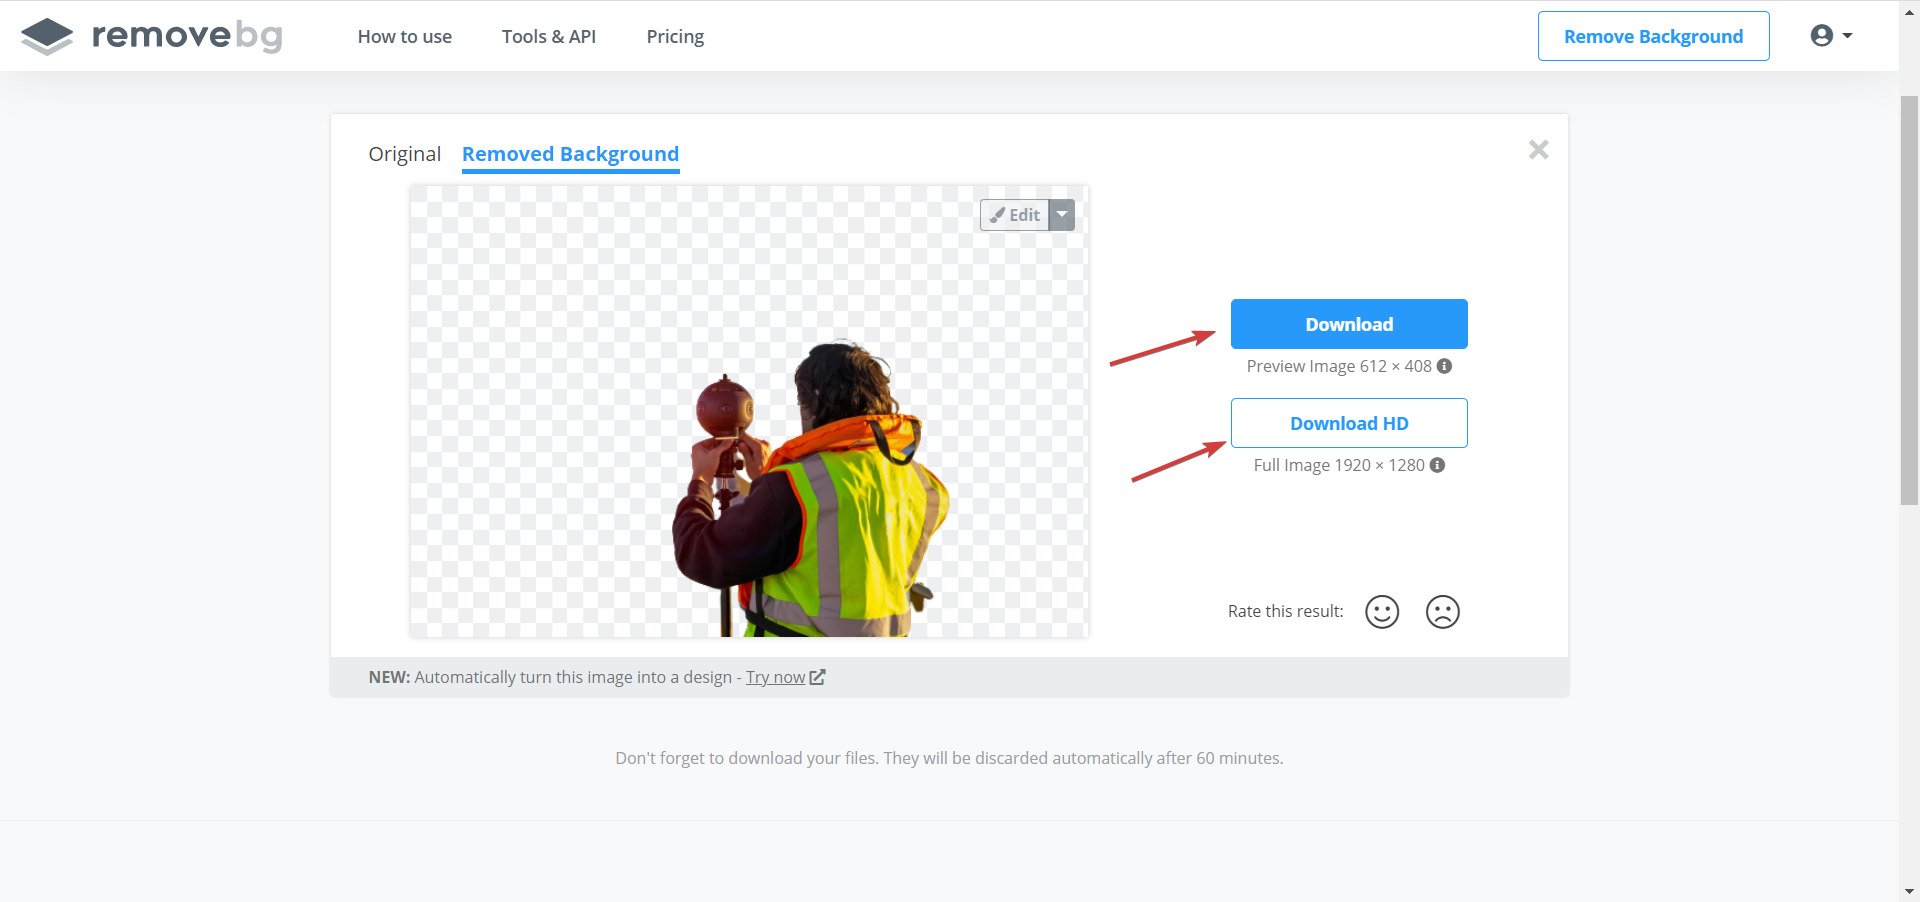
- You can also toggle to see the original image and see the transformation.

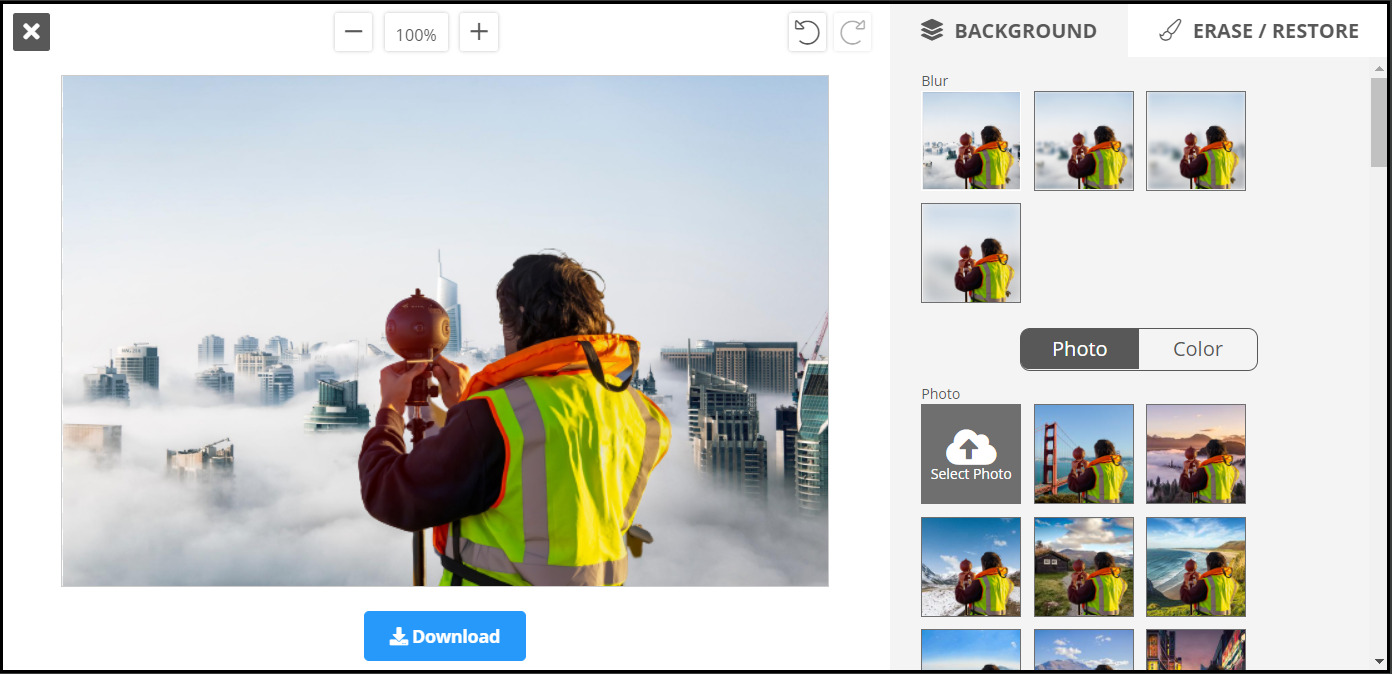
- There is also the option to edit the image by clicking the Edit button and selecting Preview.
- In the next window you will be able to apply a blur effect or change the background with a color or an image from the ones available in the library.
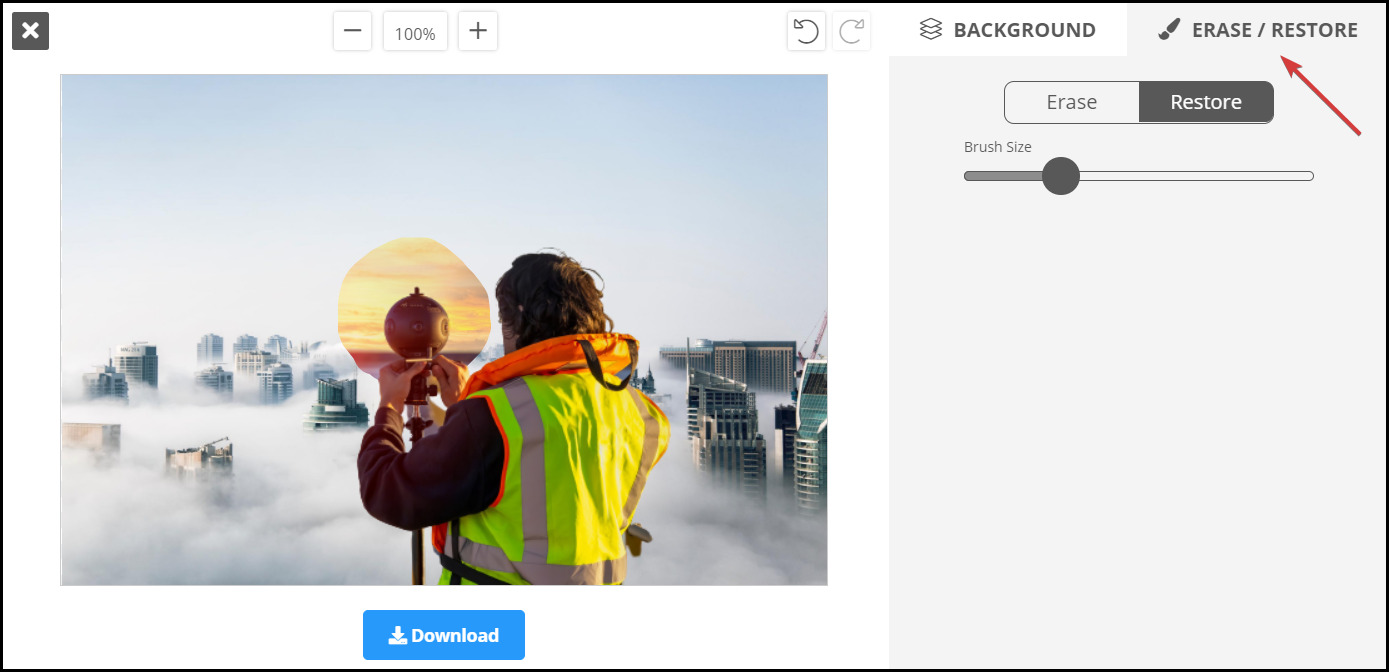
- If you click on the Erase / Restore tab, you will be able to erase the object or restore the background in a certain region by using a brush.
Remove BG is a quick and reliable tool for fast background removal. With a subscription, you can process up to 500 images per minute.
Each file removal costs one credit, with a free plan offering just one credit. Choose a monthly subscription or a pay-as-you-go credit pack based on your needs.
The app is user-friendly but offers basic editing tools.
Key features:
- Smart AI for automatic background removal
- Bulk processing with subscription
- Paste image or URL option
- Blur effect
- Fast results
4. Use Clipping Magic in your browser
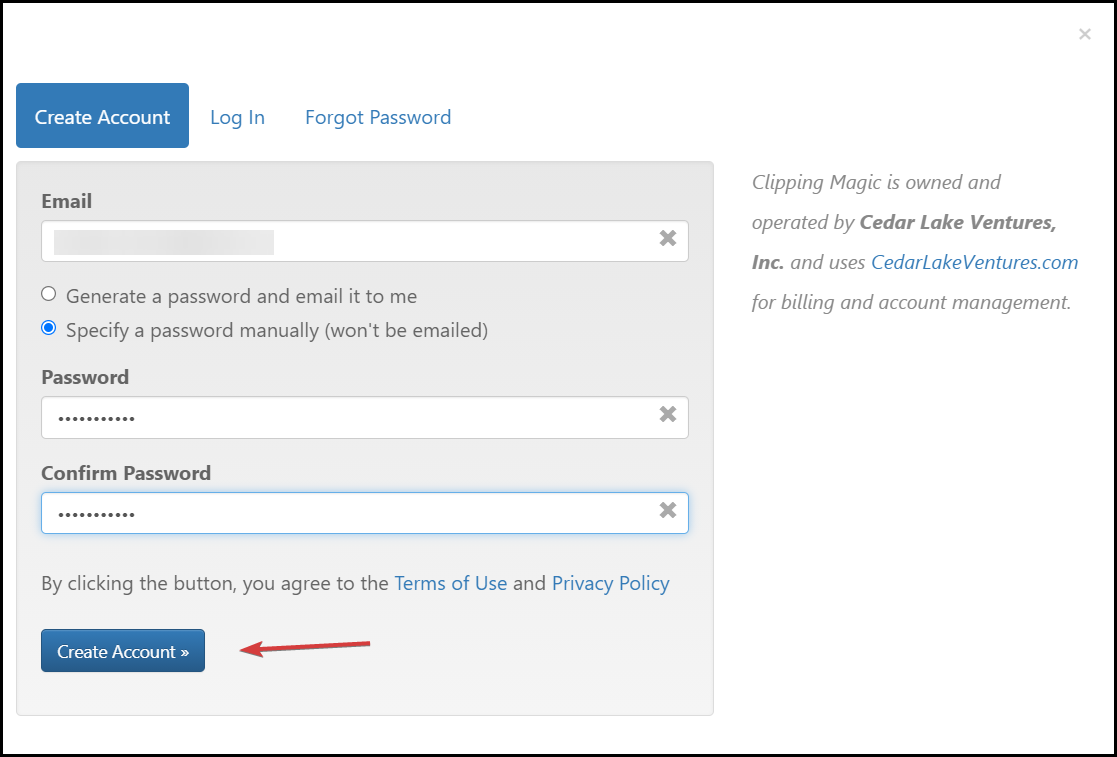
- Go to the Clipping Magic website in your browser and click on Create account.
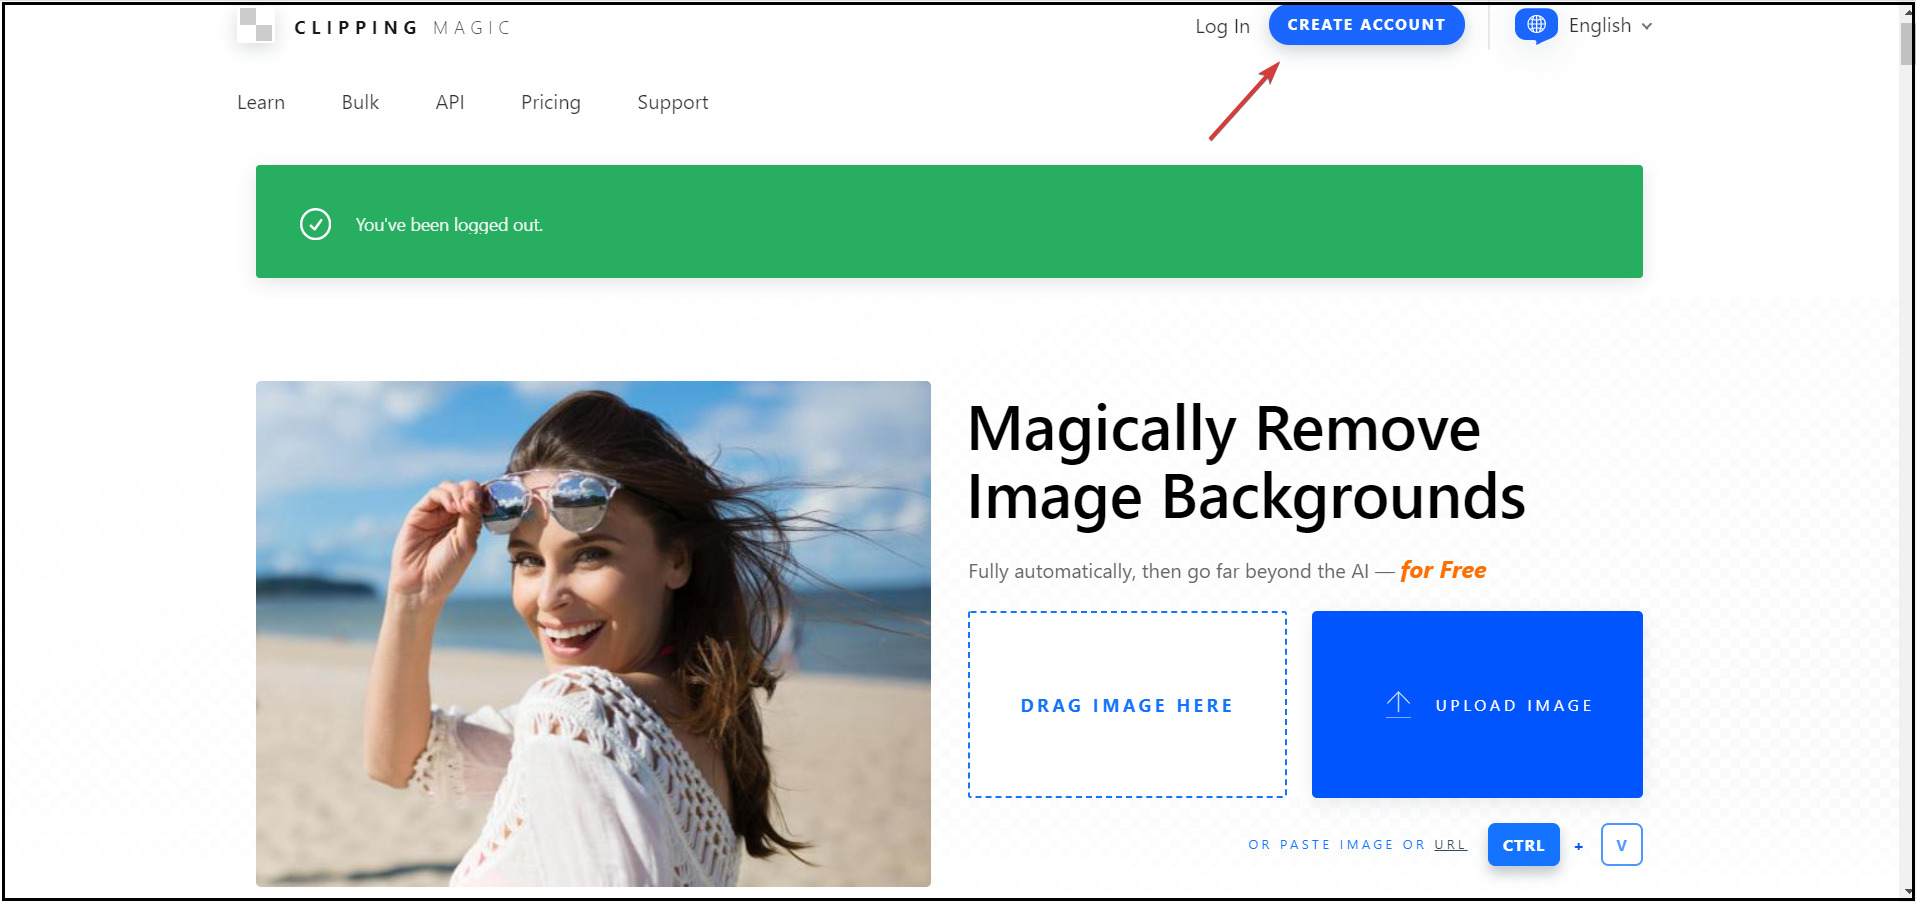
- You will be asked to provide an e-mail address and a password. Click on Create account after you complete.
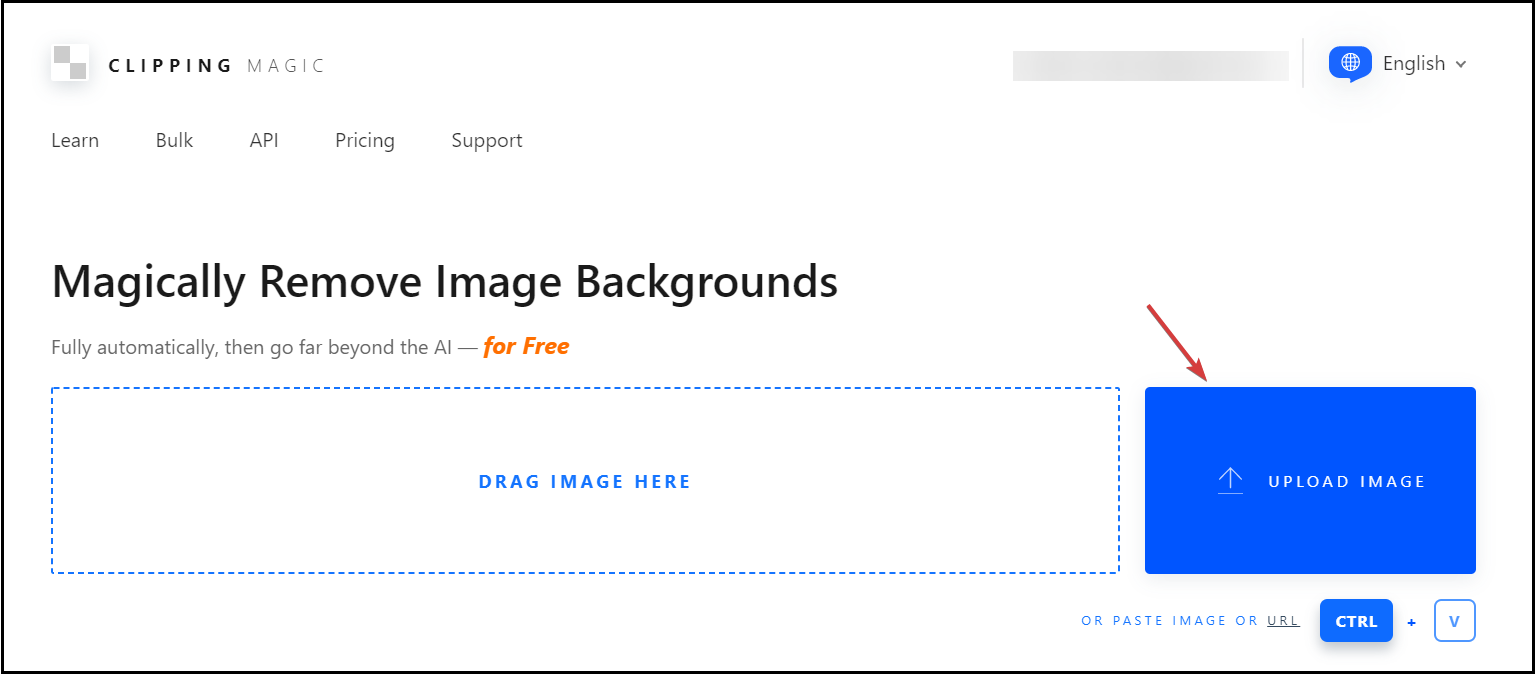
- Press the Pick Image to Upload button to select a picture to edit or just drag-and-drop it into the designated area on the left.
- After processing the image, you will get the original photo on the left and the one with the background removed on the right. You only need to click the Dowload button to get your file.
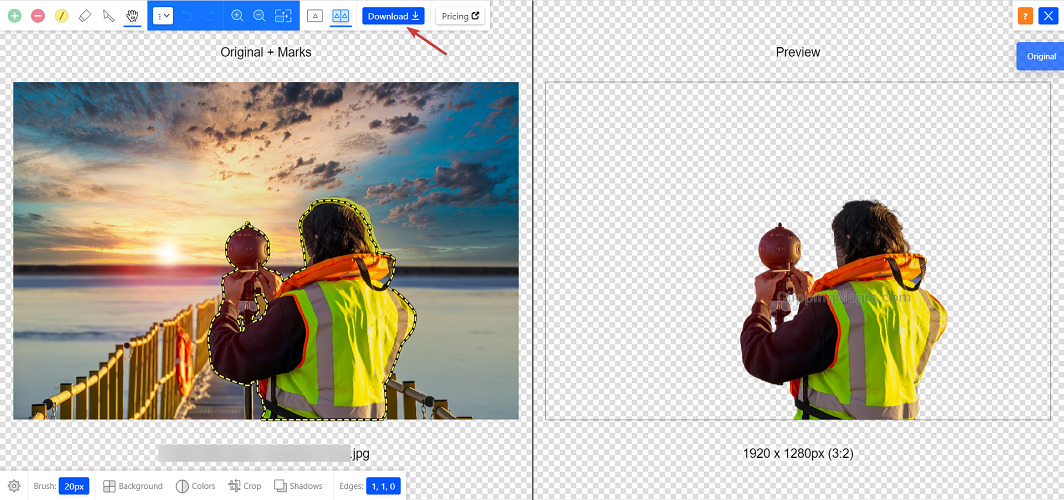
- Before downloading the result, you can also use a couple of editing tools in the top left corner of the screen. The plus and minus icons are for keeping and removing portions of the image by using a brush. There is also an eraser that can clear the markings and a cutting tool that is also dividing the markings like a knife.
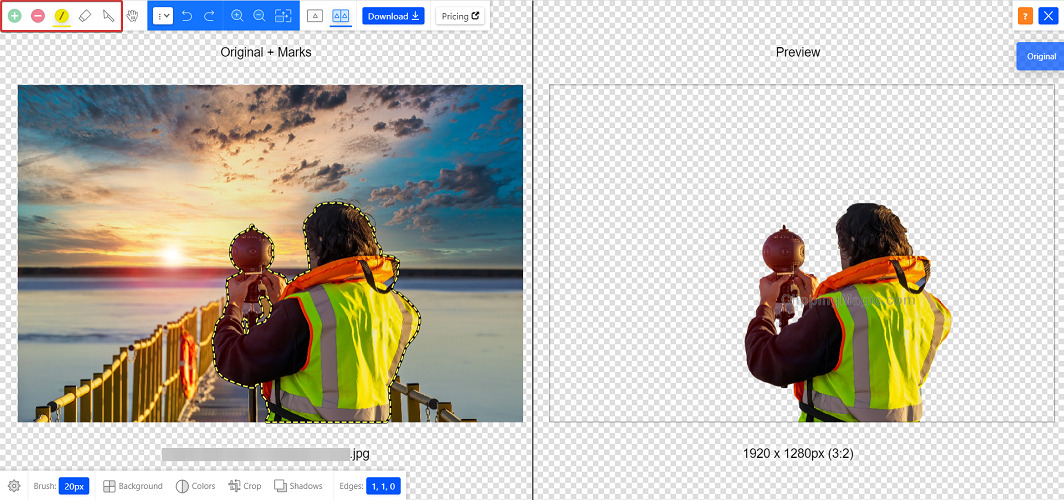
- To their right, you also have the Undo or Redo buttons and the zoom buttons that will help you handle the image properly.
- After you click the Download button, you will be taken to the download page but you will also learn that you can only get a preview version and you need a subscription to download the high resolution version.
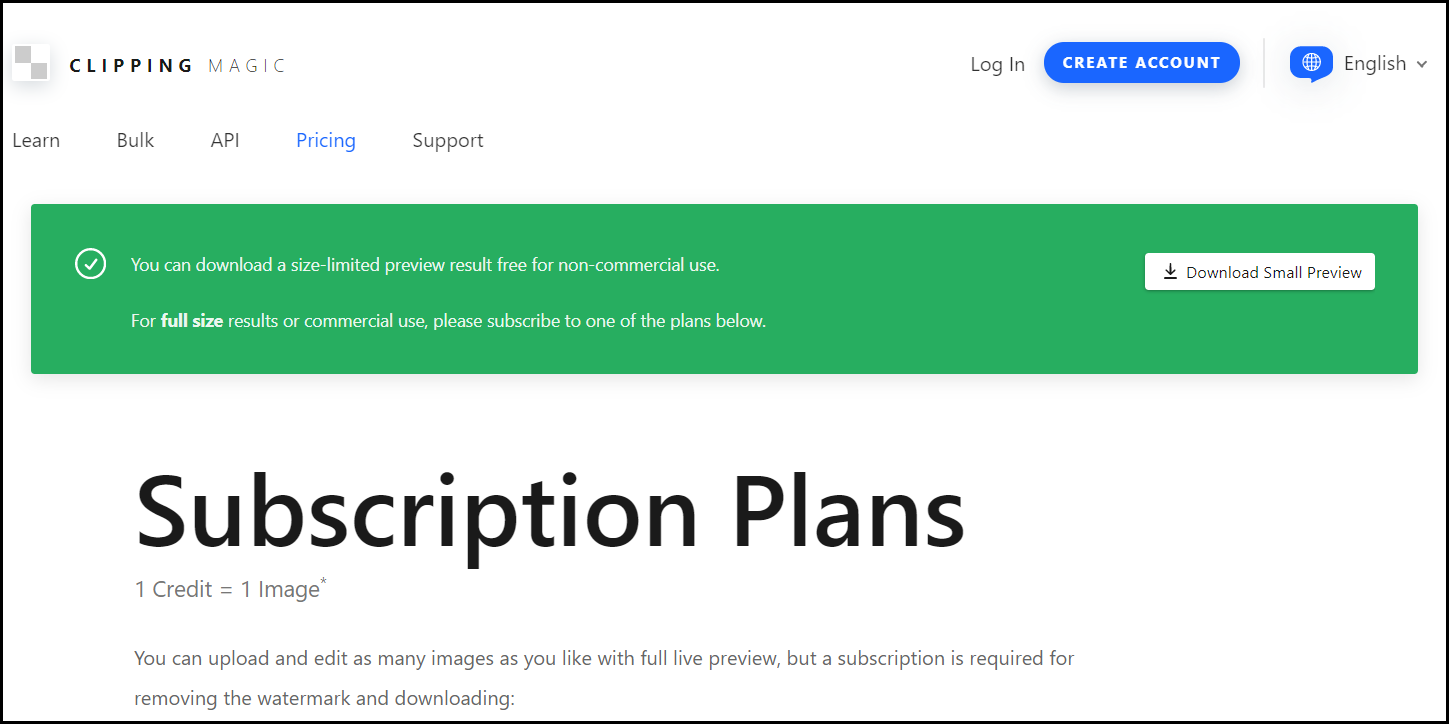
Clipping Magic is another web app for removing image backgrounds. However, you can’t save edited images to your hard drive without a monthly subscription.
Its interface is a little bit more rudimentary than the one from Remove BG but it does have a side-by-side viewing option.
However, Clipping Magic doesn’t have the option of adding another background right from the web app, a thing that we consider to be a downside.
Some key features include:
- Auto-Clip AI
- Hair tools
- Keep and Remove features
- Paste image or URL option
- Intuitive interface
5. Use Canva
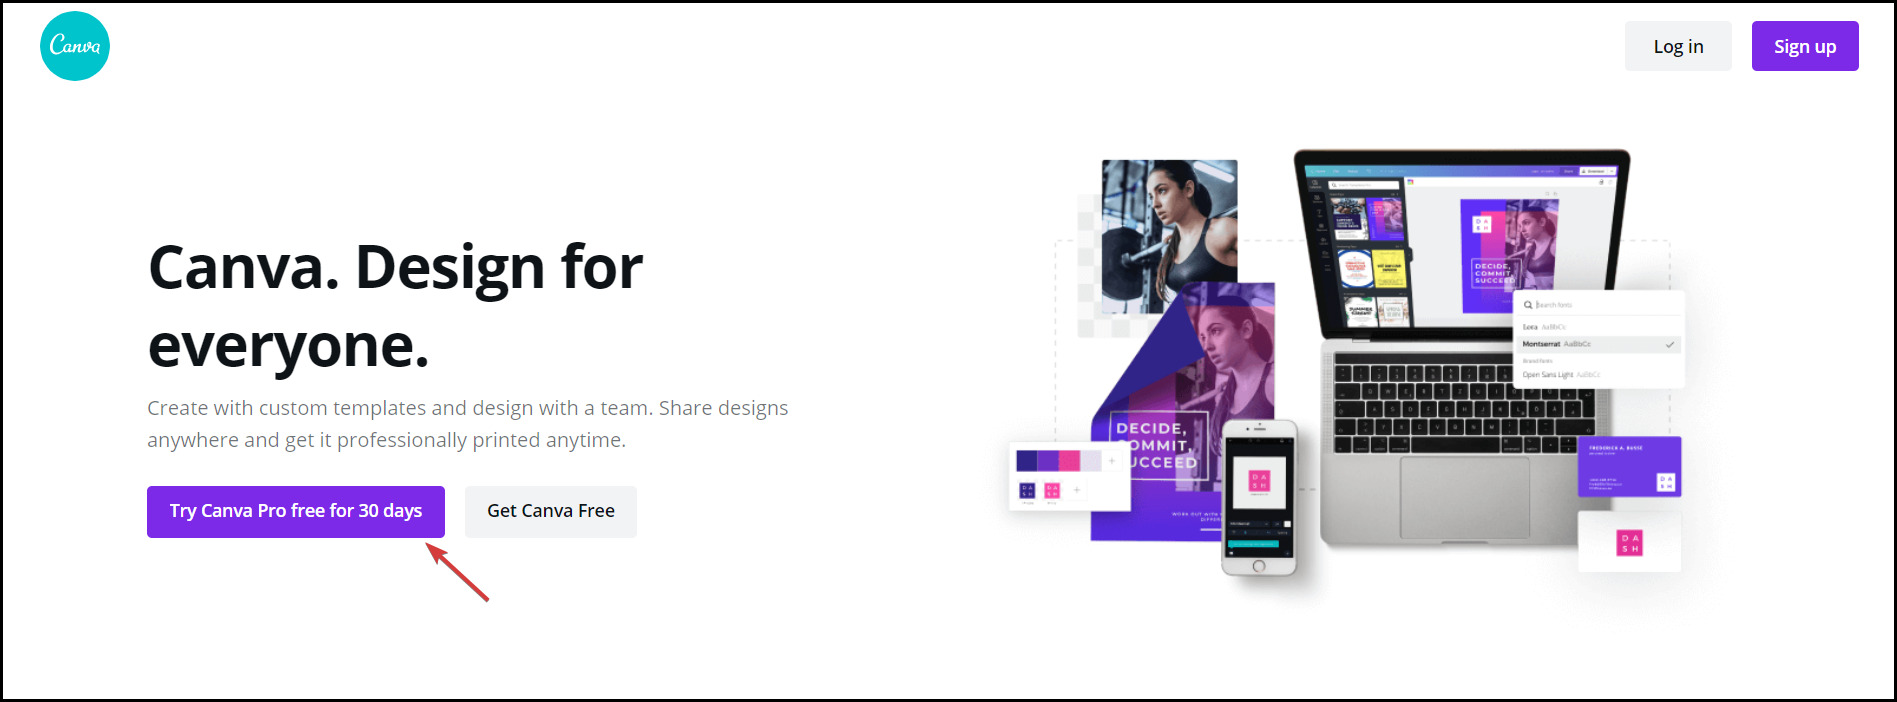
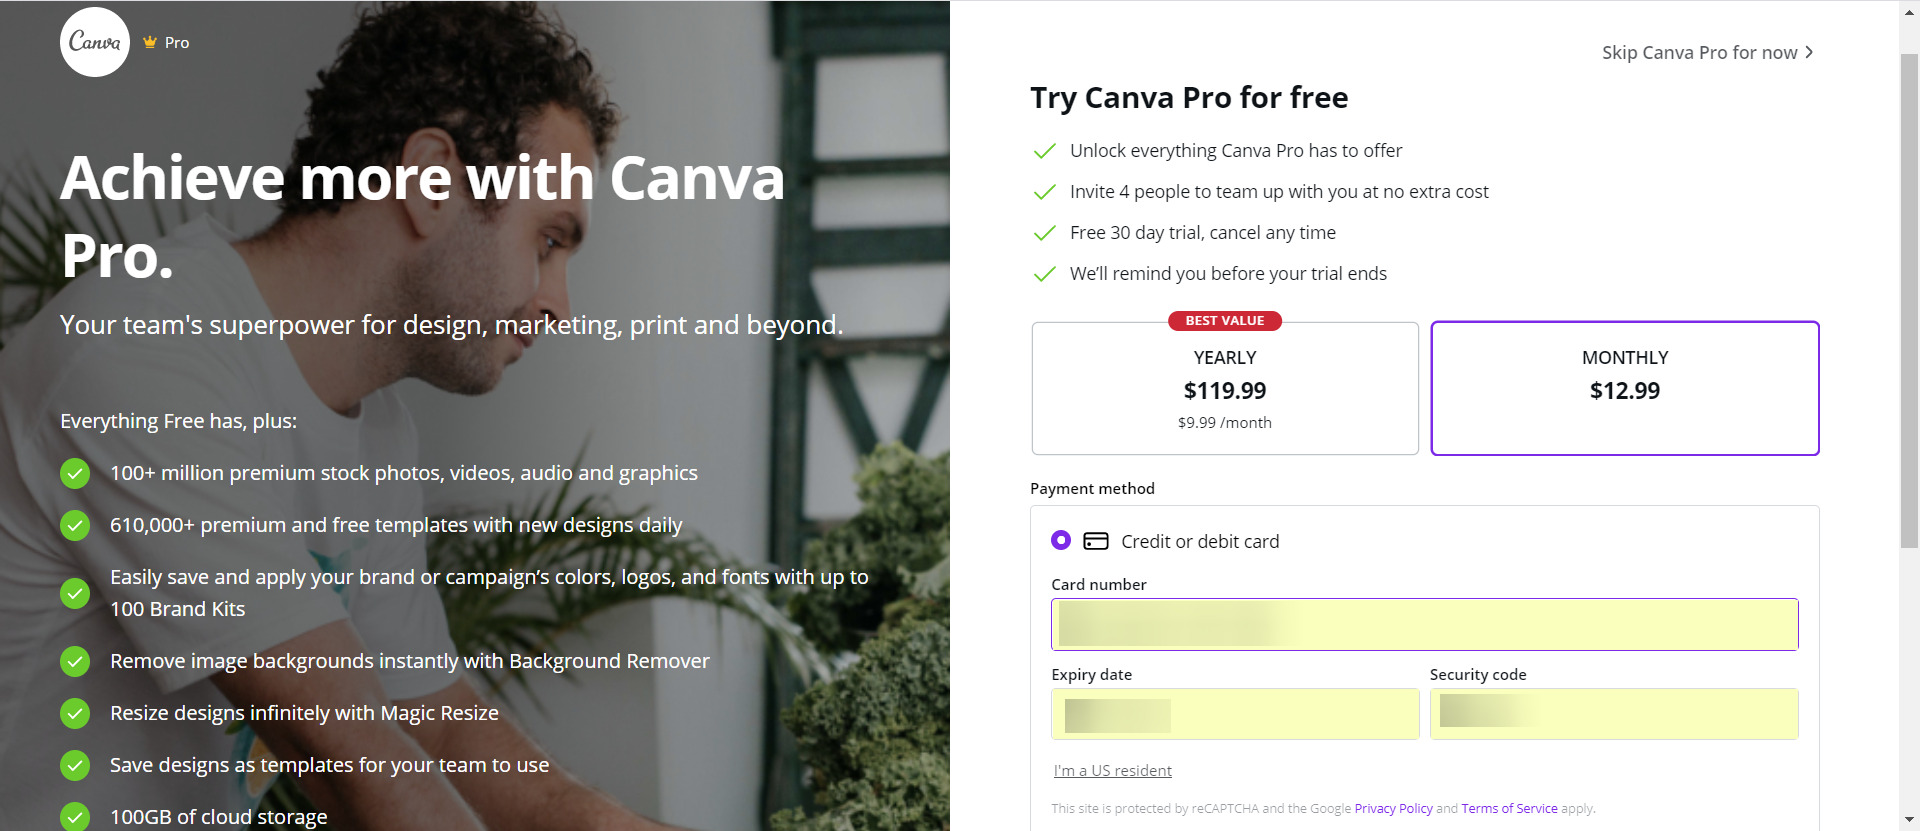
- Go to Canva’s website and click on the Try Canva Pro Free for 30 days button.
- You will be taken to the payment form where you need to complete your data and click on the Get your free trial button at the bottom. No money will be withdrawn from your account.
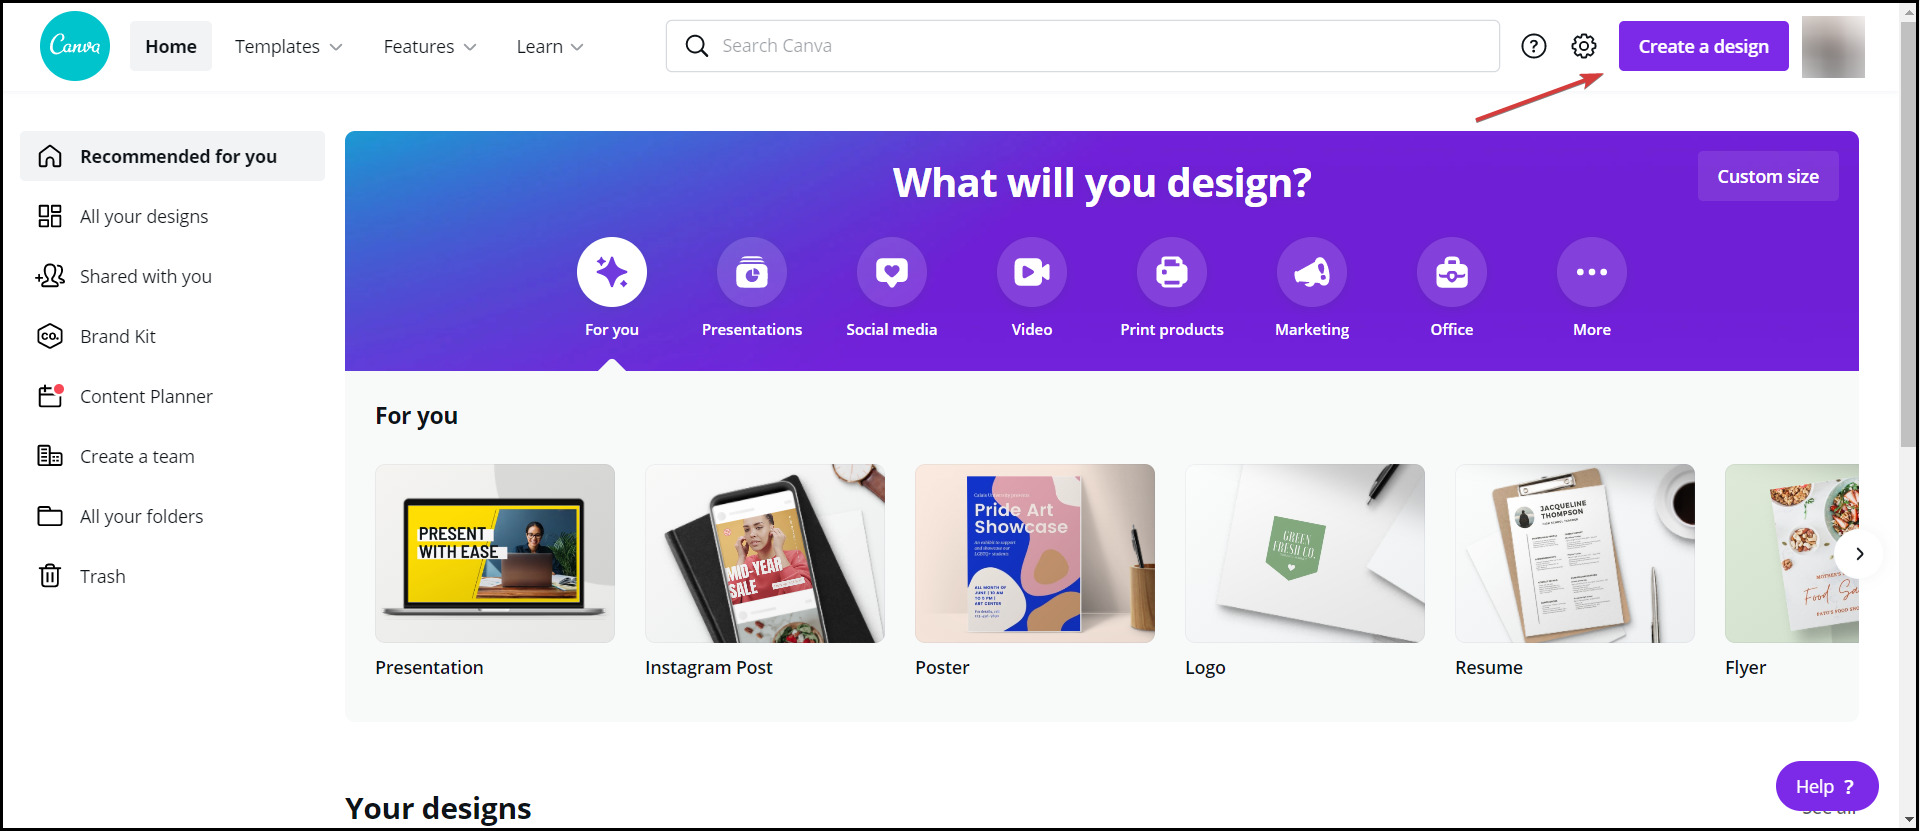
- Click on the Create a design button from the top-right.
- From the drop-down menu, select Edit photo.
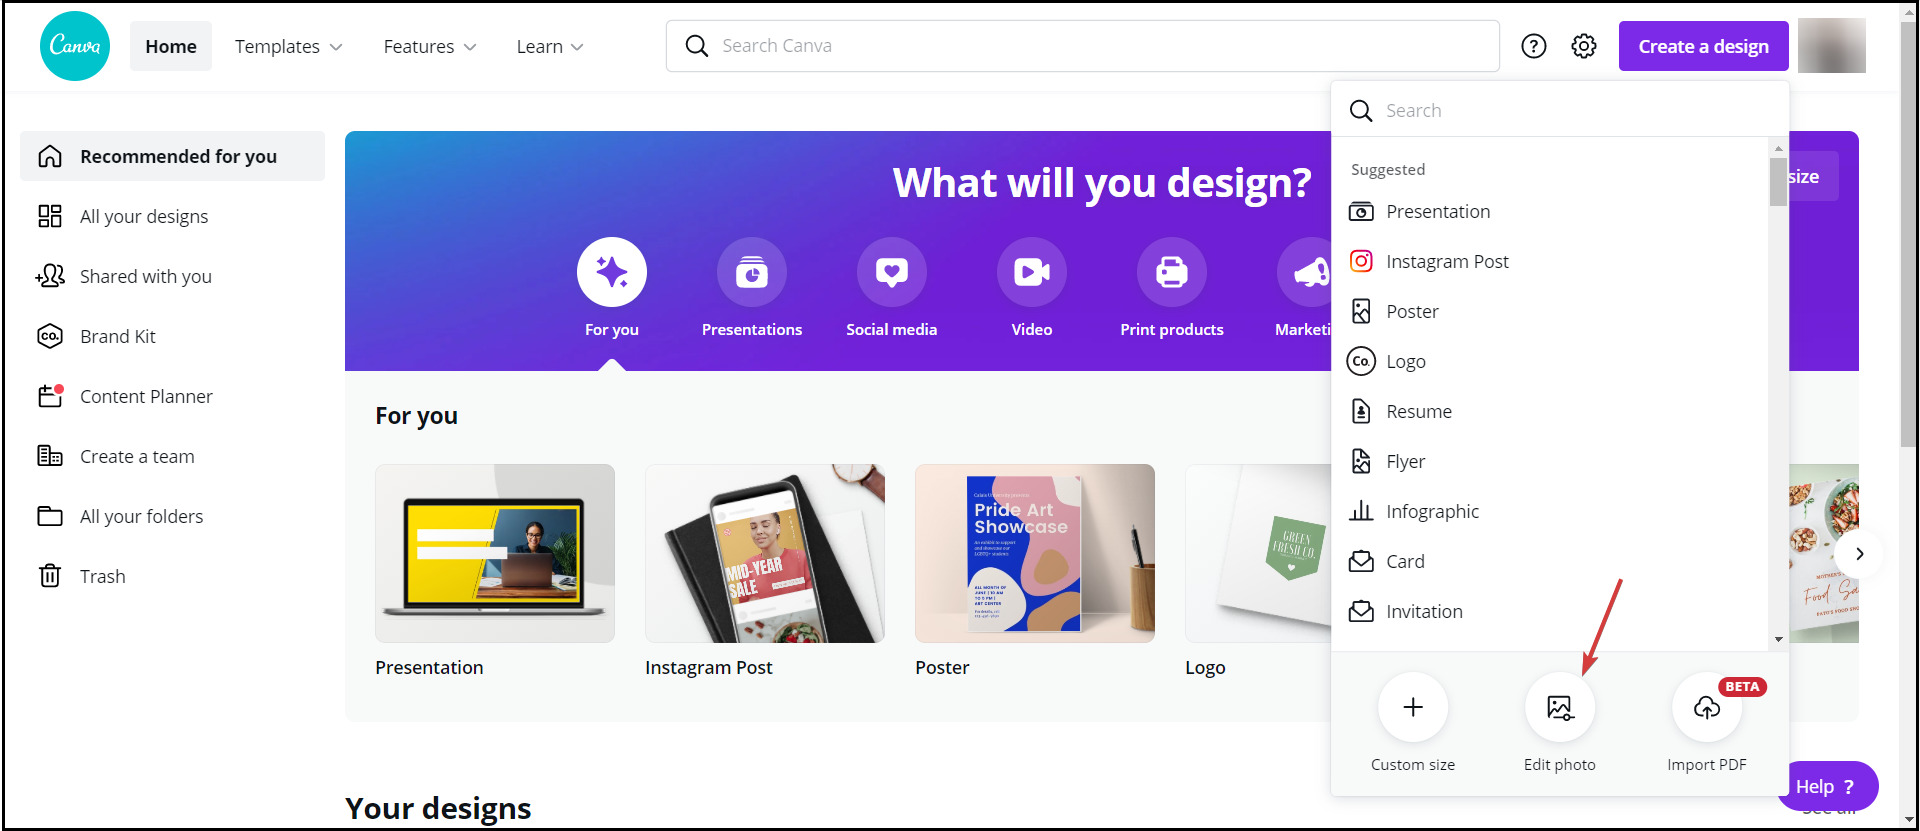
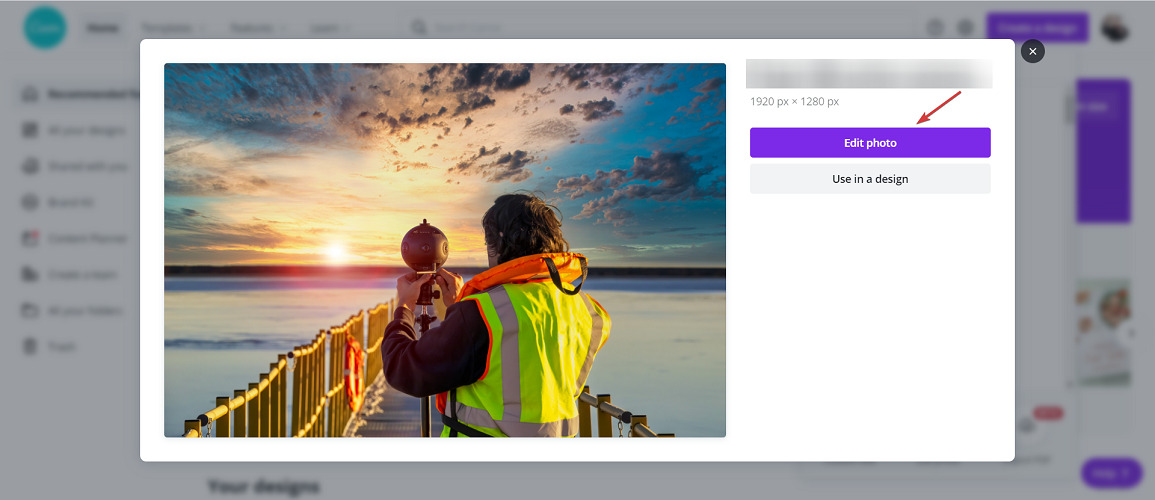
- Select the photo from your drive and click the Open button.
- Select the Edit photo button.
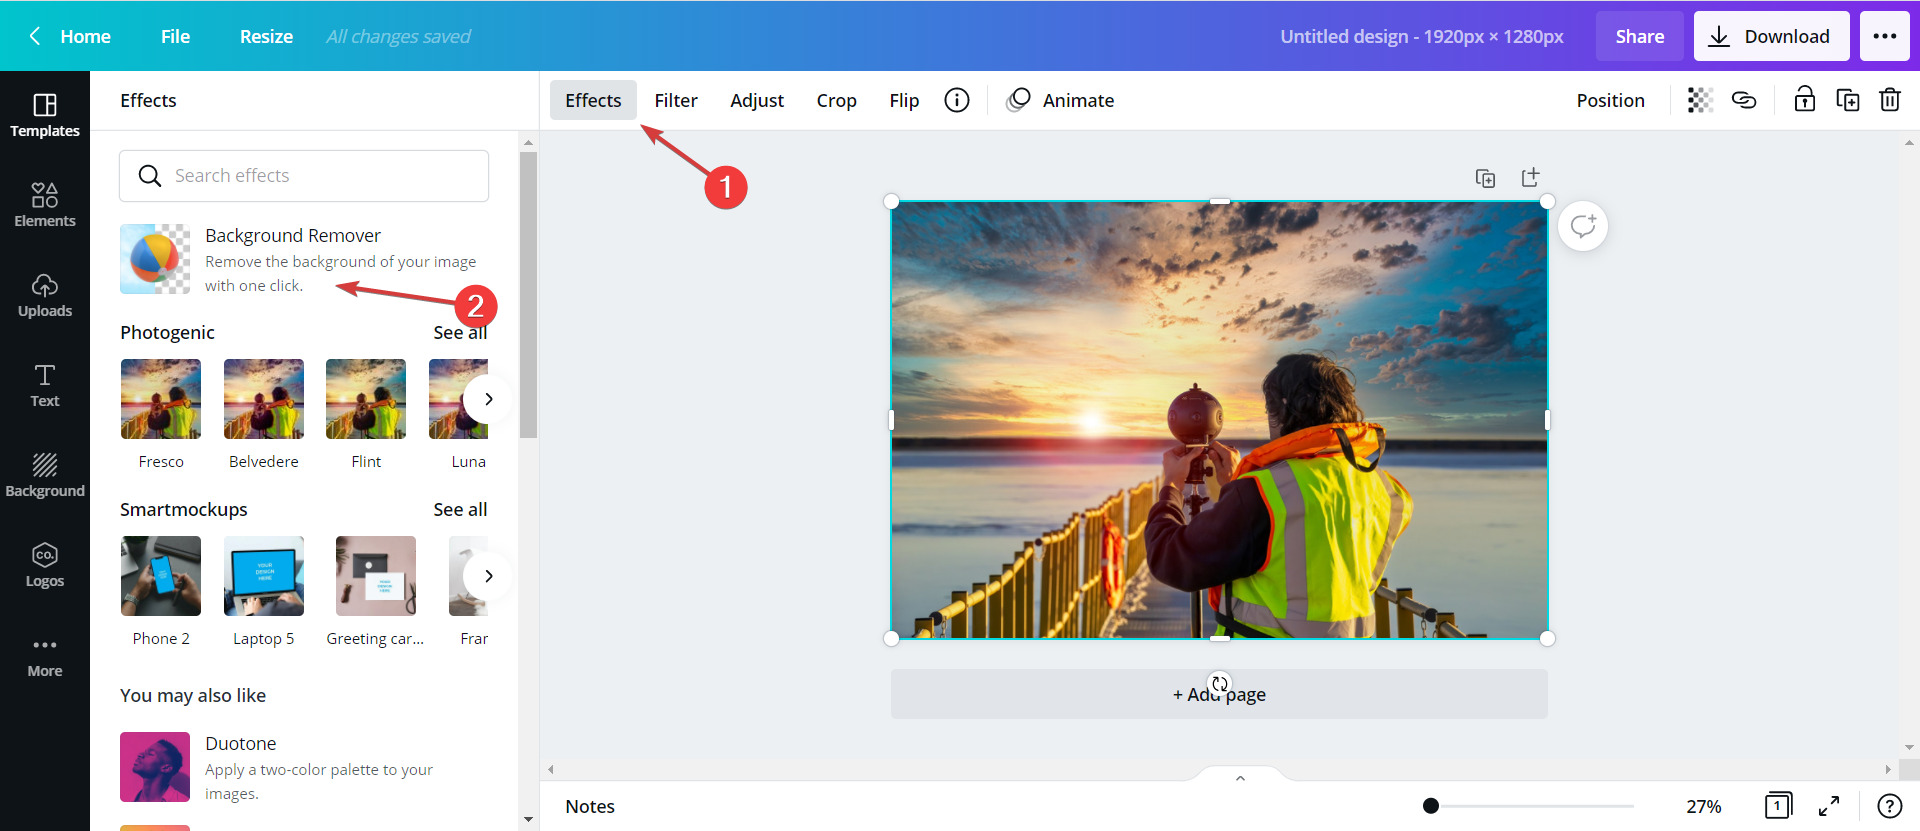
- Now you only need to click on the Effects tab on the top left and select the Background Remover tool from the left pane.
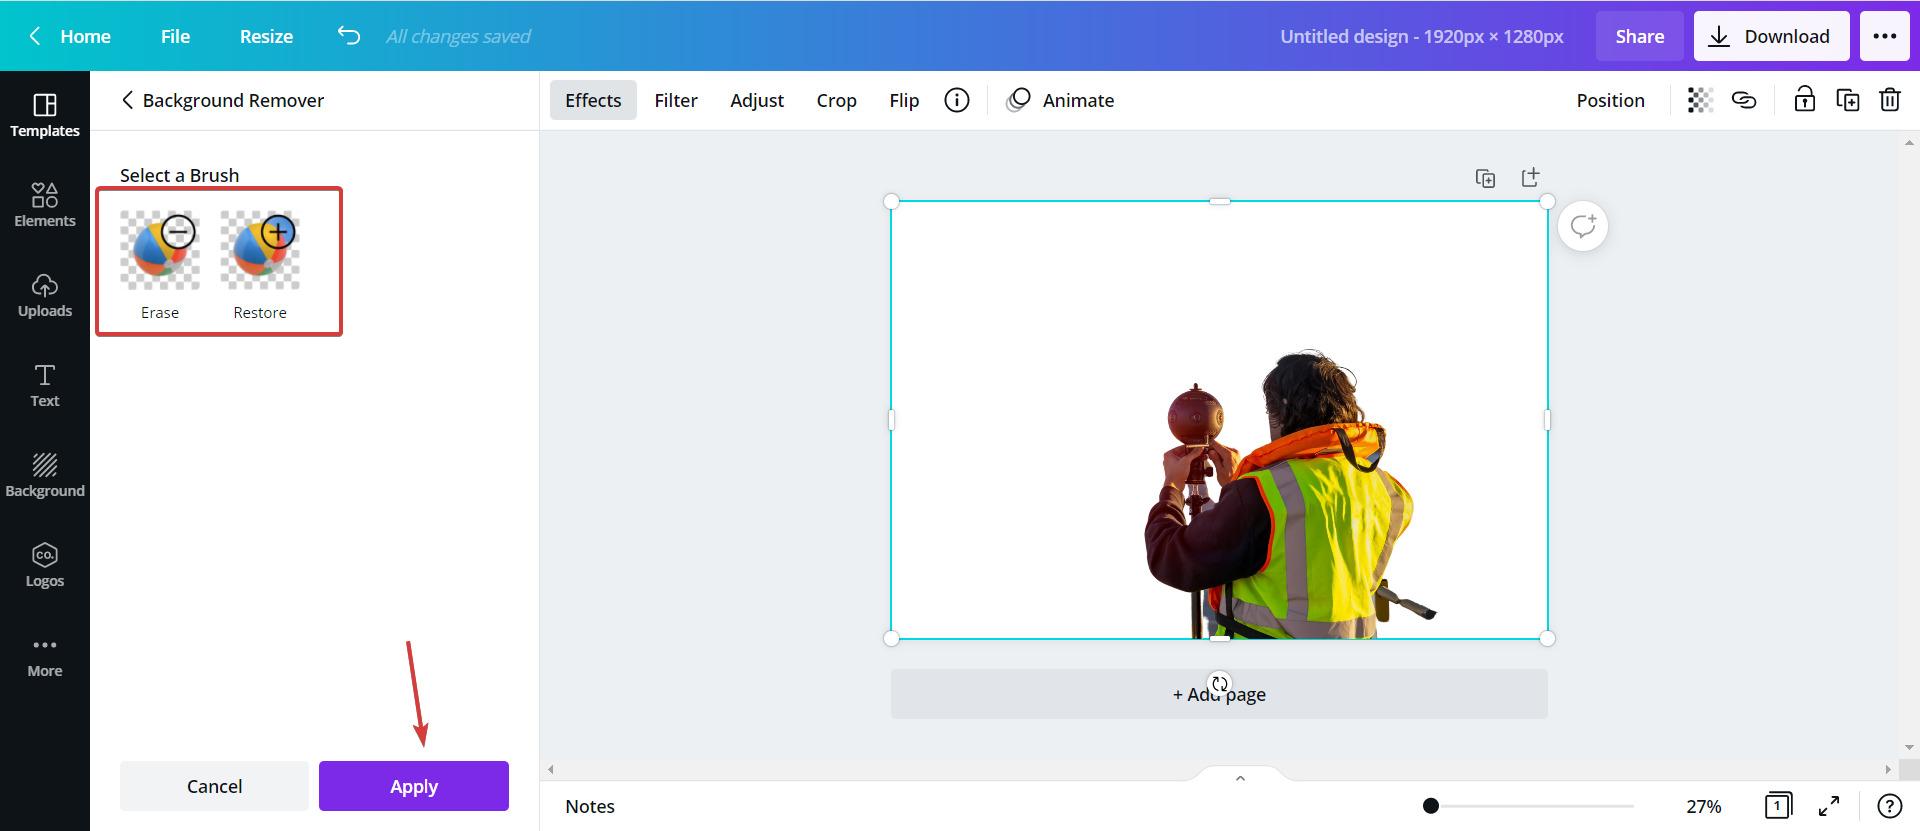
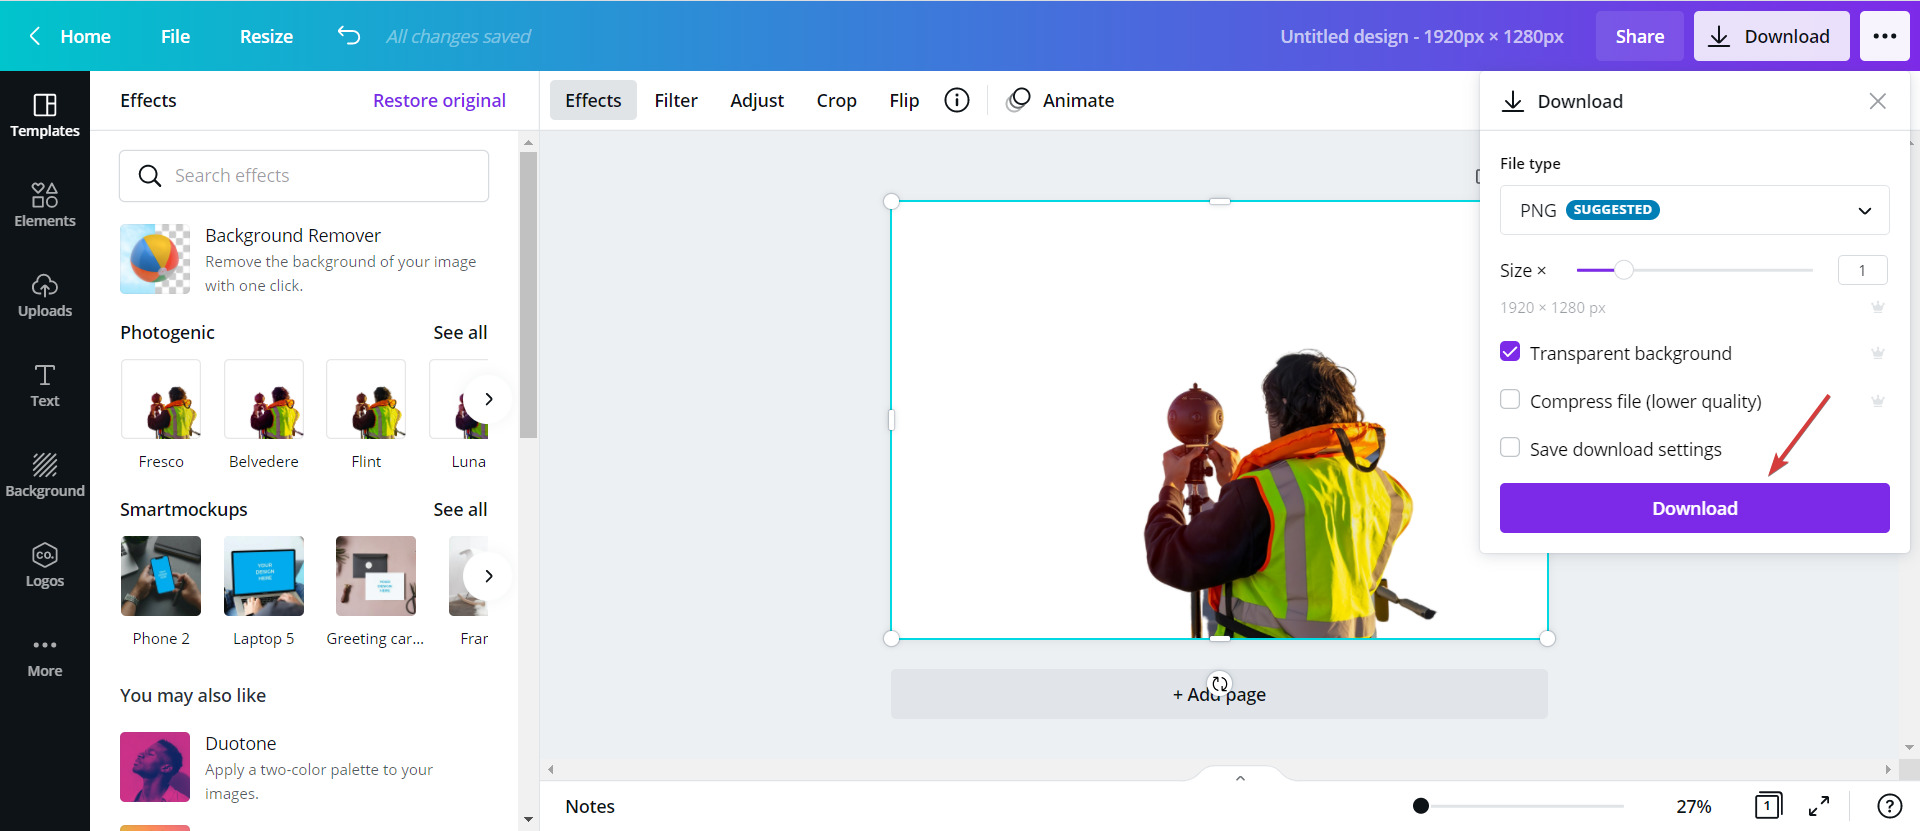
- As you can see from our screenshot, the backgroung magically disappeared. You now have the options to erase and restore tools from the top left and once you make the final adjustments, you can click the Apply button from bottom-left.
- Click the Download button from the top right corner of the screen, select the output format (PNG, JPG, PDF, SVG) and check below if you want to keep the transparent background, if you want to compress the file or save this download settings to use in the future.
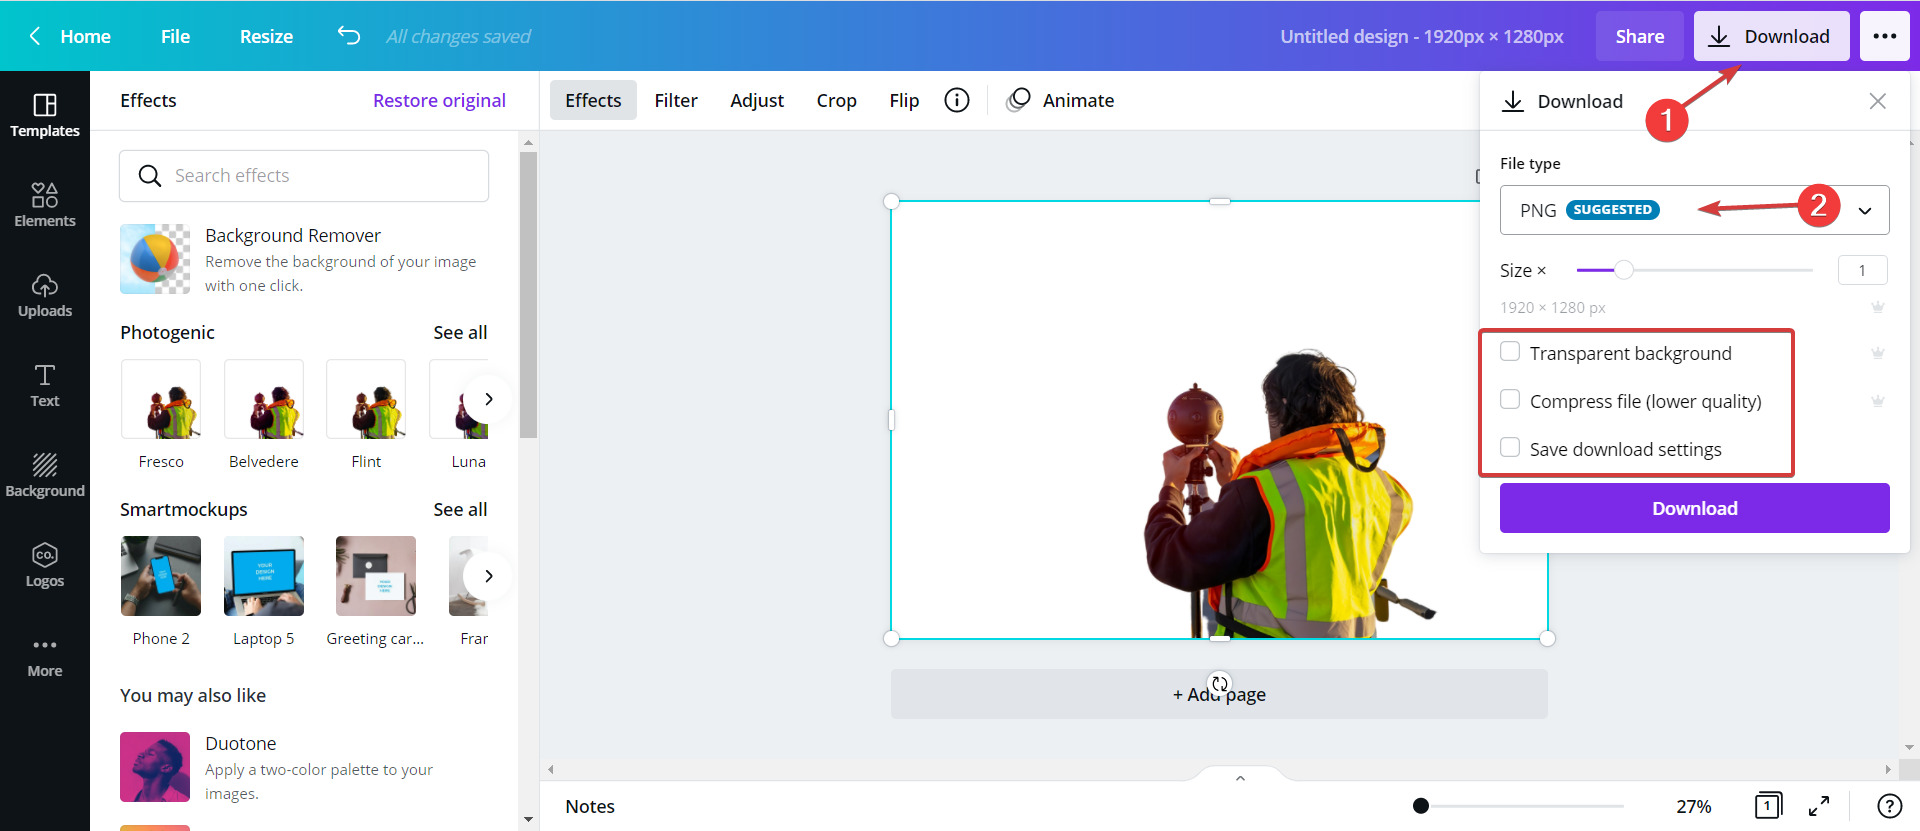
- Finally, hit the Download button below and select a target folder on your drive.
Canva is a popular online design tool favored by social media and marketing professionals for its ease of use and intuitive drag-and-drop functionality.
You can start from scratch or use a wide range of templates for everything from infographics to social media posts.
While Canva doesn’t support .indd files directly, you can convert them to PDF for editing. Both a free and a premium version are available, with background removal included only in the paid plan, though a 30-day trial is offered.
Key features:
- Text animations
- Team collaboration
- Wide range of photo effects and filters
- Thousands of icons and design elements
- Pre-made templates
- Photo straightener
Use Clipping Magic (for bulk files)
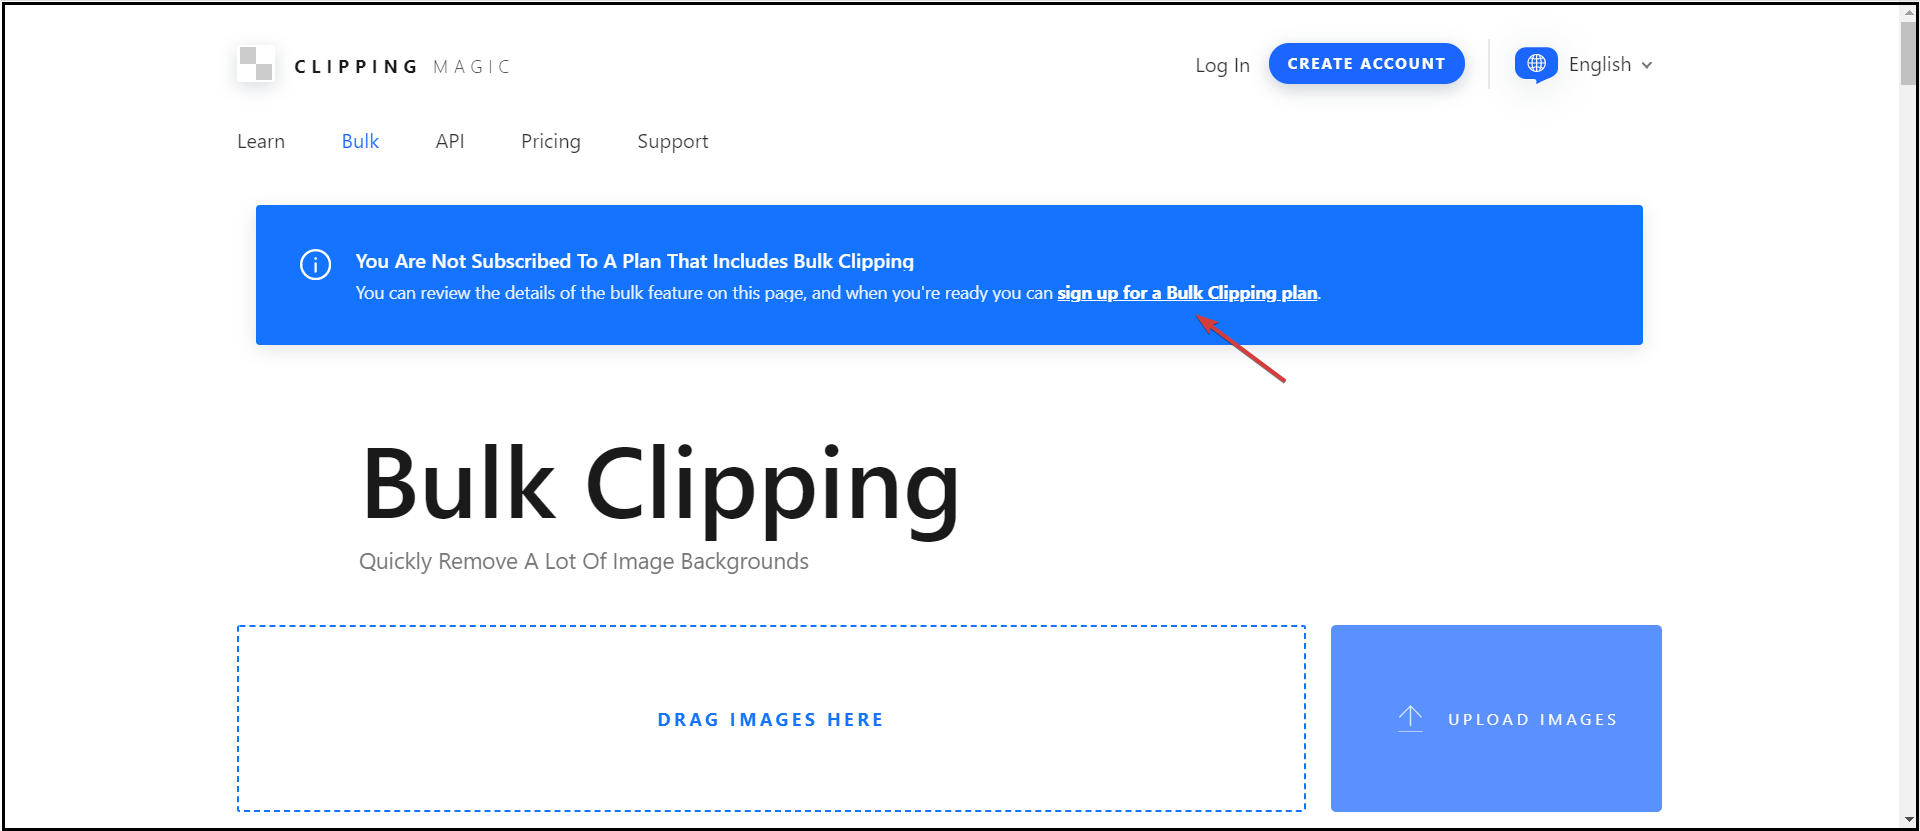
- Go to the Clipping Magic dedicated bulk removal website and click on sign up for a Bulk Clipping plan. You will need a paid subscription in order to perform a bulk action in removing backgrounds from photos.
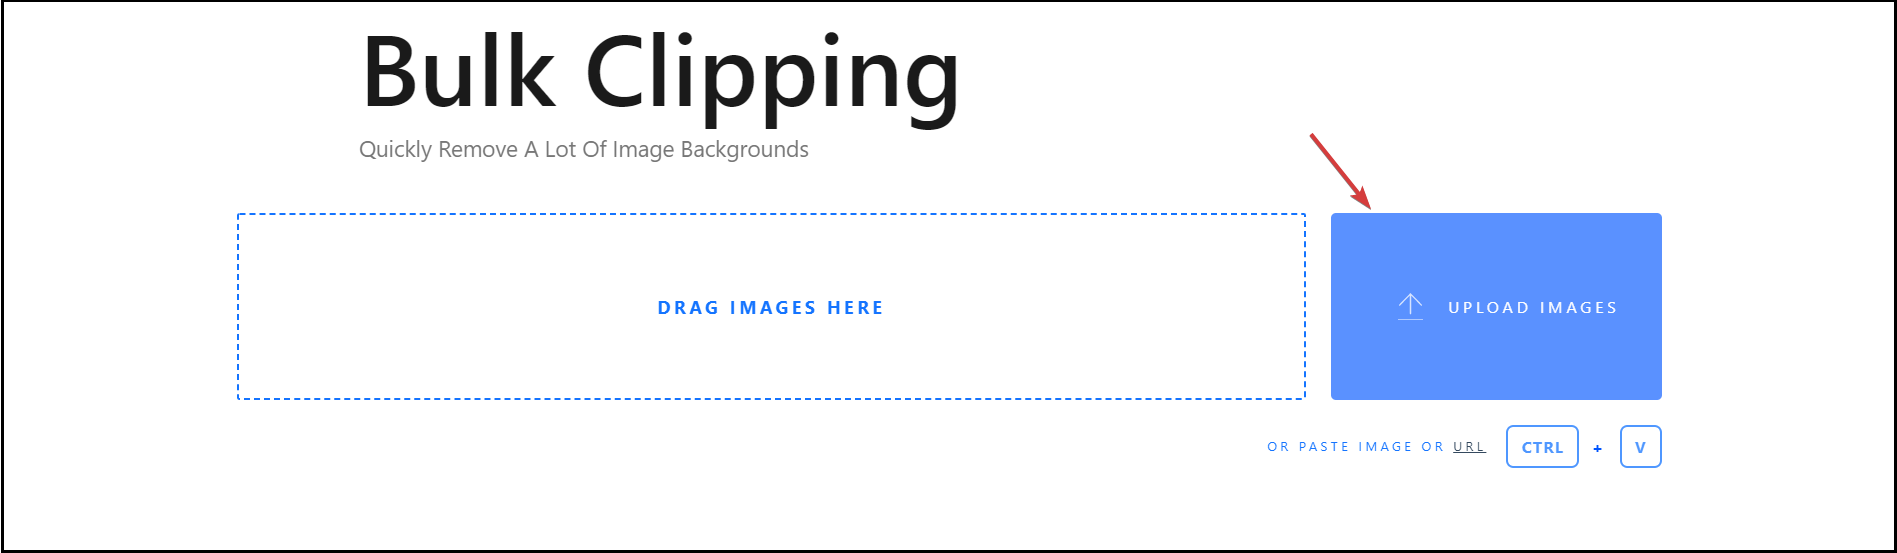
- Once you’ve signed up for a paid plan that allows you to perform bulk actions, return to the app and you can either click on the Upload images button to select them from your drive or just drag and drop them in the designated area.
- Once they are uploaded, you will be brought to the editor app which we already described how to use in step number 4 from our guide.
Not many online tools offer this bulk action function for removing the background from photos and this is usually a premium feature even for desktop applications.
As you’ve seen from this brief guide, you can do it with Clipping Magic, but you will need to sign up for a paid plan in that regard.
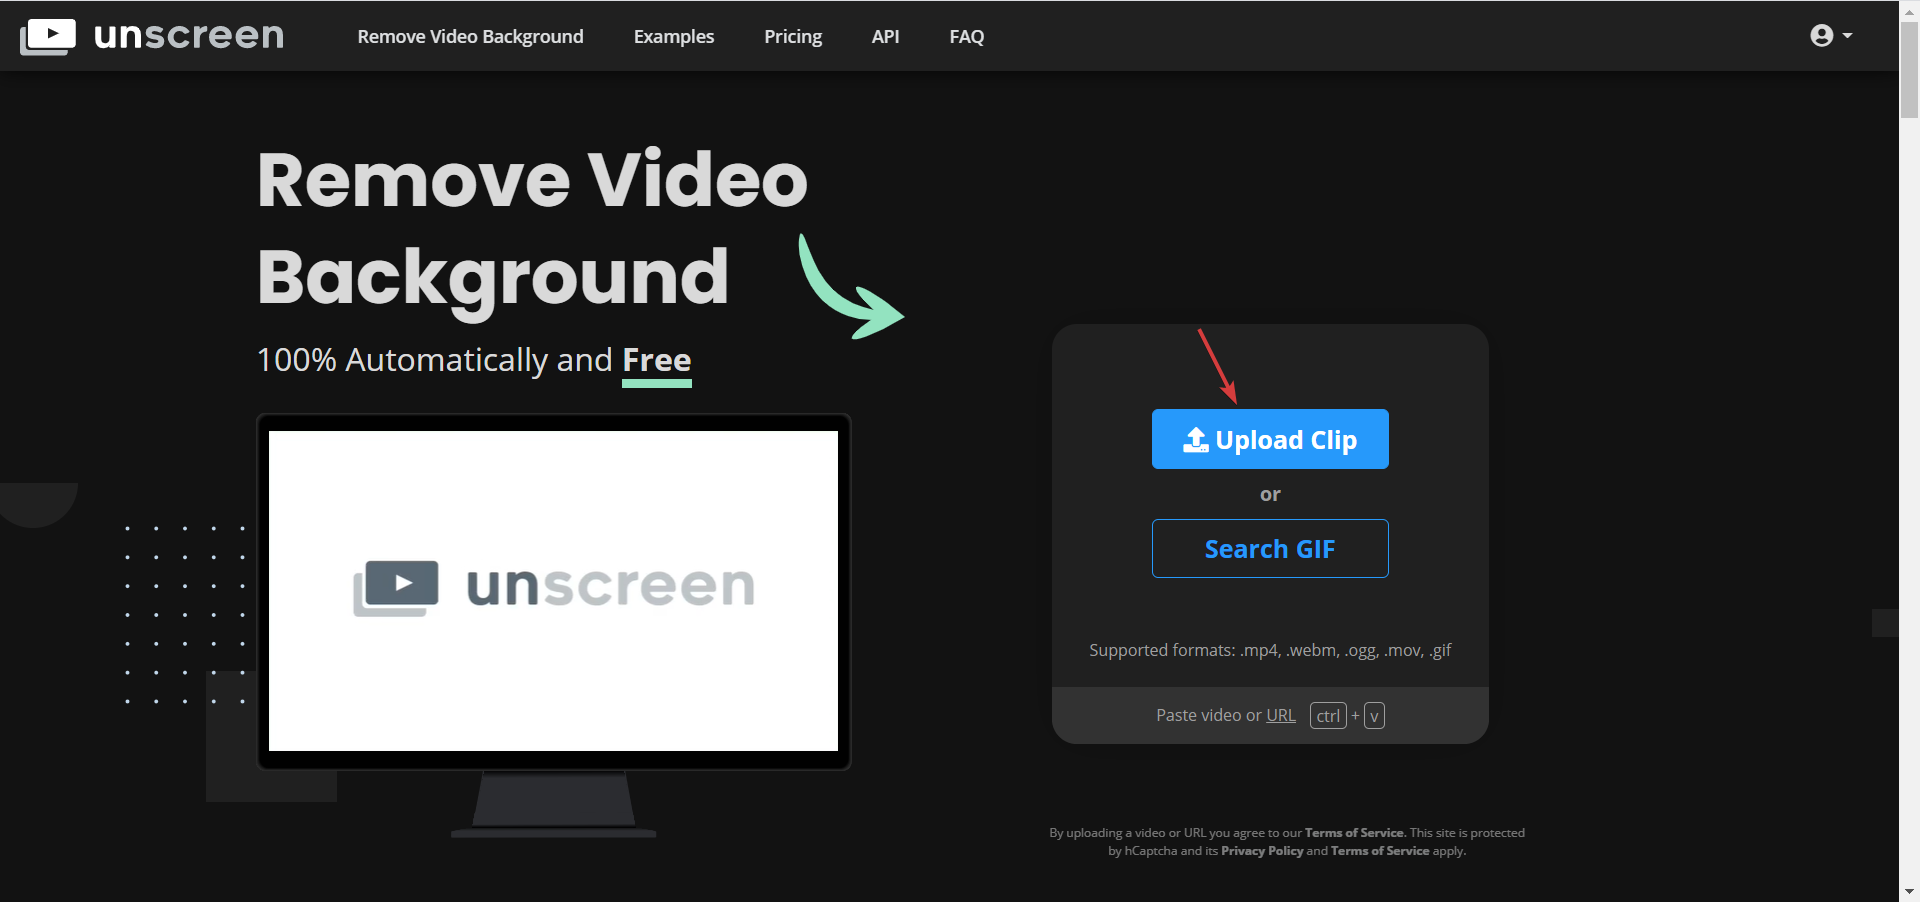
Use Unscreen (for video)
- Go to the Unscreen dedicated website (it’s a dedicated video tool from Remove BG).
- Click on the Upload Clip button.
- Select the clip from your drive and wait for the app to process it. The bigger the video, the longer the processing time.
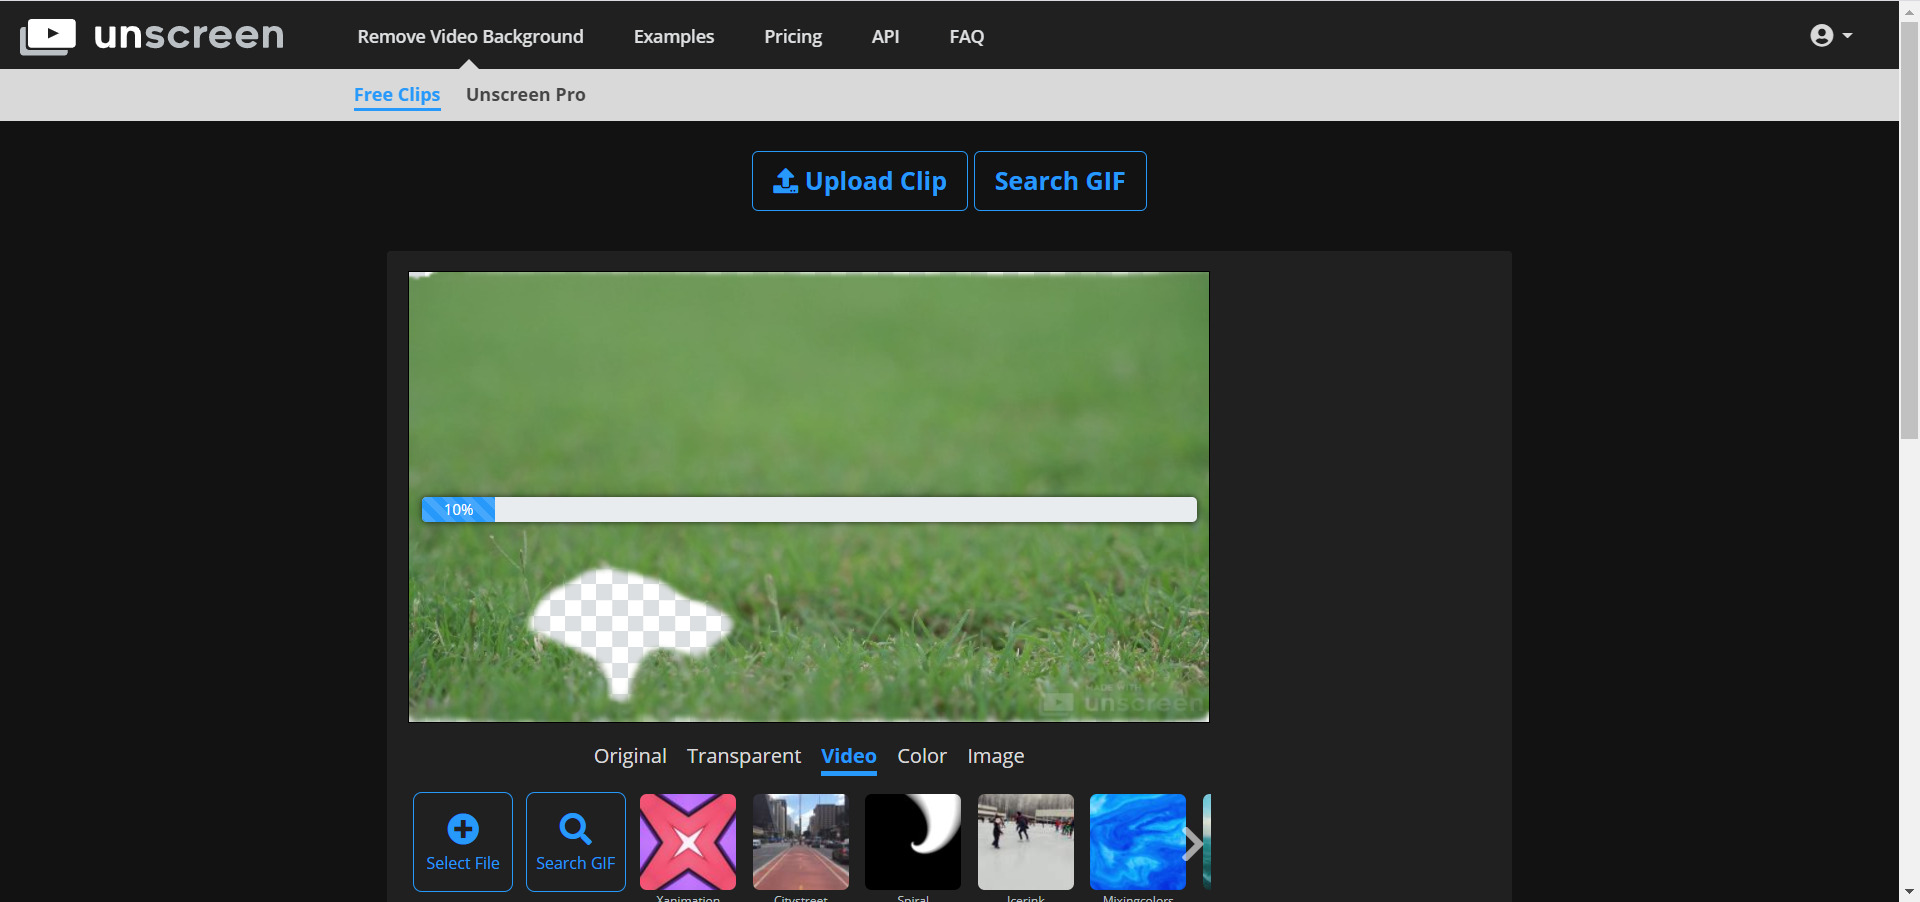
- The result will be a preview with a transparent background, just like you’ve seen for the image processing.
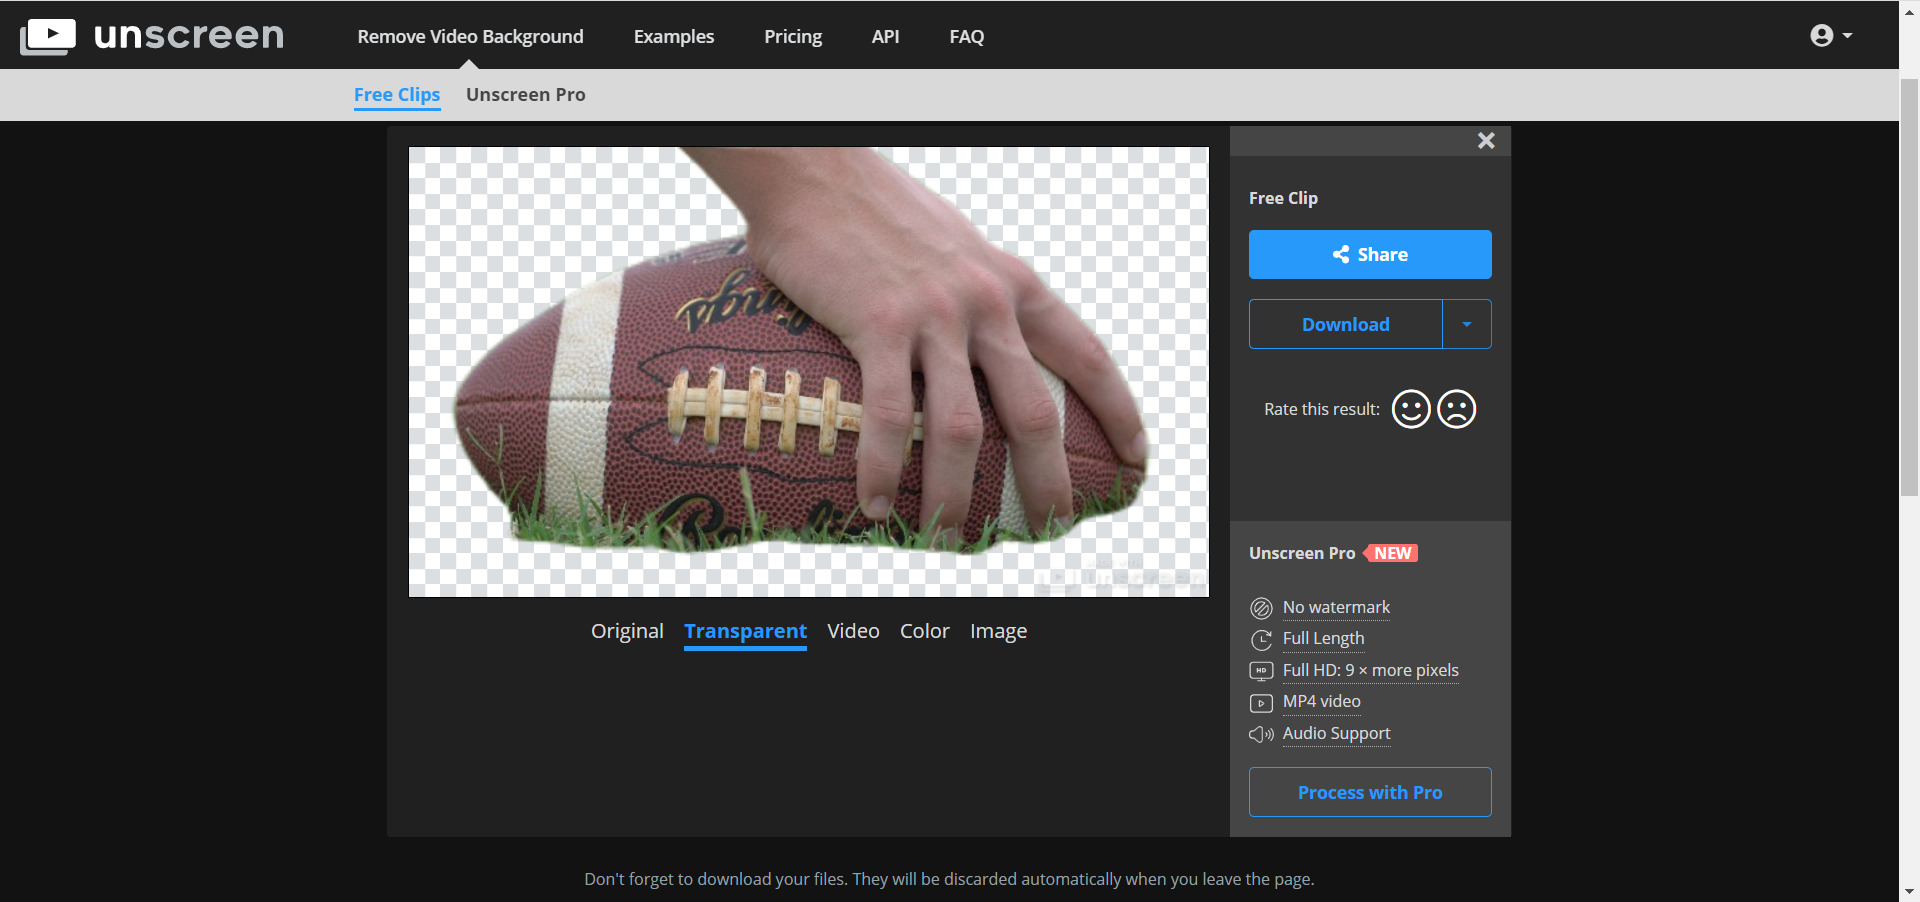
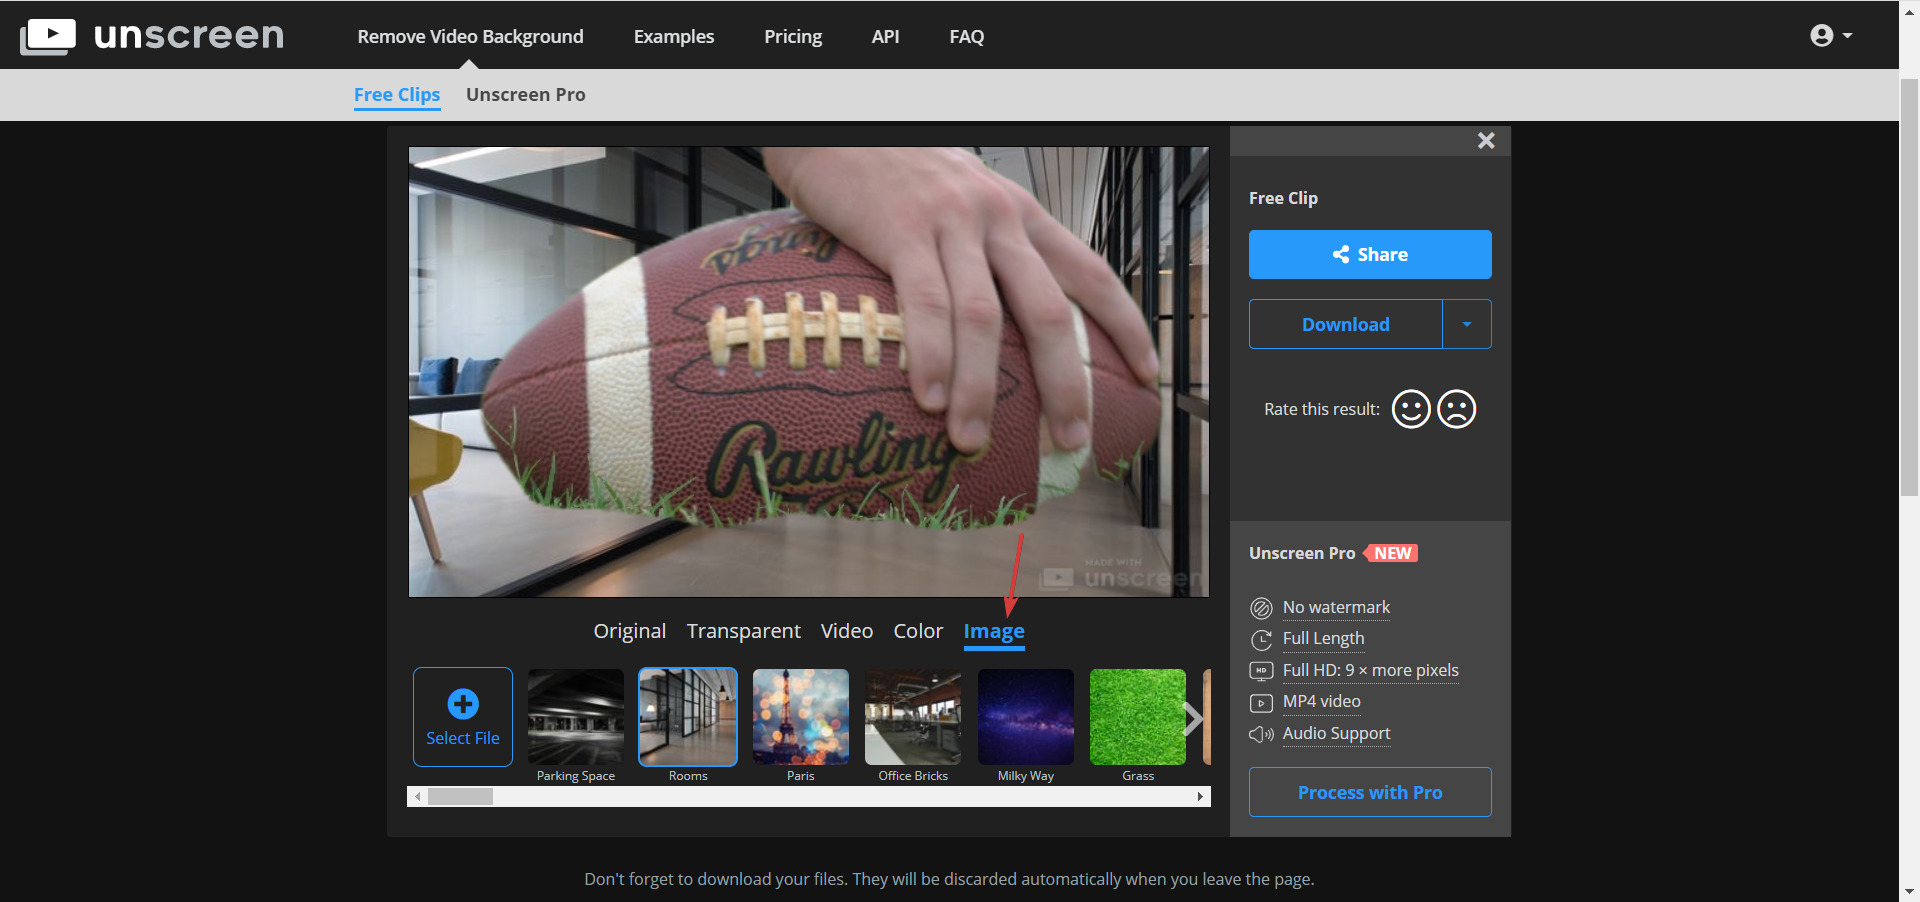
- However, you can add all sorts of backgrounds like images, plain colors, and even your own video by using the menu at the bottom of the preview screen.
- Now you can select the download output option (GIF, animated PNG or single frames) and you can hit the Download button to get the file on your drive.
Unscreen is a great online tool to remove the background from a video but you should note that with the free version you will only get a few seconds of your video.
If you want to get the full-length video, HD resolution, and no watermark, you will need to process the video with the Unscreen Pro version.
Also, you can read our article including the best green-screen software. They also have background removing features that you might use.
How do background removal tools work?
They are either manual tools, like the one from Photoshop, or special features that automatically detect objects in an image and create the cutout in an instant.
As you will see in our guide, there are modern tools (available online) that use artificial intelligence to detect the limits of objects with pinpoint accuracy.
However, when it comes to more difficult background removal tasks, you can always try a tool from our list including the best photo editing software that will provide more accurate tools.
And if you happen to work with photos but you
Quick tips for background removal
➡ Pay attention to photo quality
If you’re going to use an automatic tool like the ones from our list above, make sure you use high-quality images.
Artificial Intelligence is a great feature but if the photo is blurry or unclear, even the best software will not be able to get the outlines of the objects you want to isolate.
➡ Enhance brightness and contrast
If you still need to work with a less inspired photo, try to adjust its brightness and contrast before attempting to remove the background.
Even if you’re using a manual tool, you will have a hard time doing a cutout in these conditions. You can also use specialized software to zoom images without losing quality to enhance the part you need.
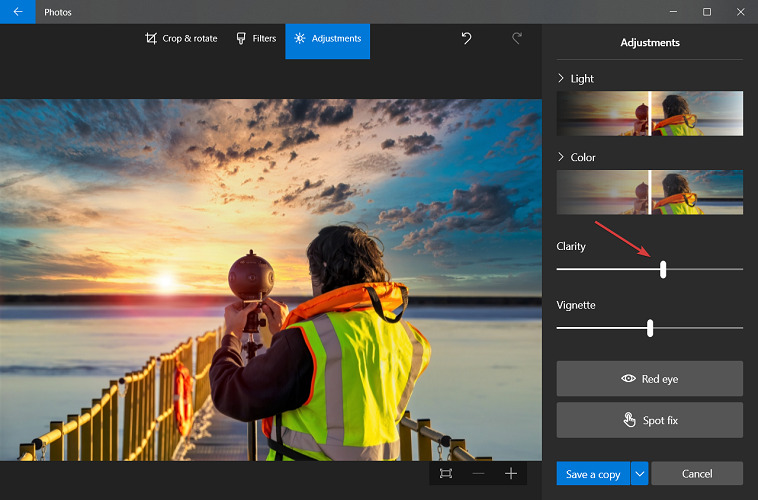
As you can see in the screenshot above, even the Photo app from Windows 10 has an editing feature that comes with a clarity adjusting tool.
➡ Always check twice
After removing the background in an image, always check the original to see if the objects that you want to keep are complete.
Sometimes, the background removal tools can mistake some of the elements of your object with the background and remove them.
Before getting anything started, you need to know exactly what the volume of work and quality standards are.
If you work, for example, for a fashion catalog and you need to remove the background from 500 images per day, you will probably prefer an automatic tool and get a subscription for that volume of work.
Instead, if you have more complicated tasks but a lower volume, manual background removal will be the best choice for you.
Summary
We’ve had a pretty good experience with the automatic tools listed above. They are quick but the results are not always perfect for more complicated images so you should test them before engaging.
You can also utilize more general image-editing web apps to remove backdrops but their capabilities will be very limited.
Have you tried one of these online photo background changers? Let us know in the comments section below.
Read our disclosure page to find out how can you help Windows Report sustain the editorial team. Read more


Improve this guide


User forum
0 messages