How to Increase VRAM in Windows 10: Most Useful & Easy Tips
Seamlessly increase VRAM for better performance
Key notes
- Users often cannot install programs since the PC doesn't meet the VRAM requirements, and that's when you need to increase the VRAM in Windows 10.
- Before you increase it, first, check the amount of VRAM available on the PC.
- There are three ways you can increase the VRAM, two of which can be performed on the computer while the third requires making changes to the hardware.

VRAM is a critical component since the performance of most games, and certain graphics-intensive applications depend on it. And for those running low on it, it’s essential to know how to increase the VRAM in Windows 10.
VRAM or Video Random Access Memory should be set ideally for best performance. So it’s imperative to identify the current VRAM and learn how to change shared GPU memory in Windows 10.
What happens if you have too little VRAM?
Too little VRAM basically affects the performance of games or applications that extensively rely on it. In case you run out of VRAM, the affected application will lag and stutter, and the FPS will drop.
The lag happens because the OS now relies on system memory (RAM) for the same task, and it is considerably slower than VRAM. In some rare cases, the application may crash as well.
How do I increase VRAM in Windows 10?
1. Restart your PC and hit either F2, F5, F8 or Del to enter BIOS. Check the manufacturer’s website or the manual that came along with the computer for the exact key on your PC.
2. Now click on Advanced, Advanced Options or anything that looks similar.
3. Look for VGA Share Memory Size, Graphics Settings, Video Settings, or anything similar and click on it.
4. Choose Pre-Allocated VRAM and change the value to one that best fits your needs. If it’s a dropdown menu, choose one from the list.

5. Save changes and restart your PC.
1. Increase VRAM via BIOS
The best and easiest way to increase the dedicated VRAM in Windows 10 is to use BIOS settings.
Usually, the default value for VRAM is either 64MB or 128MB, and you can choose 256MB or 512MB to via BIOS. Also, in case you were wondering how to increase VRAM in NVIDIA, this method would do.
Now, you know how to increase VRAM in BIOS. This is often the preferred method for users since it has a good chance of success and should be the first thing you try.
However, you might be wondering how to increase VRAM in Windows 10 without BIOS, and there’s actually a way for that.
2. Increase dedicated VRAM via Registry Editor (integrated Intel GPUs)
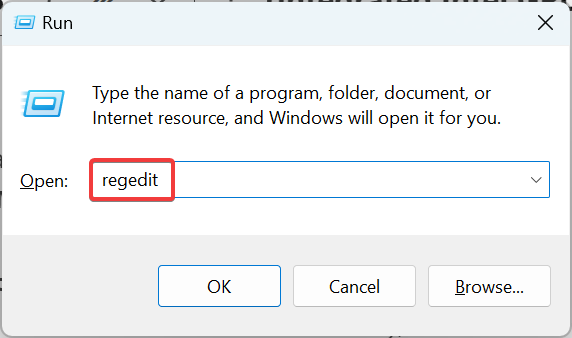
- Press Windows + R to open Run, type regedit, and then hit Enter.
- Click Yes in the UAC prompt.
- Paste the following path in the address bar and hit Enter:
Computer\HKEY_LOCAL_MACHINE\SOFTWARE\Intel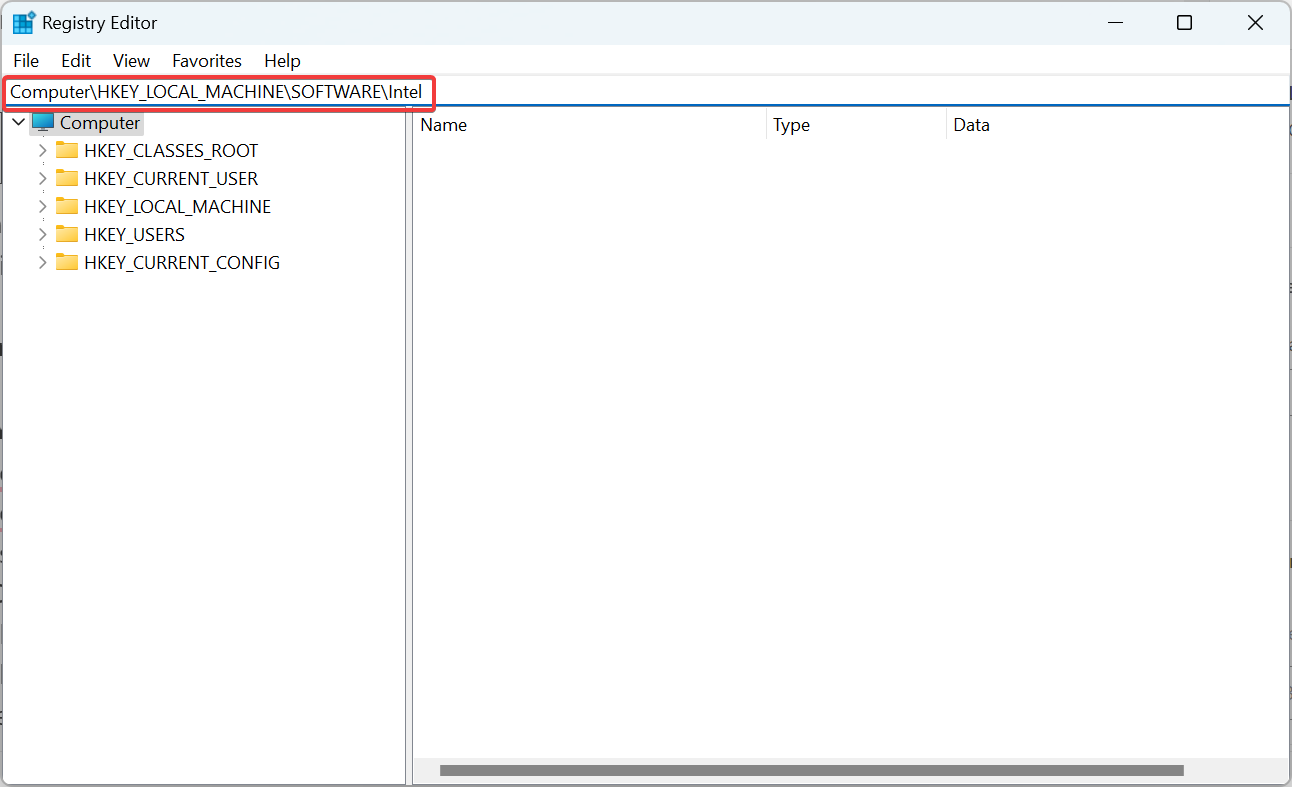
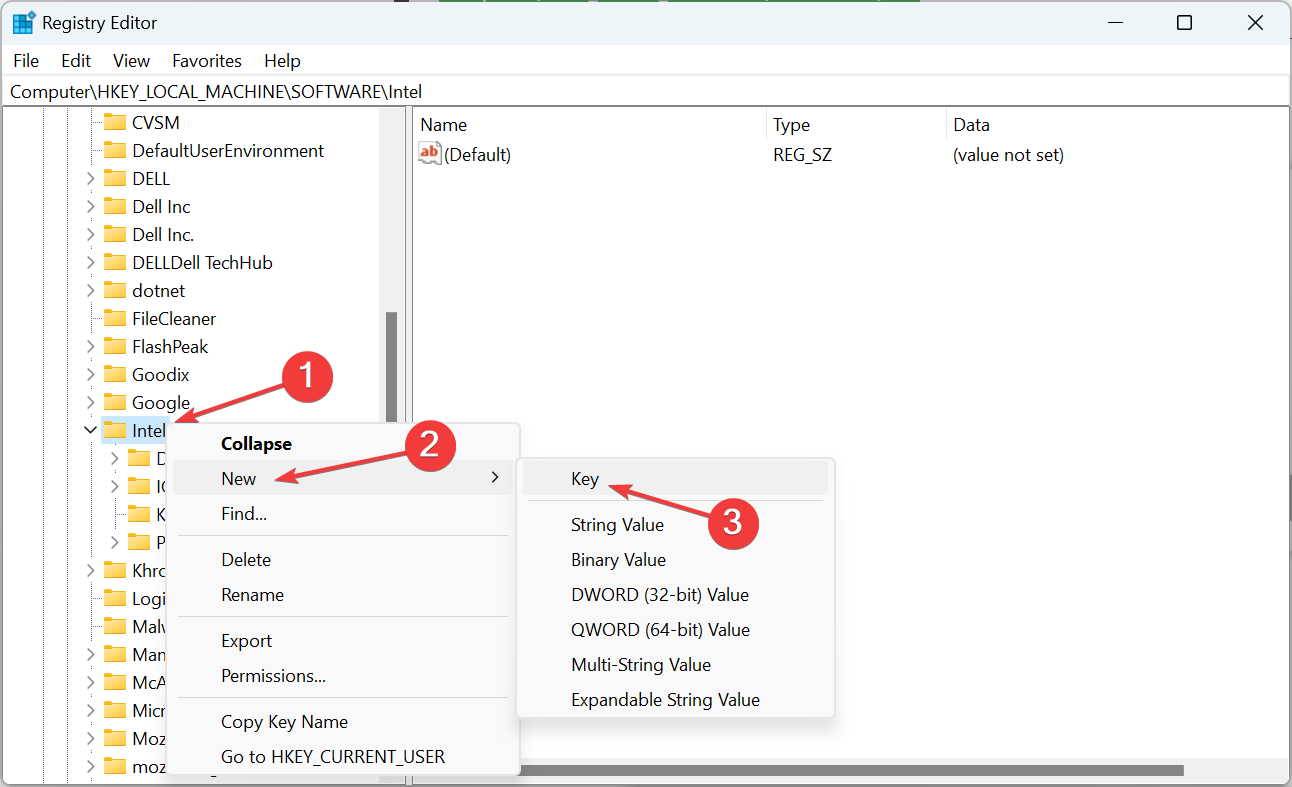
- Right-click on the Intel entry in the navigation pane, hover the cursor over New, select Key, and then name it GMM.
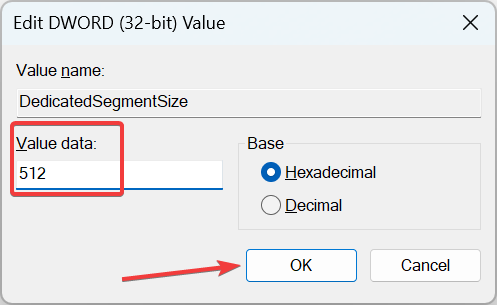
- Next, select the GMM key, right-click on the empty portion, hover the cursor over New, select DWORD (32-bit) Value, and then name it DedicatedSegmentSize.
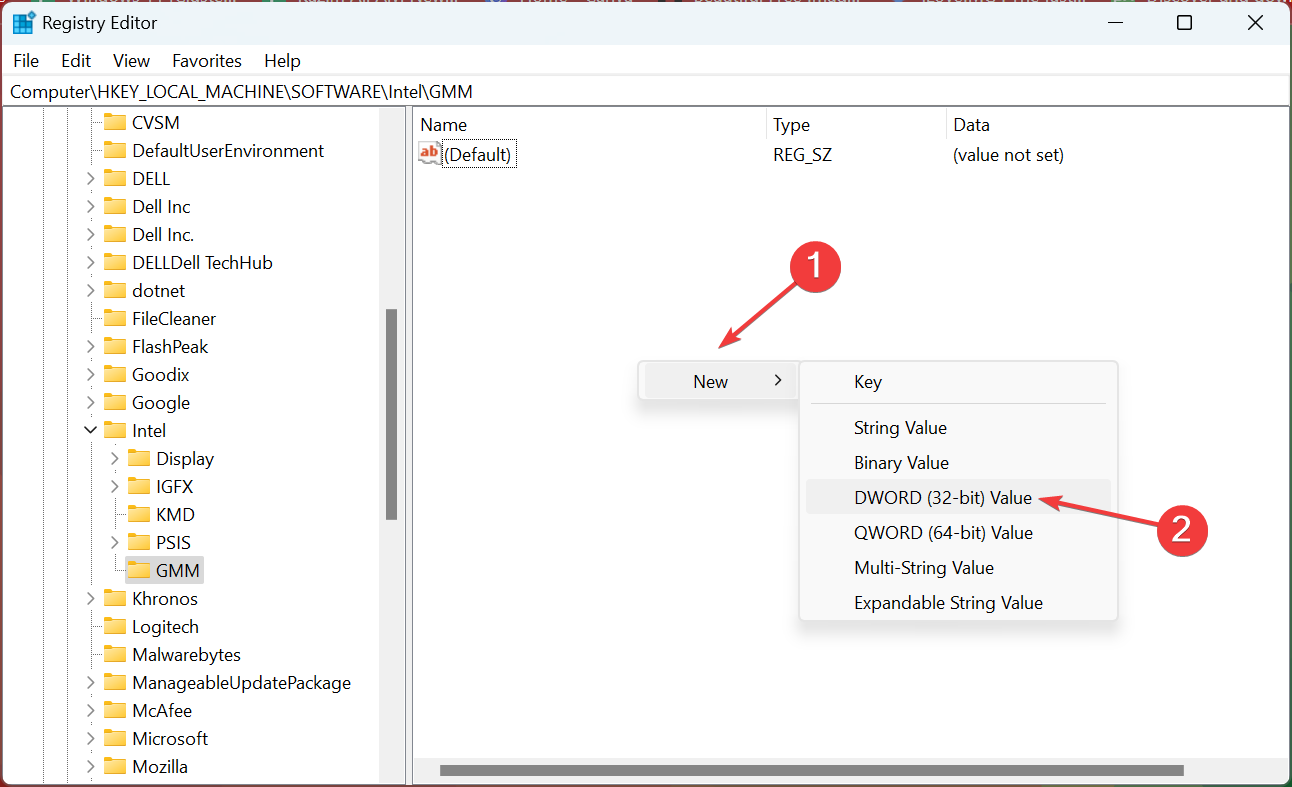
- Double-click on the DedicatedSegmentSize DWORD, enter a value between 0 and 512 under Value data, and then click on OK to save the changes.
You now know how to increase the dedicated video RAM for Intel HD Graphics, but there’s a catch with this method. It doesn’t really increase the VRAM but gives applications the appearance that it has been increased to eliminate compatibility issues.
Usually, the system automatically adjusts the amount of VRAM needed by any application at any given time. Sometimes, when you need just a little bit more to run an app or a game, you can fake a VRAM increase through Registry Editor.
Though, don’t expect any drastic improvement in terms of performance since the BIOS method is the only sure-shot chance at increasing VRAM in Windows 10. Also, if you were wondering how to increase VRAM using CMD, that, too, does it via Registry.
3. Upgrade to a dedicated GPU
Increasing the VRAM in Windows 10 through BIOS or Registry Editor is a nifty solution that may come in handy sometimes, but if you are looking for real horsepower under the hood, then we suggest buying a dedicated graphics card.
If you’re rocking a dedicated GPU, even an older one, the results are much better compared to any brand-new integrated one. A dedicated GPU has way more VRAM and computing power overall, which helps when playing games or editing videos on the computer.
You will find yourself experiencing FPS drops most of the time during gameplay, and your video editors will take ages to load your meshes, especially when 3D modeling.
⇒ Check out this great dedicated GPU
That’s all you need to know about increasing VRAM in Windows 10, and the BIOS will help if you wanted to know how to increase VRAM in AMD.
Before you leave, do not forget to find out how to change the size of page files, and further boost the PC’s performance.
Did increasing the VRAM help solve the intended purpose? Tell us in the comments section below along with any other questions you may have.
Read our disclosure page to find out how can you help Windows Report sustain the editorial team. Read more


Improve this guide


User forum
12 messages