Windows 11 in VM: How to Install & Run
Key notes
- Considering that it’s a new OS, it’s best that you install Windows 11 on VM and test it freely.
- You will need to download and install a virtual machine of your choice but we also recommended the best one in that regard.
- Downloading the Windows 11 ISO is required to load onto the emulator.
- Of course, you also need to set up the virtual machine and then install the operating system.

Windows 11 took the entire world by storm and all early adopters are extremely eager to install it and test it to the limit.
However, the new OS can be riddled with lots of bugs and compatibility issues that can turn things to worst in just a few days.
That’s why we recommend installing it on a secondary system or on a virtual machine to avoid any problems.
In this article, we will help you install Windows 11 on VMware. The process is extremely similar to any other virtual machine so you can use your preferred tool for the job.
How can I install Windows 11 on VM?
1. Download and install the virtual machine
- Download VMware Workstation.
- Of course, you will need to pick the correct version for the system you are installing it on.
- Once it is downloaded, double-click the installer to start the installation. It will request administrative privileges so agree to that.
- Don’t forget to check the box (if it is not already checked) with Add VMware Workstation console tools into system PATH.

- After the installation, restart your PC.
We’re using this tool because we tested it with a lot of software and it’s the most reliable in our opinion but you can also try some of the tools in our best virtual machine software list.
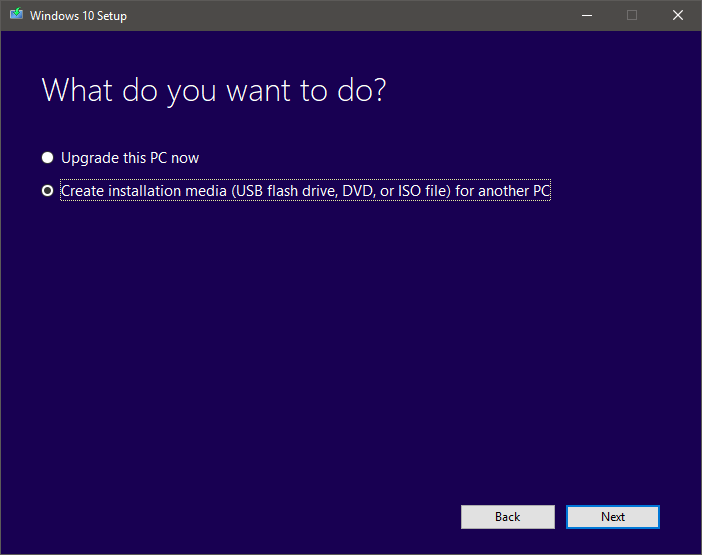
2. Create a Windows 10 ISO
If you don’t have a Windows 10 ISO file already, you can create one by using the Windows Media Creation Tool.
You will need the Windows 10 ISO so you can run it on the virtual machine so this is one of the most important steps in the process.
We have an excellent guide on how to create a Windows 10 ISO so if you’re having trouble, this will help you speed up the process.
3. Setup the virtual machine
- Start VMware.
- You will see a window with three options. Click on Create a New virtual machine.

- It will be asked if you want to set up a typical or custom configuration. Select Typical and hit Next.

- You will now be prompted to locate the iso file or install an OS later. Select the Installer disc image file iso option, then browse and select a Windows 10 ISO file.

- Select the type of operating system. Select Microsoft Windows and choose Windows 10 x64 as the version, then click on Next.

- You can now name your machine so you would probably type Windows 11 and click Next.

- The next step is to allocate storage space to be used by the virtual machine. For Windows 11 you can leave at least 60 GB for storage and click on Next.

- Now, click on Customize Hardware and set the RAM amount, processors, and all other components. You will need at least 4GB to run the system that will use the memory from your physical PC.

- Click on Close, then select Finish.

- You will be able to see your virtual machine’s specs on the left pane and the Power On option at the top.

- To start your virtual machine simply click on the Power on this virtual machine button.
 NOTE
NOTE
4. Check if the virtualization is on your PC and enable it
4.1 Check if the virtualization is on
- Type command and click on Run as administrator to start Command Prompt with full privileges.

- Type systeminfo.exe and press Enter.

- On the bottom, look at the line saying Virtualization Enabled In Firmware. If the value is No, then you need to proceed with the rest of this solution to enable it. If it’s Yes, you can go on to the next solution.
4.1 Enable virtualization on your PC
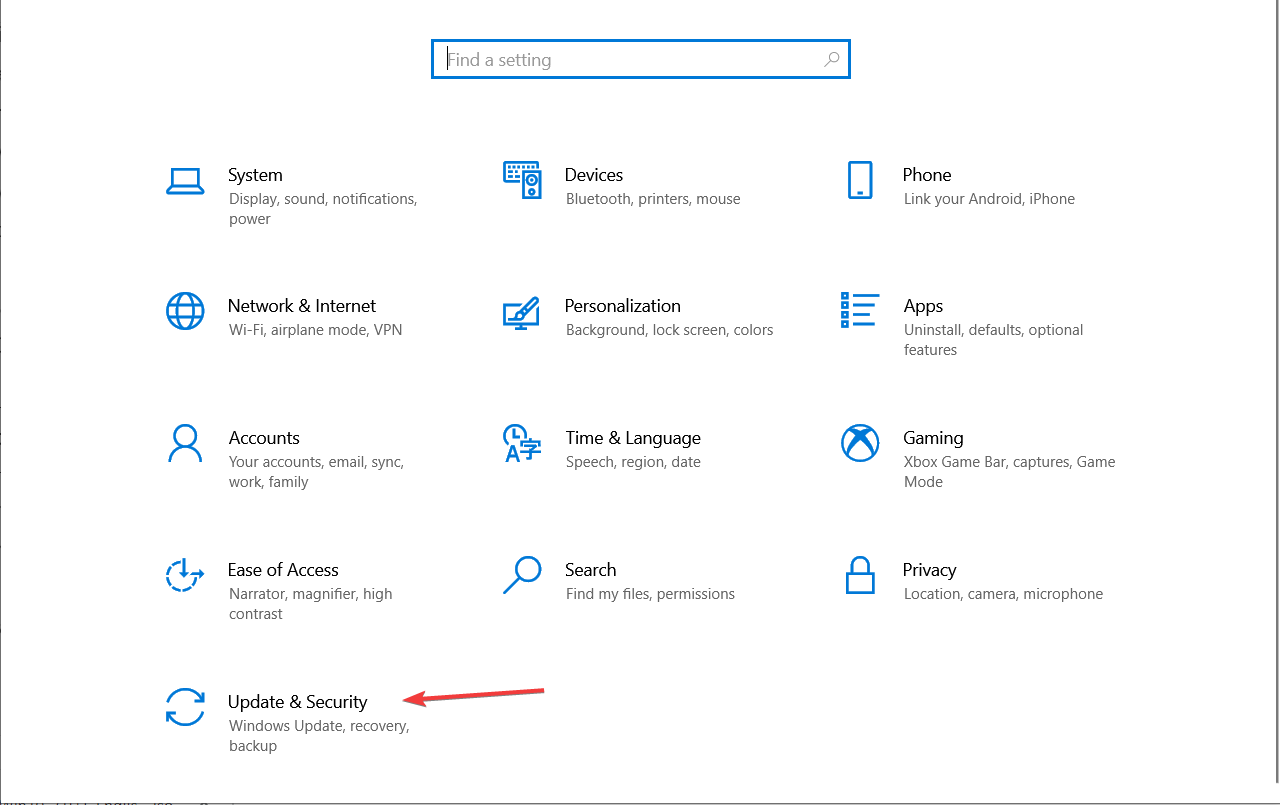
- Click the Start button and select Settings.
- Now click on Update & Security.
- Click on Recovery from the left pane and hit the Restart button on the right.

- In the next screen, select the Troubleshoot option.
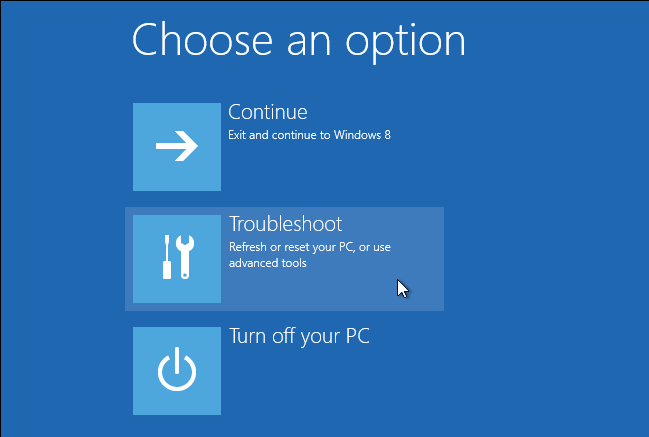
- Now select the Advanced options button.

- Next, click on the UEFI firmware settings.

- In the next window, press Restart.
- Next, you will see a Startup menu. You need to open the BIOS setup so press the corresponding key on your keyboard to open it. For us it was F10 but it might be different on your PC.
- You will get into BIOS now. Click on System Configuration.
- Find the Virtualization Technology option and change its value from Disabled to Enabled.
- Press the F10 key to save the changes and exit, then confirm.
Now the computer should boot up normally and you will be ready for the next step, to install Windows 10 on your virtual machine.
5. Install Windows 10 on your virtual machine
- Open VMware and click on Power on this virtual machine to start the Windows 10 machine you just created.

- After a few seconds, you will see the Windows 10 logo, and then you will set up the keyboard, language, date.
- Now, click on the Install now button.

- Click on the I don’t have a product key option.
- Next, select the operating system you want to install. Windows 10 Pro will do just fine.

- Choose the partition you want to install it on, and you will see the one created at the previous step.
- Now, the installation will go through normally and it will take a little bit more time than it would do on a regular PC because you’re running it on a virtual machine, of course.
- Now you will have Windows 10 installed on your virtual machine.
- In the end, you will need to enter your Microsoft account. If you will use your Windows Insider account, you will be able to access your Dev channel content.
Even if it looks like a complicated endeavor, the steps are pretty self-explanatory and easy to follow. Once as you have the Windows 10 ISO and the virtual machine installed, setting it up is pretty easy.
6. Join the Windows Insider Program
- On your real PC, go to the dedicated Microsoft page and create an Insider Account.
- On your newly installed Windows 10 on the virtual machine go to Settings and click on the Update & Security.
- Click on the Windows Insider Program option from the left pane and then click on the Get started button from the right.

- Use the Insider Account email address to log into the Microsoft account on the Windows 10 virtual machine.
- Open Settings in VM and navigate to the Windows Insider Program – found at the bottom of your Windows Update section.
- Click Get Started and then click Link an account.
- Select the insider account that you used to log into your Windows 10 VM.

- Choose the DevChannel option.

- Click Confirm.

- Click Restart Now.

- Wait for Windows to load.

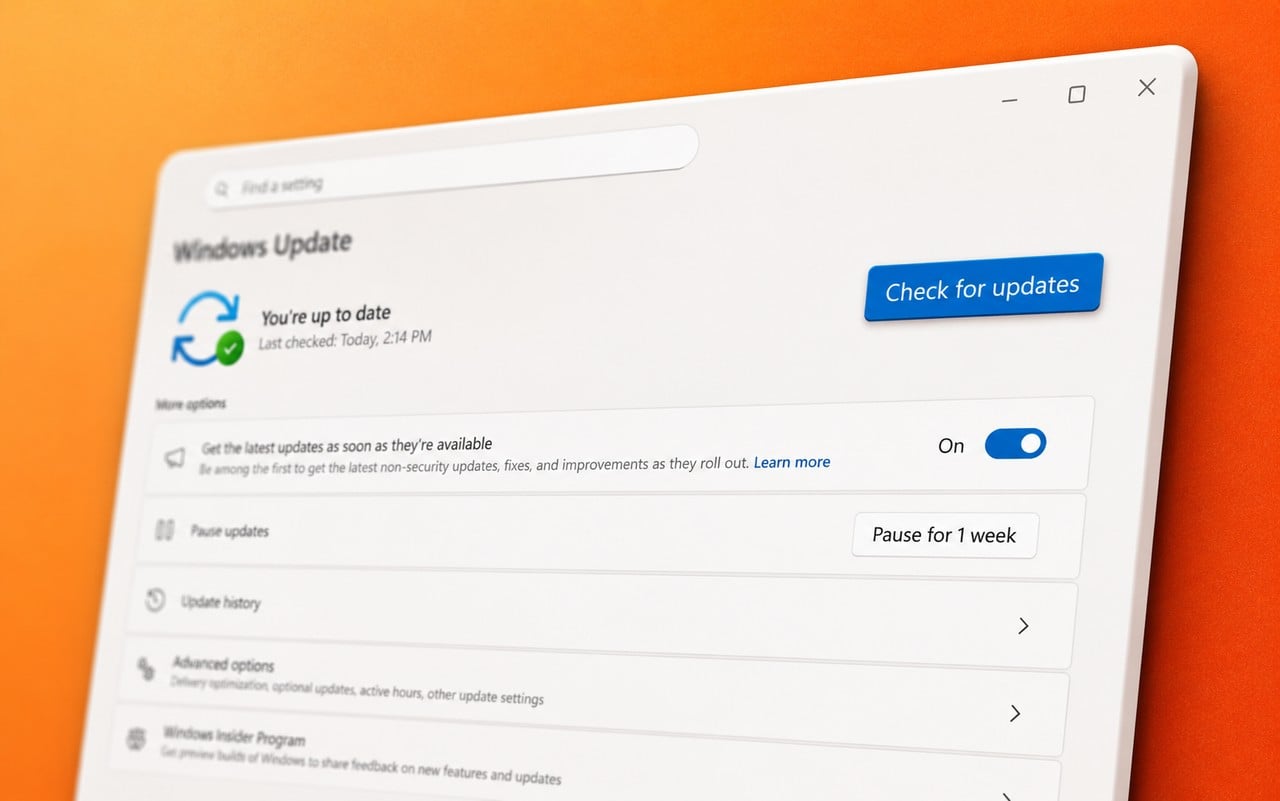
- Open Windows Update again and check for updates.
- It should start downloading Windows 11.

- Of course, you will also need to reboot your virtual system when prompted.
So, the whole trick about installing Windows 11 on your VM is to first emulate a Windows 10 OS and then use your Dev Channel-abled Microsoft account to check for updates and install the new OS.
If don’t have a Windows Insider account already, you can register for one on the Microsoft dedicated webpage.
Extra tips on how to run Windows 11 on VM
- Once you get it running, install VM tools within the Windows 11 copy because it will adjust the size of your machine to your PC
- Try to give the virtual machine as many resources as you can, especially memory
- Use the settings from your virtual machine to improve the resolution and the way you see the VM windows
This is how you can simply install Windows 11 on VMware and any other virtual machine for that matter.
And while you’re at the virtual chapter, you can also check out the best virtual desktop software for Windows 10 that will definitely work on Windows 11 too.
If you’re planning to use Windows 10 in a virtual environment, don’t miss our guide on the best settings for VMware and Windows 10.
If you had any problems with running Windows 11 on the virtual machine, let us know in the comments section below.
Read our disclosure page to find out how can you help Windows Report sustain the editorial team. Read more


Improve this guide


User forum
2 messages