Error Code 0x80070490 in Windows Update [SOLVED]
8 min. read
Updated on
Read our disclosure page to find out how can you help Windows Report sustain the editorial team. Read more
Key notes
- Downloading Windows Updates is important if you want to keep your Windows 10 PC running safe and fast.
- If the error 0x80070490 shows when installing a Windows Update, try a new local account, and run the Update Troubleshooter.
- To further the problem-solving process, checking the Windows Update Services and modifying the Software Distribution folder is the next step.
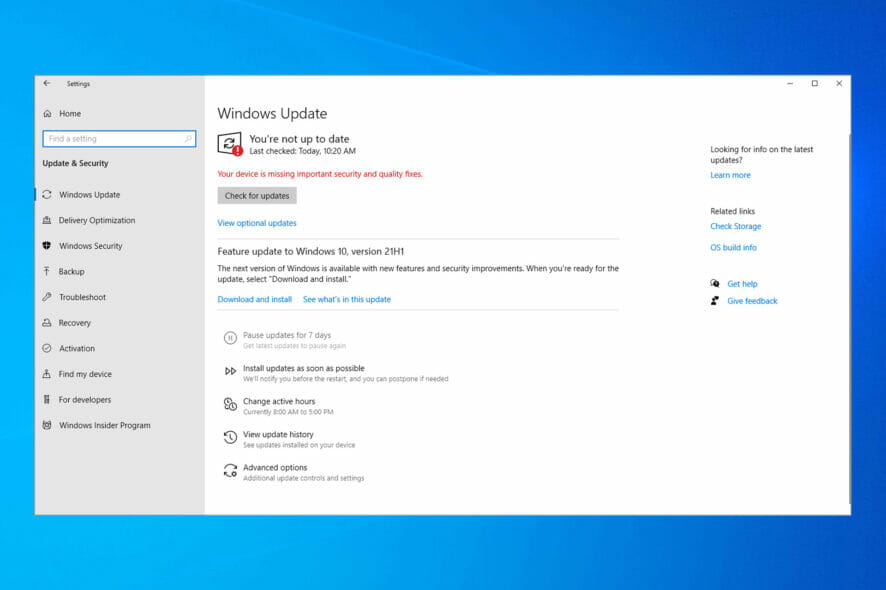
Downloading Windows updates is important if you want to keep your Windows 10 PC safe, but some users have reported error code 0x80070490 while trying to download Windows updates on Windows 10.
So today we’re going to find out how to fix error 0x80070490. According to the reports, Windows Update stops running, and when that happens users get this error code.
This can be a big problem because you won’t be able to download Windows updates, and you’ll be missing out on new features and security patches.
What causes the error code 0x80070490?
Error code 80070490 can appear on all versions of Windows, and it’s usually caused by damaged system files, so you’ll have to repair them in order to fix this issue.
Most errors, including 0x800f0831 update error can be fixed simply by running the built-in troubleshooter, so be sure to give it a try.
This isn’t the only error that can occur when your files are damaged and many reported error 0x80070643 in Windows 11.
How can I fix the Windows Update error 0x80070490?
- Create a new local account
- Use a system repair tool
- Run the Update Troubleshooter
- Run the SFC scan
- Run DISM
- Check for malware
- Disable antivirus
- Delete user ID store cache from registry
- Check if specific services are running
- Delete SoftwareDistribution folder
1. Create a new local account
In order to fix this issue on Windows 10 you’ll have to create a new local account and move your files to it:
- Create a new local account with administrator privileges.
- Move your documents and personal files to new account.
- Delete your old account and switch to new one.
- After you’ve switched to new local account add your Microsoft account to it.
After doing that, error 0x80070490 should be fixed. However, if the issue doesn’t get resolved, try some of the solutions listed below.
Moreover, the program does an in-depth registry cleanup and removes malware, while also optimizing your PC.
2. Use a system repair tool
Installing trustworthy repair software whose aim is to fix Windows errors and keep your computer secure is a great solution.
This type of tool performs an advanced scan and through its repair function, it fixes your Windows errors within minutes, as well as your registry keys, DLLs, and corrupted system files.
3. Run the Update Troubleshooter
If you’re running Windows 10, you can use the new troubleshooting tool, simply called Windows Troubleshooter. This tool can be used for dealing with various system problems, including update issues.
Here’s how to run this troubleshooter in Windows 10:
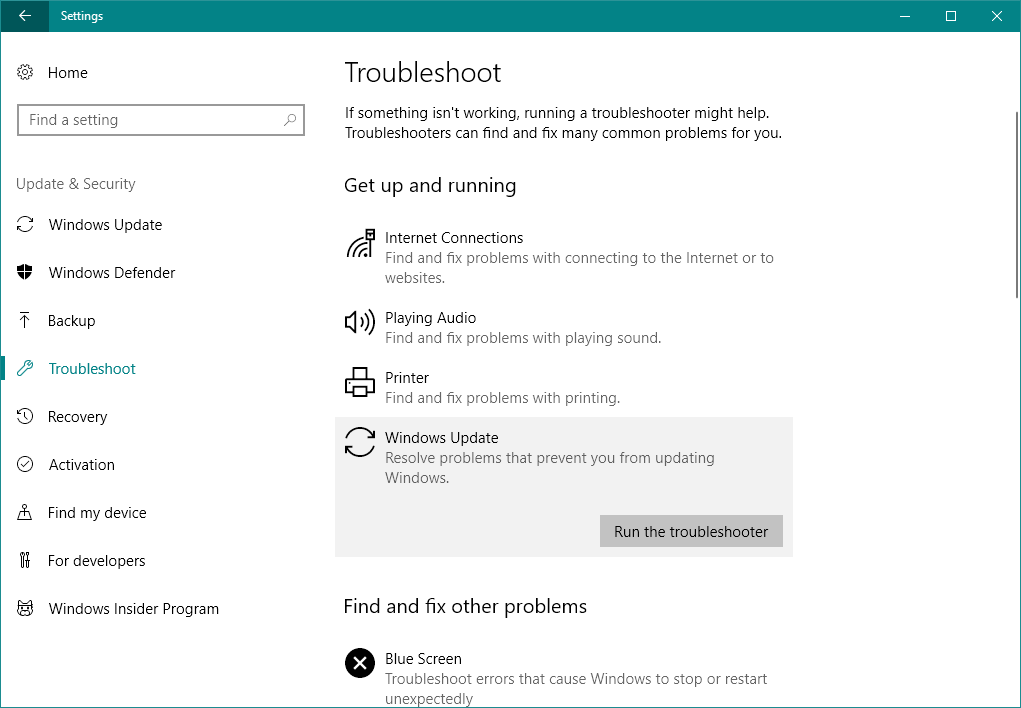
- Go to Settings
- Head over to Update & Security > Troubleshoot
- Find Windows Update, and click Run the troubleshooter
- Follow further on-screen instructions
- Restart your computer
If the troubleshooter stops before completing the process, there are steps to fix it with the help of a complete guide.
4. Run the SFC scan
Since we’re at the troubleshooting tools in Windows 10, let’s try another one. This time, we’ll be using the SFC scan. In case you’re not familiar with this tool, it serves as another built-in troubleshooter designed for resolving various system problems.
However, the SFC scan doesn’t have a users interface, so you’ll have to run it using the Command Prompt. In case you don’t know how to do that, just follow these instructions:
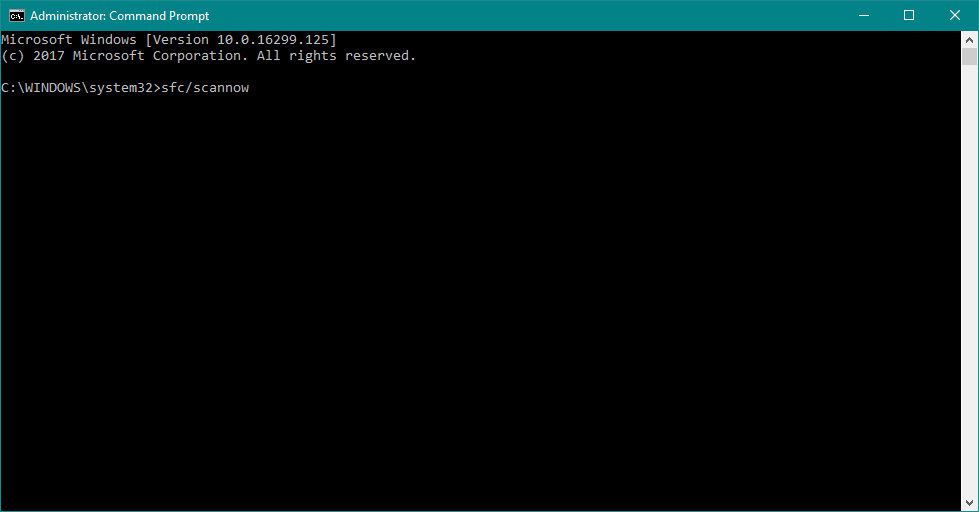
- Go to Search, type cmd, and open Command Prompt as Administrator.
- Enter the following line and press Enter: sfc/scannow
- Wait for the process to finish.
- Restart your computer.
If you’re having trouble accessing Command Prompt as an admin, then you better take a closer look at this guide.
5. Run DISM
And the last troubleshooting tool we’re going to try when resolving the 0x80070490 is the DISM. Deployment Image & Servicing Management (DISM) is yet another troubleshooting tool in Windows 10, but it’s the most powerful one.
So, if previous troubleshooters failed to resolve the problem, we’re going to try this one. In case you don’t know how to run DISM, just follow the instructions below:
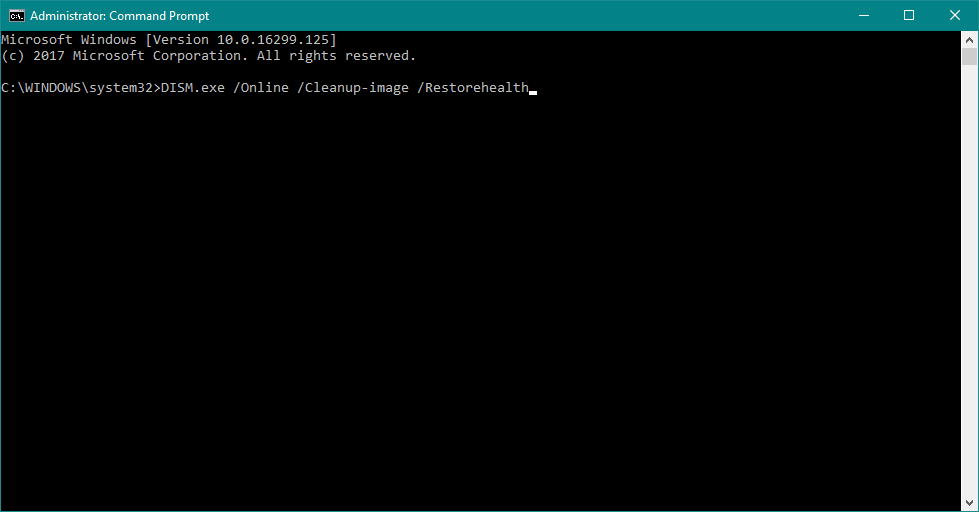
- Go to Search, type cmd, and open Command Prompt as Administrator.
- Enter the following command on the command line:
- In case the DISM can’t obtain files online, try using your installation USB or DVD. Insert media and type following command:
- DISM.exe /Online /Cleanup-Image /RestoreHealth /Source:C:RepairSourceWindows /LimitAccess
- Make sure to replace ”C:RepairSourceWindows” path of your DVD or USB.
6. Check for malware
Some users also associate the error 0x80070490 with viruses or some other kind of malware. So, if none of the solutions from above managed to resolve the problem, scan your computer for viruses.
For this reason, we recommend you run a full PC scan and remove all threats found if any. You can use the inbuilt Windows Defender, but for more accurate results, we suggest you use a third-party antivirus.
Using a dedicated antivirus with high detection rates may save you some time and hassle as it generally implements more detection and blocking features than the built-in Windows utility.
7. Disable antivirus
On the contrary to the previous solution, there’s a chance your antivirus is exactly what gives you this error. Antivirus programs and Windows updates are known for not getting along with each other.
So, you may be getting this error because of your third-party antivirus. To check that, simply disable your antivirus, and check for updates. If there’s no error, make sure your antivirus is up to date.
On top of that, you may also consider changing your antivirus solution, or switching to Windows Defender which is a very good antivirus solution.
For the Norton users, we’ve got a dedicated guide on how to completely remove it from your PC. There’s a similar guide for uninstalling McAffee as well.
If you’re using any antivirus solution and you want to completely remove it from your PC, we recommend you use dedicated uninstaller software.
8. Delete user ID store cache from registry
To do that, follow these steps:
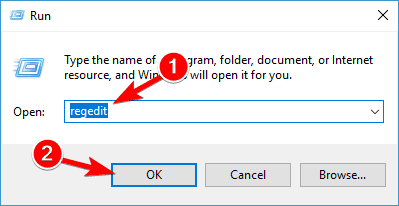
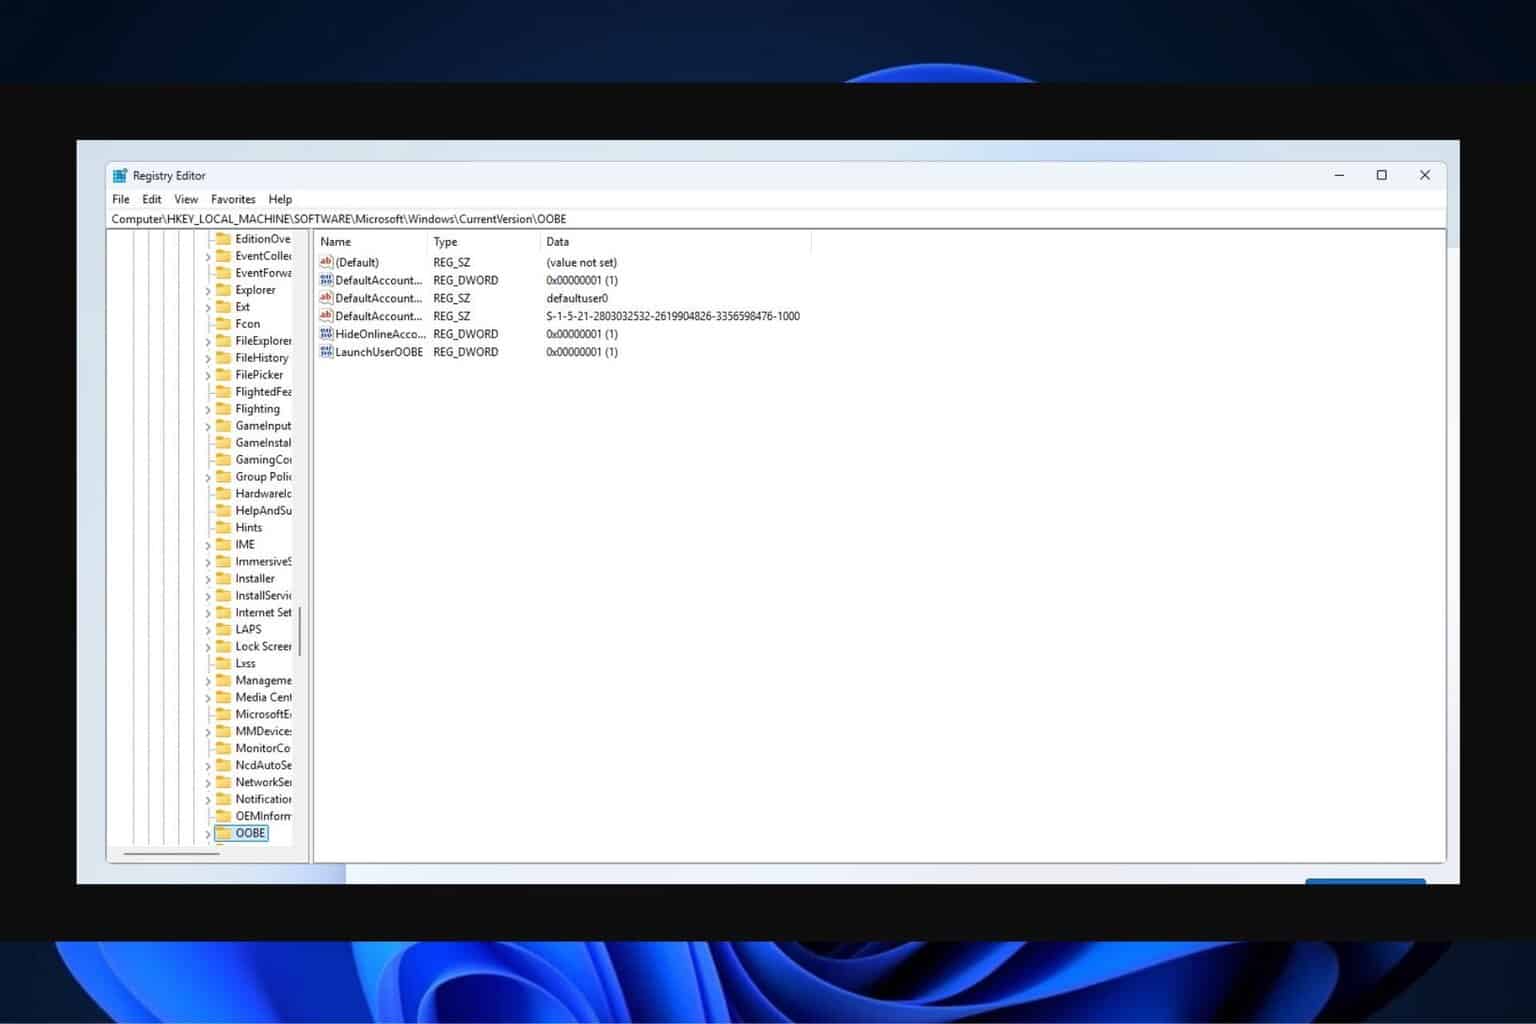
- Open Registry Editor. You can open Registry Editor by pressing Windows Key + R and typing regedit. After you’ve typed regedit press Enter or click OK to start Registry Editor.
- When Registry Editor starts, you need to navigate to the following key in the left panel:
HKEY_LOCAL_MACHINESOFTWAREMicrosoftWindowsCurrentVersionAppxAppxAllUserStore
- Now you need to find keys that look like this: S-1-5-21-1505978256-3813739684-4272618129-1016. We have to mention that this is just an example, and most likely your keys will have the similar format, but the name of the keys won’t be exactly the same.
- Select all these keys and delete them.
- After you’ve deleted these keys, close Registry Editor and restart your computer.
If you can’t edit your Windows 10’s registry, there is a handy guide that will help you find the quickest solutions to the issue.
9. Check if specific system services are running
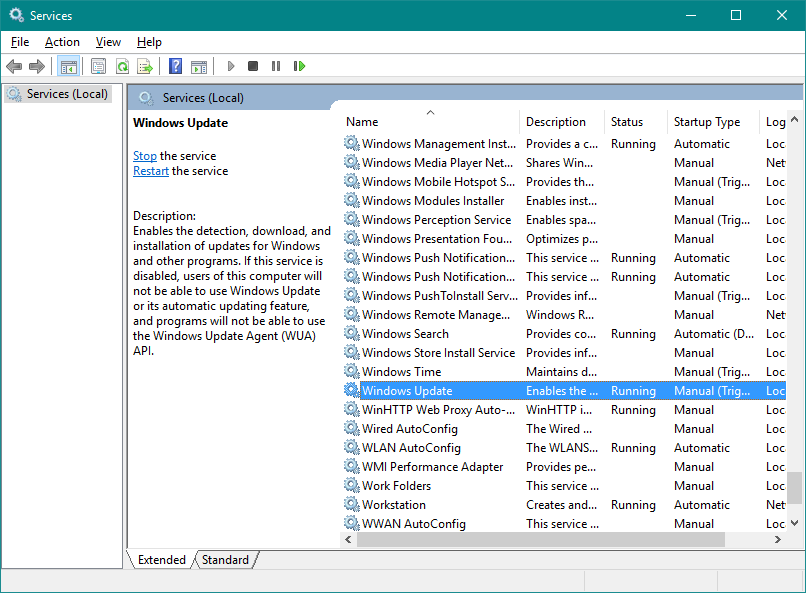
- Press Windows Key + R and type services.msc.
- When Services window starts, find the following services: BITS, Cryptographic, MSI Installer and the Windows Update Services. Make sure that those services are running.
- If one or more of these services aren’t running, make sure that you start them by selecting the service and clicking Start the service.
Most users don’t know what to do if their Windows key stops working, which can leave them confused and worried.
10. Delete the SoftwareDistribution folder
The last thing we’re going to try is deleting the SoftwareDistribution folder. This folder stores all updated data, so if something inside this folder gets corrupted, you may encounter some update problems.
But before we delete this folder, we should disable the Windows Update service. And here’s how to do that:
- Go to Search, type services.msc, and go to Services.
- In Services list, search for Windows Update.
- Right-click and go to Properties, then choose Disable.
- Restart your computer.
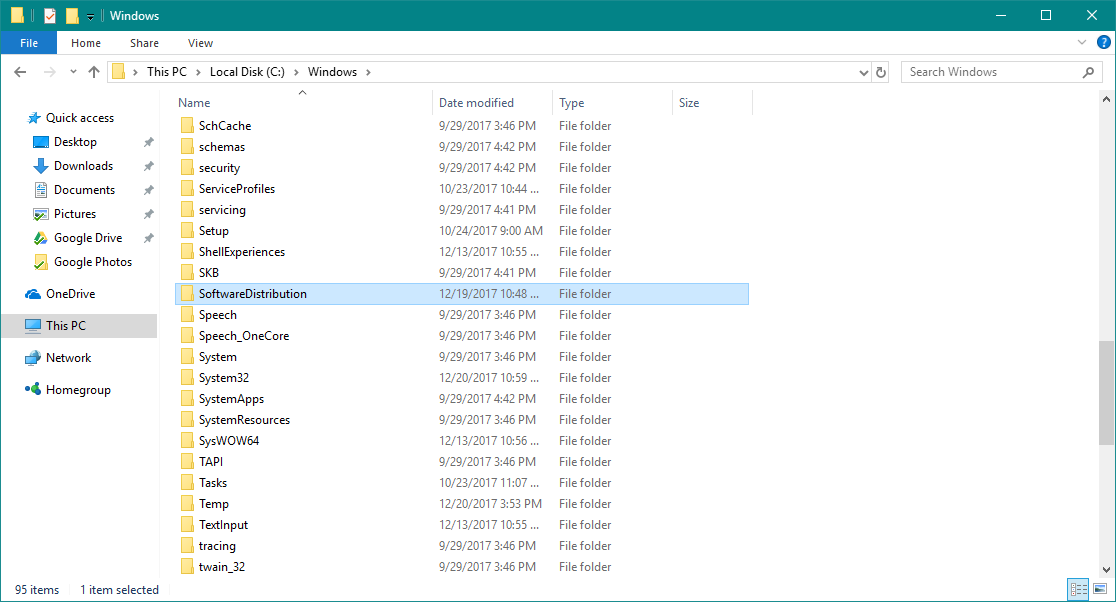
Now that the Windows Update service is disabled, let’s go and delete (rename) the SoftwareDistribution folder:
- Navigate to C:Windows and find the SoftwareDistribution folder.
- Rename folder to SoftwareDistribution.OLD (you can delete it, but it’s safer if we just leave it there).
- Restart your computer.
Not sure what to do with the Software Distribution folder? You can either rename it or even delete the folder.
Once you do that, go and re-enable the Windows Update service:
- Once again navigate to Services and find Windows Update and, in Properties, change from Disabled to Manual.
- Restart your computer once again.
- Check for updates.
As you can see, fixing the error code 0x80070490 on Windows 10 & Windows 11 isn’t that hard and we hope that our solutions were helpful to you.



User forum
2 messages