Fast User Switching on Windows 11: How to Enable or Disable
Explore easily enabling/disabling the fast user switching feature
Key notes
- Wondering how to allow other users, like friends or family, to sign in to your PC with their user accounts? It's pretty simple.
- Windows offers an intelligent feature called Fast User Switching that, when turned on, allows you to switch between user accounts effortlessly.
- You can even disable the feature when not in use to add that layer of privacy. This post will guide you on how to enable or disable Fast User Switching.
Sometimes you may want to allow more than one user on your PC, and that’s when you need the Fast User Switching feature on Windows 11.
To allow access to more users, you may need to sign out and back in frequently, and the switch users feature by Windows helps you to change between users effortlessly.
What is Windows fast user switching?
Each user has a unique Windows account, allowing more than one user to share a computer.
As you sign in, the desktop settings, files, favorites, and history are assigned to the specific user id and cannot be accessed by other users.
Once you sign out, your profile is saved for the next time you sign in. In this case, you do not have to sign out for another user to sign in.
Instead, multiple users can sign in and change between open accounts, known as Fast User Switching.
How do I enable or disable fast user switching?
1. Enable/disable fast user switching via Group Policy
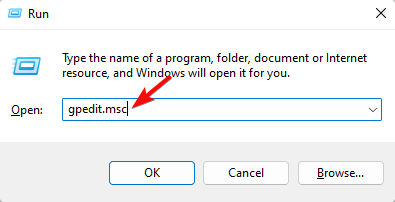
- Press the Win + R shortcut keys to open the Run console. Type gpedit.msc and hit Enter to open the Local Group Policy Editor.
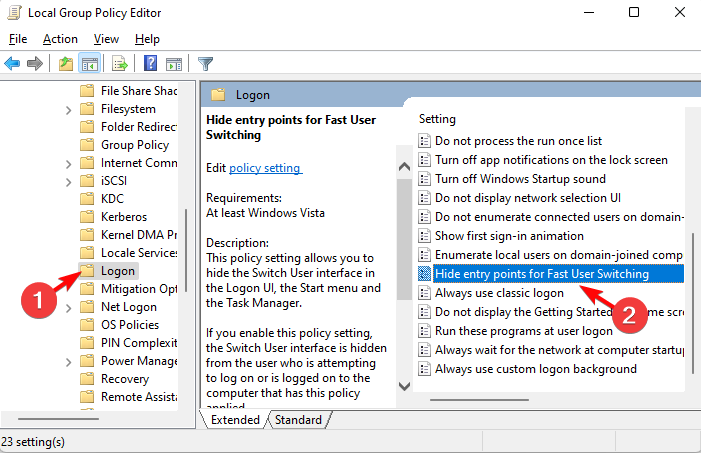
- On the left side of the pane, navigate to the below path:
Computer Configuration/Administrative Templates/System/Logon - Next, go to the right and double-click on the Hide entry points for the Fast User Switching policy.
- To enable Fast User Switching, select Not Configured, press Apply, and OK.
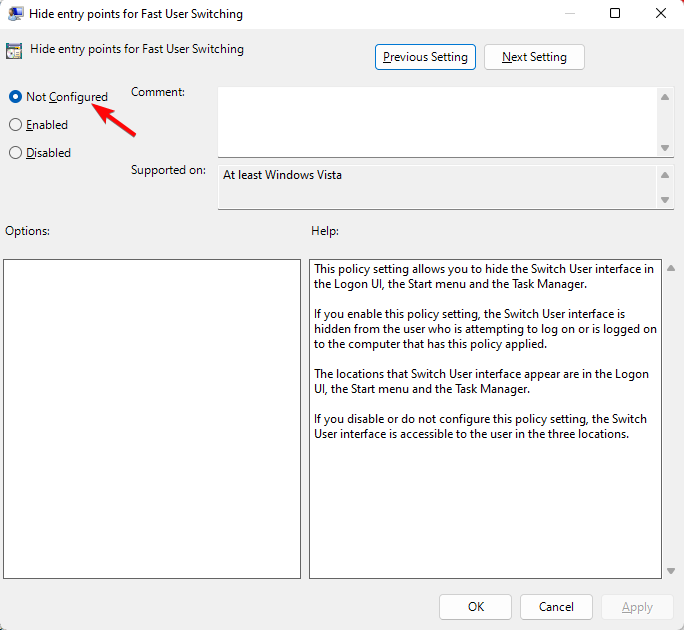
- If you want to disable Fast User Switching, select Enabled, press Apply, and then OK.

You can successfully enable or disable the Fast User Switching feature through the Local Group Policy Editor.
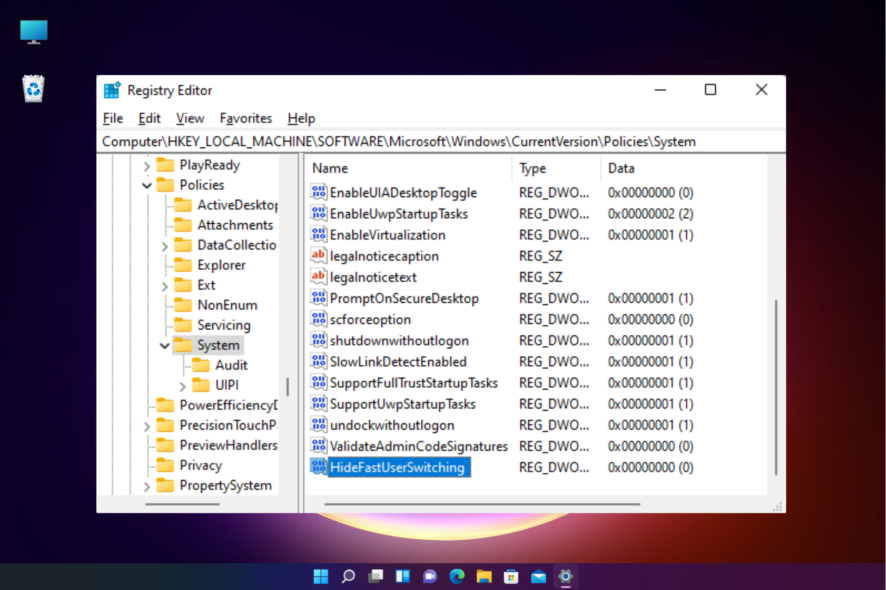
2. Enable/disable fast user switching via Registry Editor
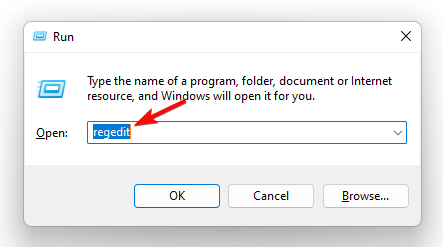
- To open the Run console, press the Win + R shortcut keys. Now, type regedit, and hit Enter to open the Registry Editor window.
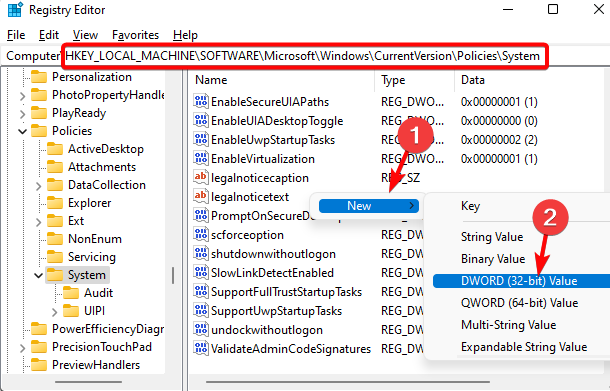
- Next, navigate to the below path in the Registry Editor and hit Enter:
HKEY_LOCAL_MACHINE\SOFTWARE\Microsoft\Windows\CurrentVersion\Policies\System - Now, on the right, right-click on an empty area, select New, and then select DWORD (32-bit) Value.
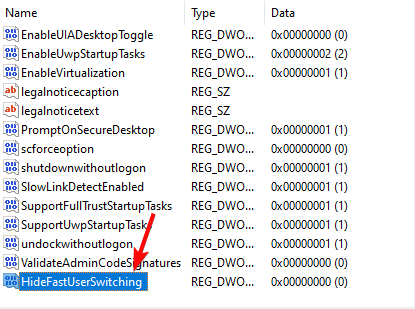
- Rename the new DWORD value as HideFastUserSwitching. Double-click to edit.
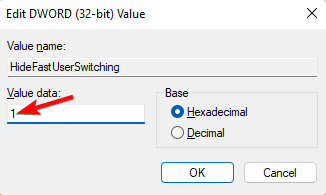
- In the Edit DWORD (32-bit) Value dialog, set the Value data to 0 to enable the feature. Press OK.

- To disable the feature, set the Value Data to 1, and press OK.
Registry Editor is another great way to modify settings for a Windows feature like Fast User Switching. But, if it’s corrupt, you can follow our guide to resolve the issue (also applicable for Windows 11).
What is the shortcut to switch users in Windows 11?
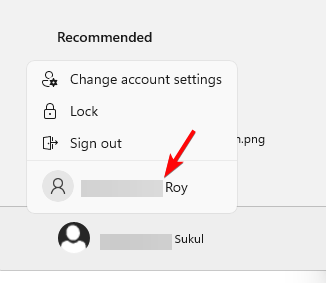
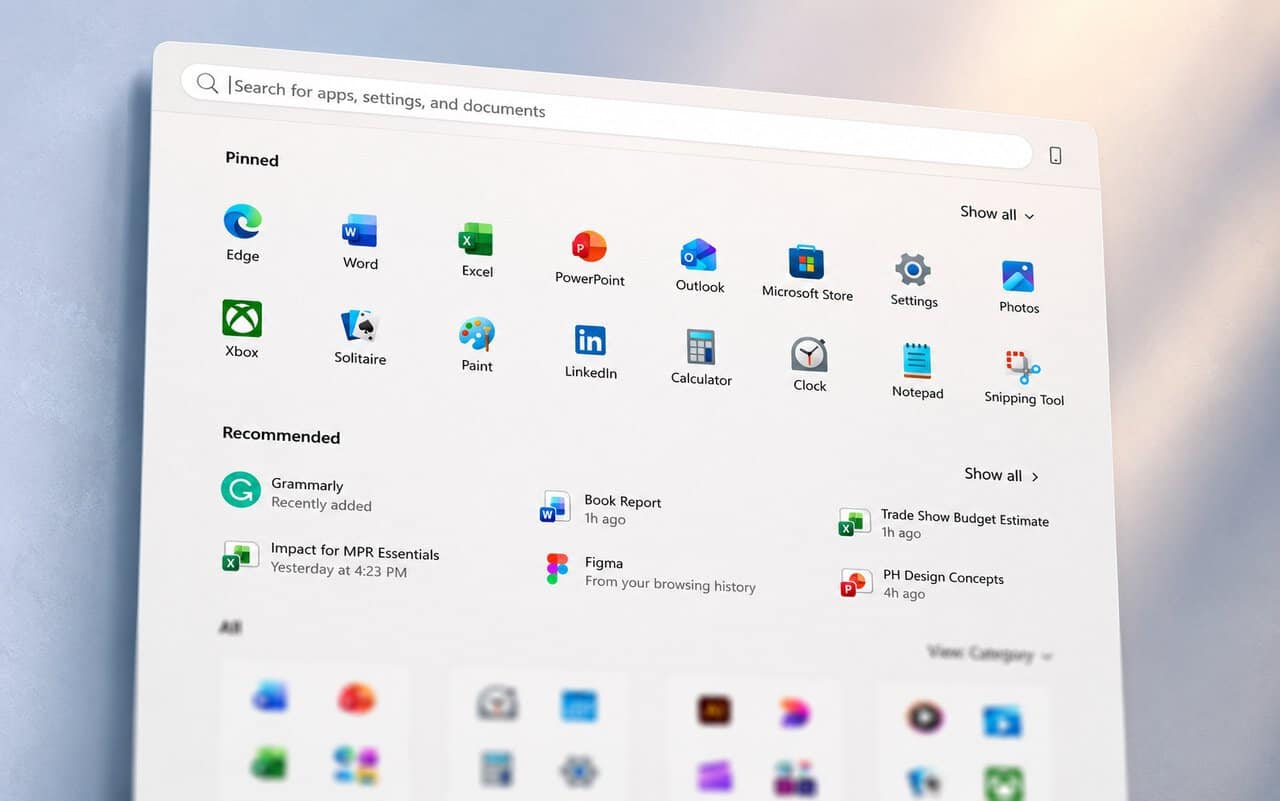
- Go to the Windows icon, and click on Start.
- Next, click on the account name icon (or picture).
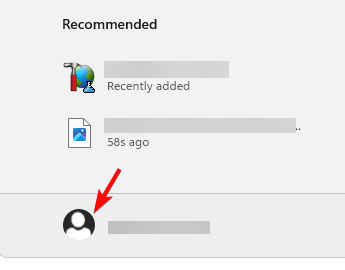
- Now, select another user from the menu.
Thanks to Microsoft’s Fast User Switching feature, switching profiles on your Windows 11 PC is a smooth task.
Enable the feature mentioned above, allowing other users, like friends or family, to quickly sign in to your device.
To remove user accounts in Windows 11, refer to the troubleshooting methods in our detailed guide here.
For any other queries on Windows user accounts, you may leave a message in the comments section below.
Read our disclosure page to find out how can you help Windows Report sustain the editorial team. Read more


Improve this guide


User forum
0 messages