FIX: Blue screen after Windows 10/11 rollback
7 min. read
Updated on
Read our disclosure page to find out how can you help Windows Report sustain the editorial team. Read more
Key notes
- The blue screen after Windows 10 rollback is an error lots of users have encountered.
- You can prevent the Windows 10 blue screen on startup by using third-party software.
- Sometimes, your antivirus may cause the Windows 10 blue screen error codes.
- Also, changing the hard drive mode in BIOS will prevent your Windows 10 be stuck on blue screen.
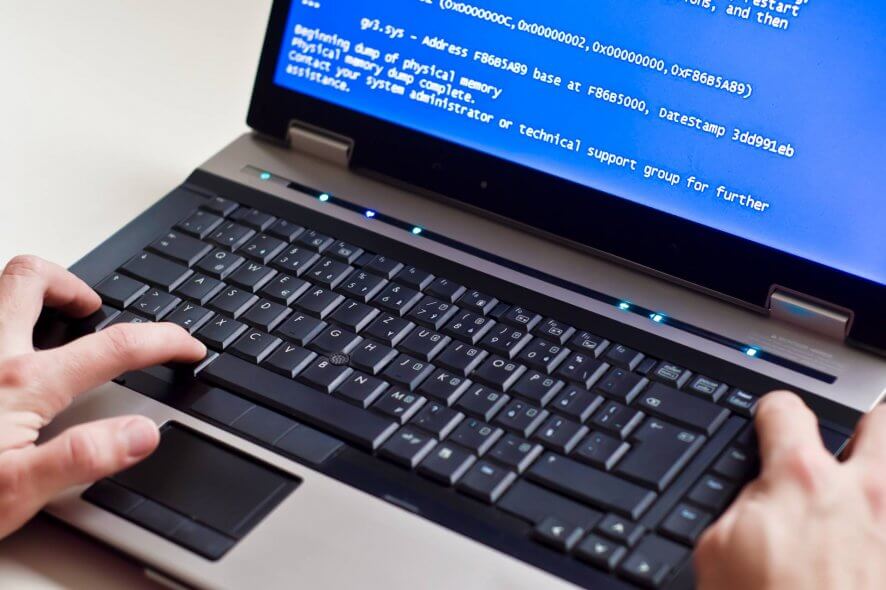
Since Windows 10 is available as a free upgrade, users can rollback to the previous version in the first month after the upgrade.
Unfortunately, many users reported blue screen after reverting to the previous version of Windows. This can be a big problem, therefore today we’re going to show you how to fix it.
How can I fix the blue screen after Windows 10 rollback?
1. Use third-party solution
The blue screen after Windows 10 rollback is a Blue Screen of Death error that upsets many users. However, there is a fast and efficient manner to solve it: use third-party software.
We recommend powerful technology that will safely repair and secure your computer. This kind of repair software is ideal for any PC user as it offers you important benefits.
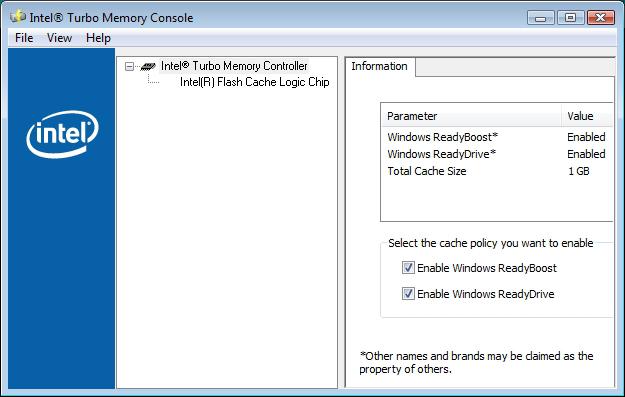
2. Deactivate Turbo memory driver
According to users, Intel Turbo Memory can cause blue screen after Windows 10 rollback to appear. Therefore, it’s advised that you disable it.
In addition to disabling Intel Turbo Memory, some users are also advising to remove the Intel Turbo Memory module from the system as well.
3. Change your hard drive mode in BIOS
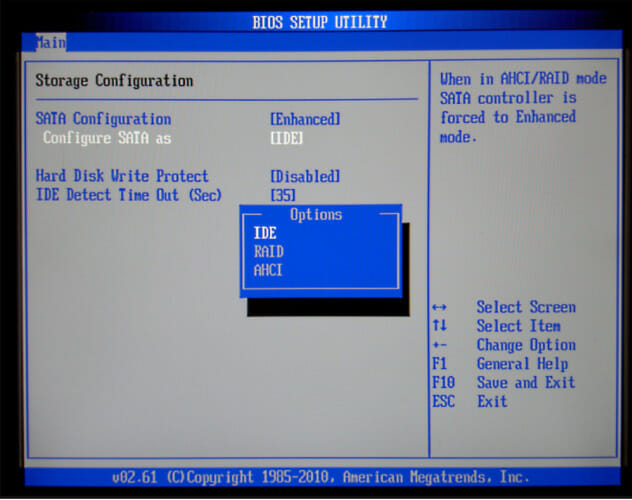
Some users claim that this problem is caused by your hard drive mode, and in order to fix this problem you need to change it. To do that press Del or F2 while your computer boots to enter BIOS.
Once you enter BIOS locate hard drive mode setting and switch between available modes.
These are UEFI, Legacy, Raid On, and AHCI, and you must try them until you find the one that works for you.
For detailed instructions on how to enter BIOS and how to change your hard drive mode we strongly suggest that you check your motherboard manual.
4. Uninstall the problematic drivers
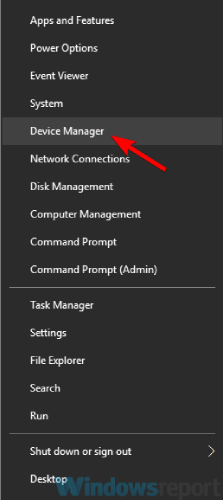
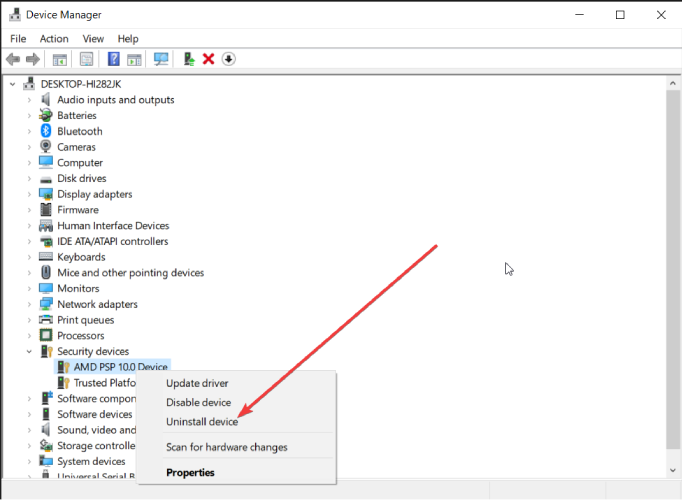
- Press Windows Key + X to open Power User Menu and select Device Manager from the list.
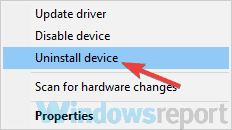
- Find the driver that you want to uninstall, right-click it and choose Uninstall device from the menu.
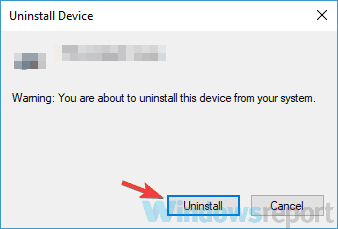
- If available, check Delete the driver software for this device and click OK.
After you remove the driver restart your PC. When your PC restarts Windows will install the default driver instead of the deleted driver.
According to users, this issue can sometimes occur due to your drivers, and in order to fix this issue you need to find and remove the problematic driver.
Users reported that touchpad or display driver can cause this problem to occur, therefore you might want to remove them. To do that follow these steps:
If the default driver works well you can continue using it, but if there are any problems you might have to update it.
5. Install the latest drivers
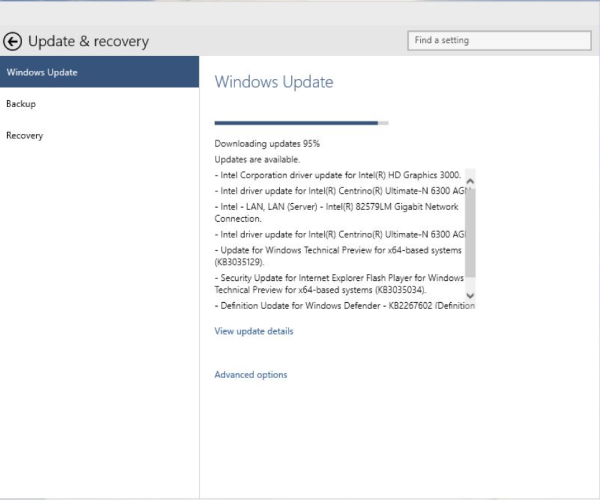
According to users, sometimes this issue can occur if your drivers are out of date. To fix this problem, it’s advised that you update all your drivers.
To do this manually, you need to find the model for each hardware device on your PC and download the latest drivers from the manufacturer.
As an alternative, you can use a performant driver management software to help you with this task. Download and install it, then let it perform a full scan of your operating system.
Once the scan has ended, this solution will provide you with a detailed report of missing, damaged and outdated drivers. From there, it is up to you to choose to download and install one or all drivers found.
6. Disconnect unnecessary USB devices
In some instances, your USB devices can lead to blue screen, and in order to fix this problem, it’s advised to disconnect the unnecessary USB devices. This includes USB hard drives, flash drives, printers, wireless adapters, etc.
As a rule of thumb, you should only keep your keyboard and mouse connected to your PC in order to troubleshoot the issue.
If the issue doesn’t appear after disconnecting certain devices, try connecting them again and wait for the problem to reappear.
If the issue reappears, it’s probably caused by your drivers. Alternatively, it’s possible that a certain USB device is faulty, so you might have to replace it.
7. Remove the problematic applications
It’s possible that a certain application is causing the blue screen to appear after Windows 10 rollback. Sometimes the application might be damaged, and that can lead to a blue screen and many other issues.
However, you can fix the problem simply by finding and removing the problematic applications.
You can usually uninstall the problematic application right from the Settings app.
Although this method is the simplest, it’s not always effective. Even if you remove an application, it can still leave certain files and registry entries that will interfere with your system.
To completely remove an application, along with all of its files and registry entries, you can use uninstaller software. It is a special application that can remove any software from your PC.
In addition, this application will remove all files and registry entries associated with the application you want to remove, thus completely removing the application from your PC.
We suggest you should try reliable uninstaller software. With Powerful Scan and File Shredder features, this tool will completely remove leftovers or stubborn plug-ins without any hassle.
8. Remove your antivirus software
- Restart your computer a few times during the boot to start Automatic Repair.
- Choose Troubleshoot > Advanced options > System Startup and click the Restart button.
- When your computer restarts again, press 5 or F5 to choose Safe Mode with Networking.
When Safe Mode starts you need to find and remove your antivirus software. If you cannot access Windows at all due to blue screen error, you can remove the antivirus programs from Safe Mode.
Blue screens are often caused by certain software, most commonly your antivirus.
So, if you’re having this problem after rolling back from Windows 10 we suggest that you remove all third-party antivirus programs from your PC.
Users reported that Avira and Kaspersky antivirus caused this problem to appear, but bear in mind that almost any third-party antivirus can cause this error.
9. Perform a Clean boot
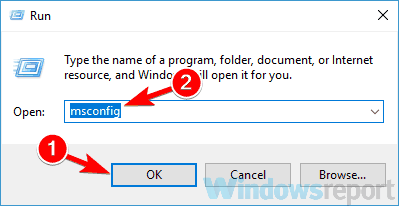
- Press Windows Key + R and enter msconfig. Now click OK or press Enter.
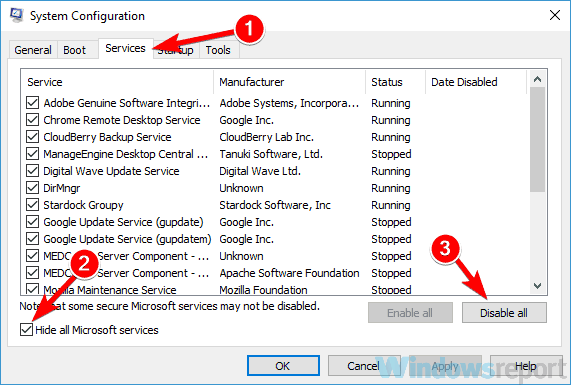
- From System Configuration, navigate to the Services tab, check Hide all Microsoft services, and click Disable all.
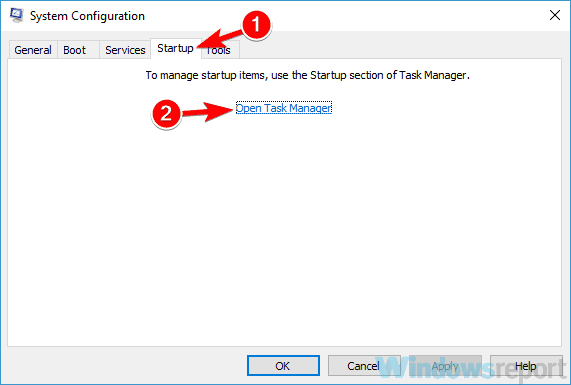
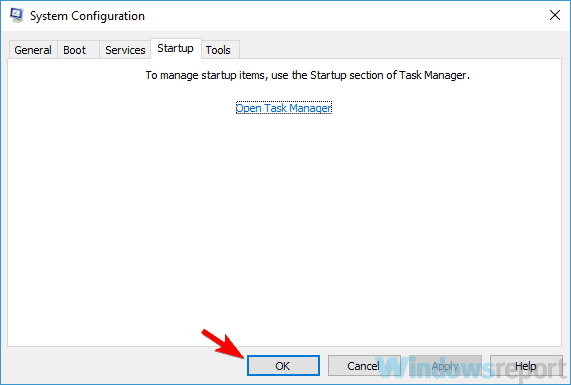
- Navigate to the Startup tab and click Open Task Manager.
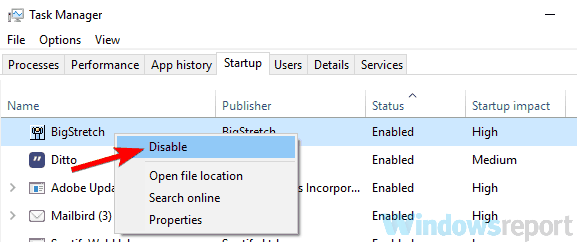
- Right-click the first entry on the list, choose Disable from the menu. Do this for all entries on the list.
- Return to System Configuration, click Apply and OK to save changes and restart your PC.
After your PC restarts, check if the problem is still there. If the issue doesn’t appear, it means that one of the disabled applications was causing the problem.
To find the problematic application you need to enable services and applications one by one until you manage to recreate the problem.
Once you find the problematic application, you need to remove it using the uninstaller software or keep it disabled.
If you’re having blue screen errors after Windows 10 rollback, the problem might be third-party applications or services. It’s advised to perform a Clean boot like in these above-mentioned steps.
Blue screen after Windows 10 rollback can be a big problem, but we hope that you managed to fix this issue by using one of our solutions.



User forum
0 messages