What is inetcpl.cpl and How to Fix Its Errors
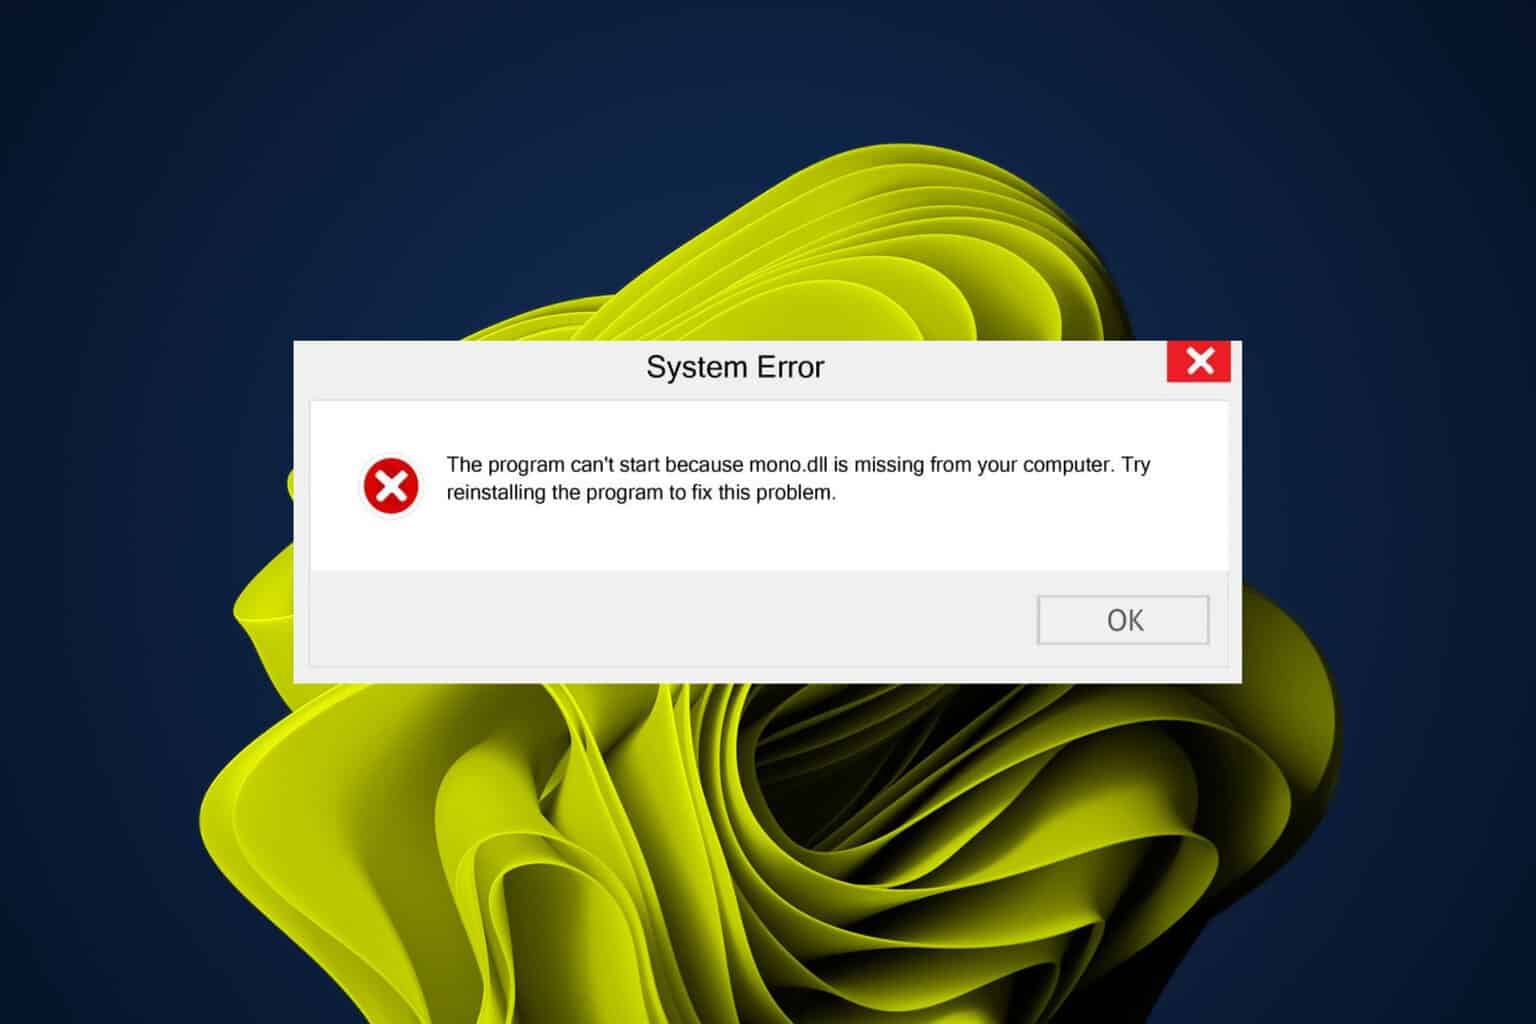
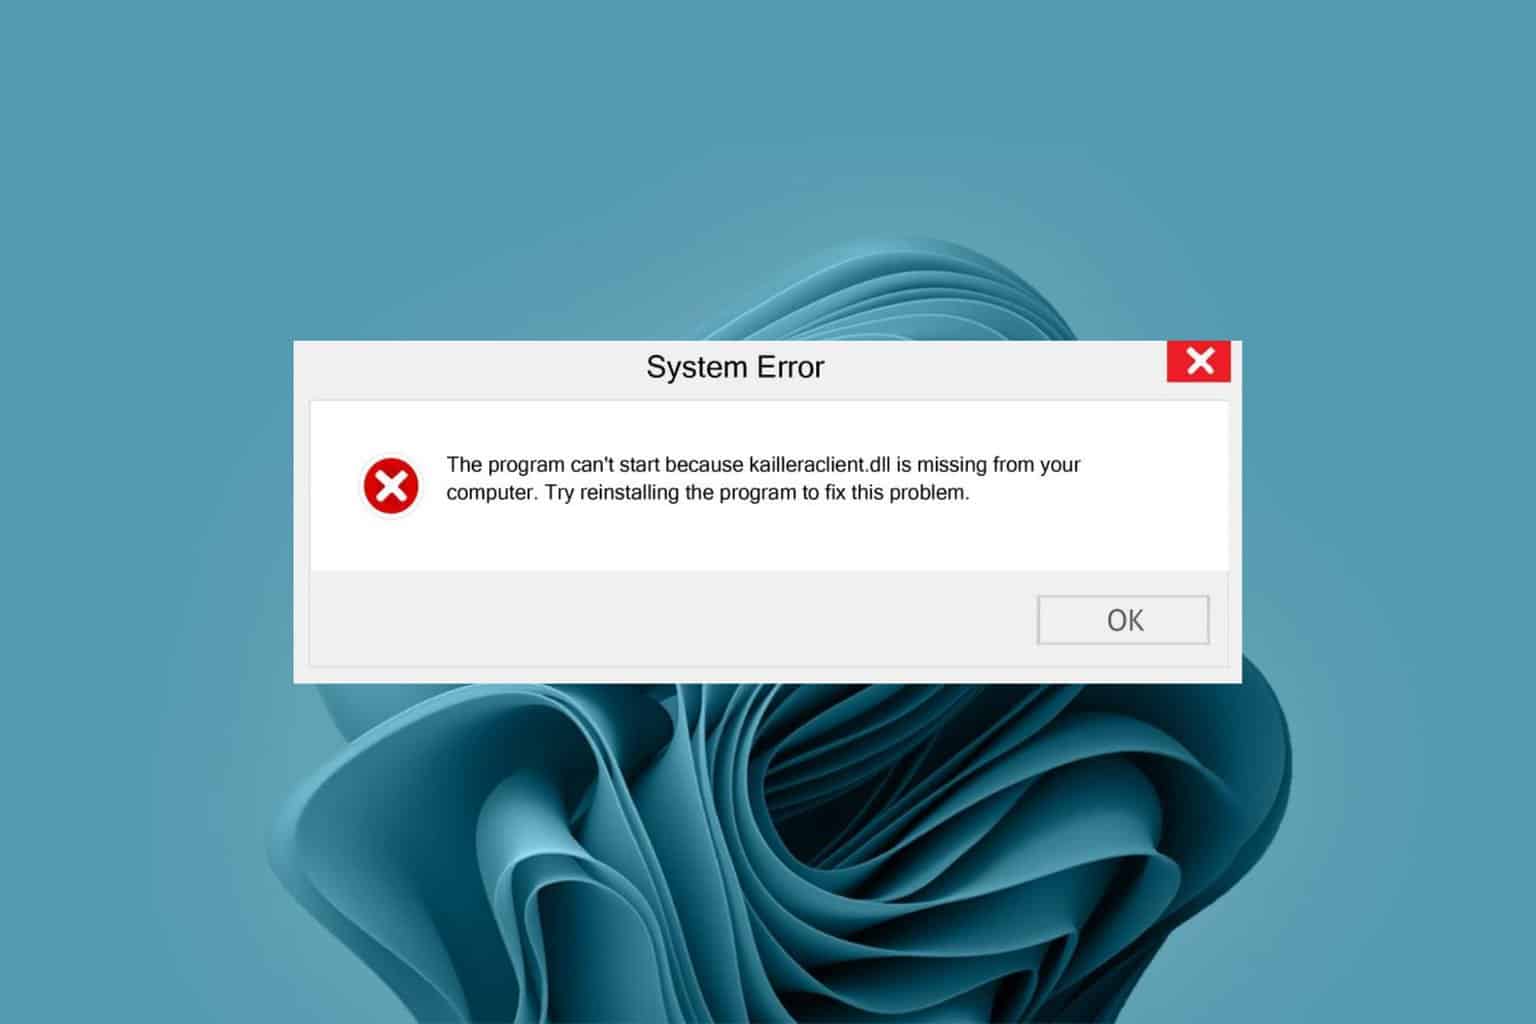
Check for missing DLLs when it's not opening
5 min. read
Updated on
Read our disclosure page to find out how can you help Windows Report sustain the editorial team. Read more
Key notes
- The inetcpl.cpl utility comes pre-added in Windows and is stored in the System32 folder.
- If it’s not opening, delete the NoBrowserOptions DWORD, uninstall recent updates, or perform an in-place upgrade.
- Keep reading to find out more about Internet Properties and the fixes!
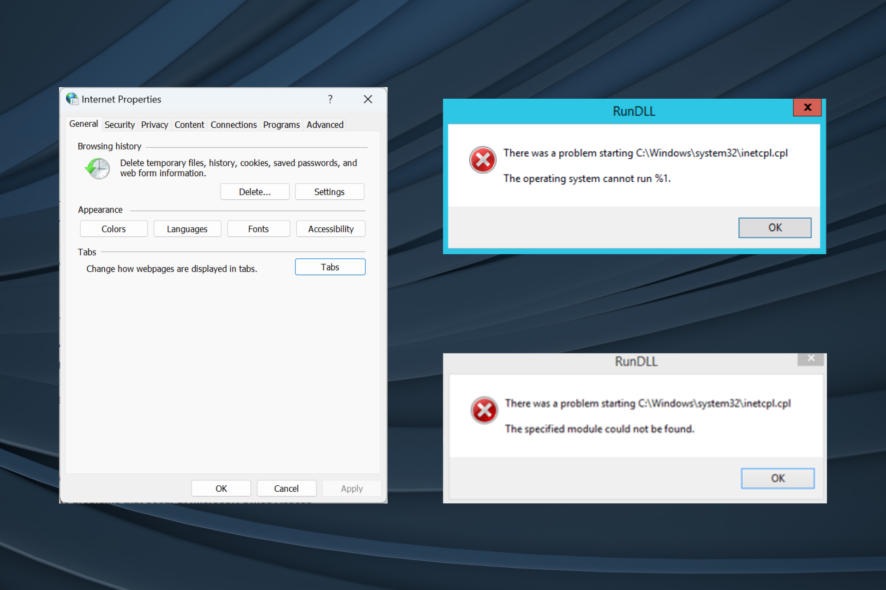
The inetcpl.cpl or Internet Properties is a built-in utility that allows users to configure Internet-related settings, including security, privacy, certificates, VPN, and add-ons. It’s stored in the following location: C:\Windows\System32
But users sometimes face trouble opening Internet Properties, and the error message reads, RunDLL The specified module could not be found or The operating system cannot run %1. In both these cases, the path to the file is listed. So, let’s find out what to do when inetcpl.cpl is not opening!
How do I fix inetcpl.cpl errors?
Before we start with the slightly complex solutions, try these quick ones:
- Check for any pending Windows updates and install them.
- If you are facing an inetcpl.cpl issue with Internet Explorer, we recommend switching to another effective web browser since the former was discontinued on June 15, 2022.
- Uninstall apps that were downloaded recently on the PC.
1. Download the missing DLLs
The inetcpl.cpl utility requires the following DLLs on the PC to run effectively:
So, you can either replace the missing one with a copy from another PC or get the best DLL repair tool.
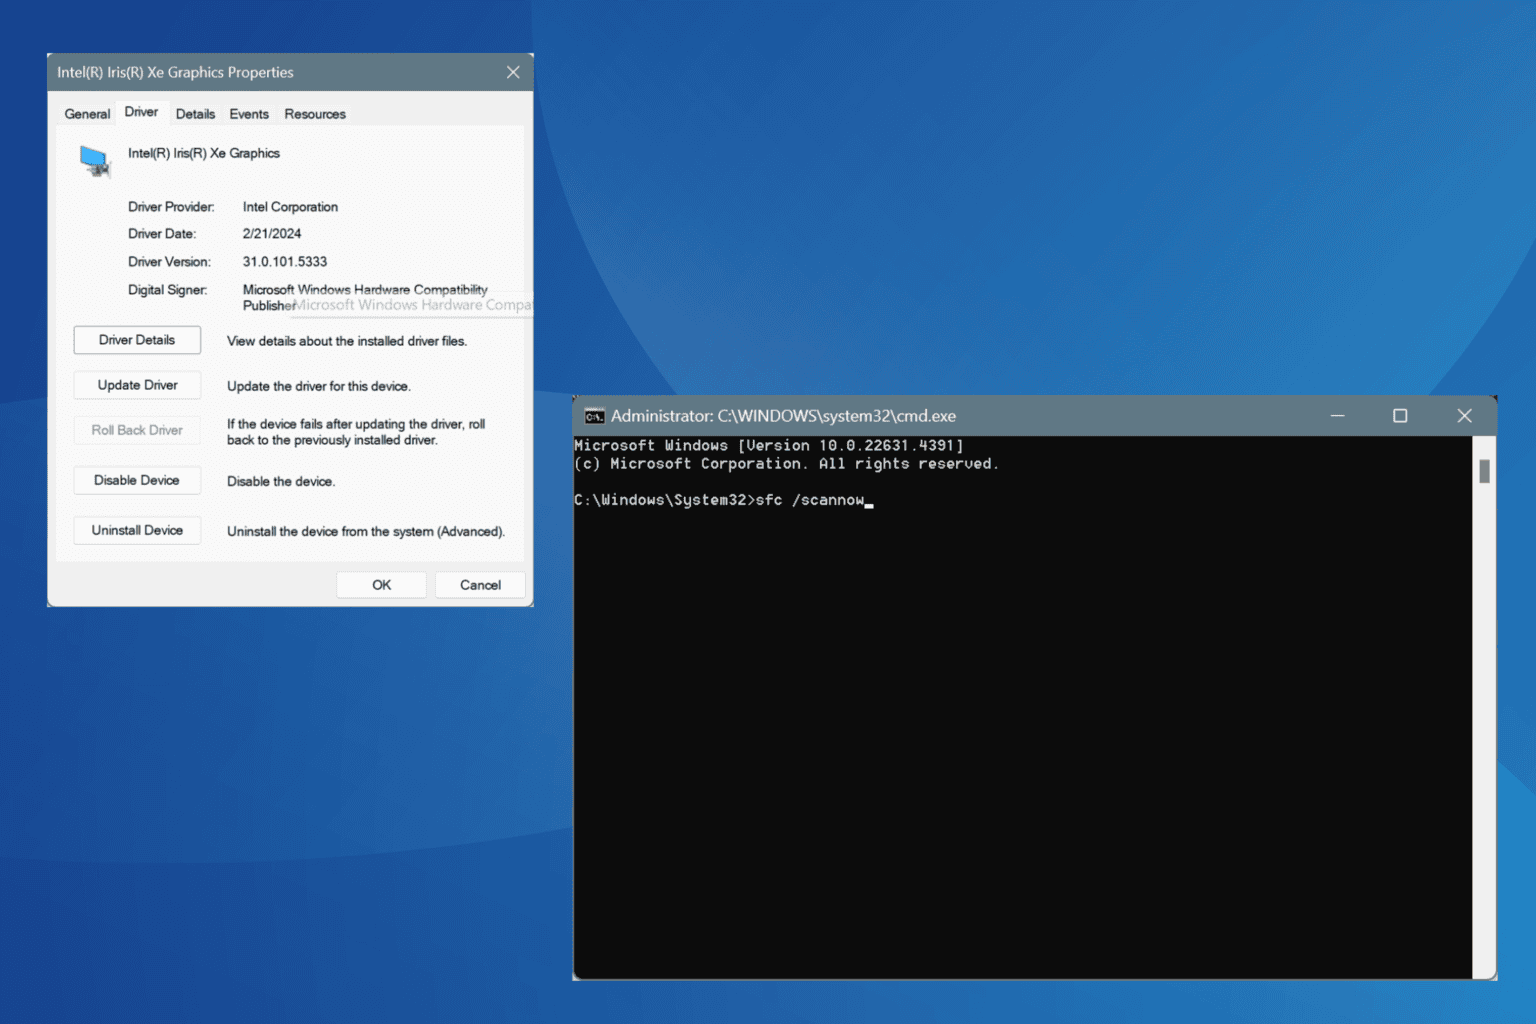
2. Run the DISM and SFC scans
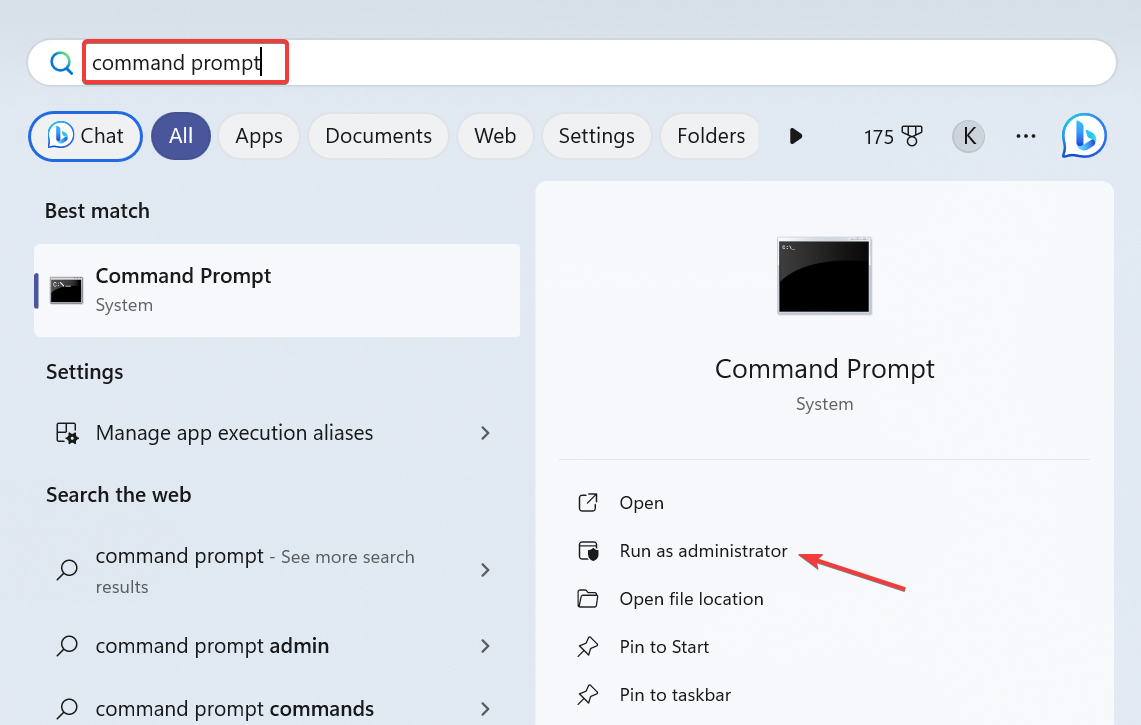
- Press Windows + S to open Search, type Command Prompt in the text field, and click on Run as administrator.
- Click Yes in the UAC prompt.
- Paste the following DISM commands individually and hit Enter after each:
DISM /Online /Cleanup-Image /CheckHealthDISM /Online /Cleanup-Image /ScanHealthDISM /Online /Cleanup-Image /RestoreHealth - Once done, run the following command for the SFC scan:
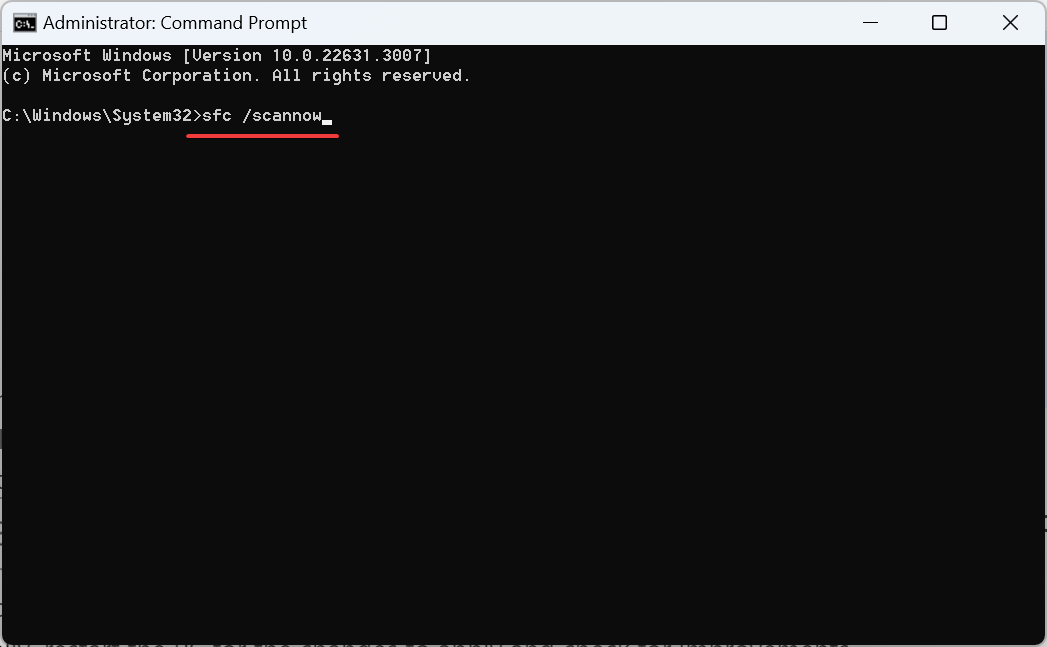
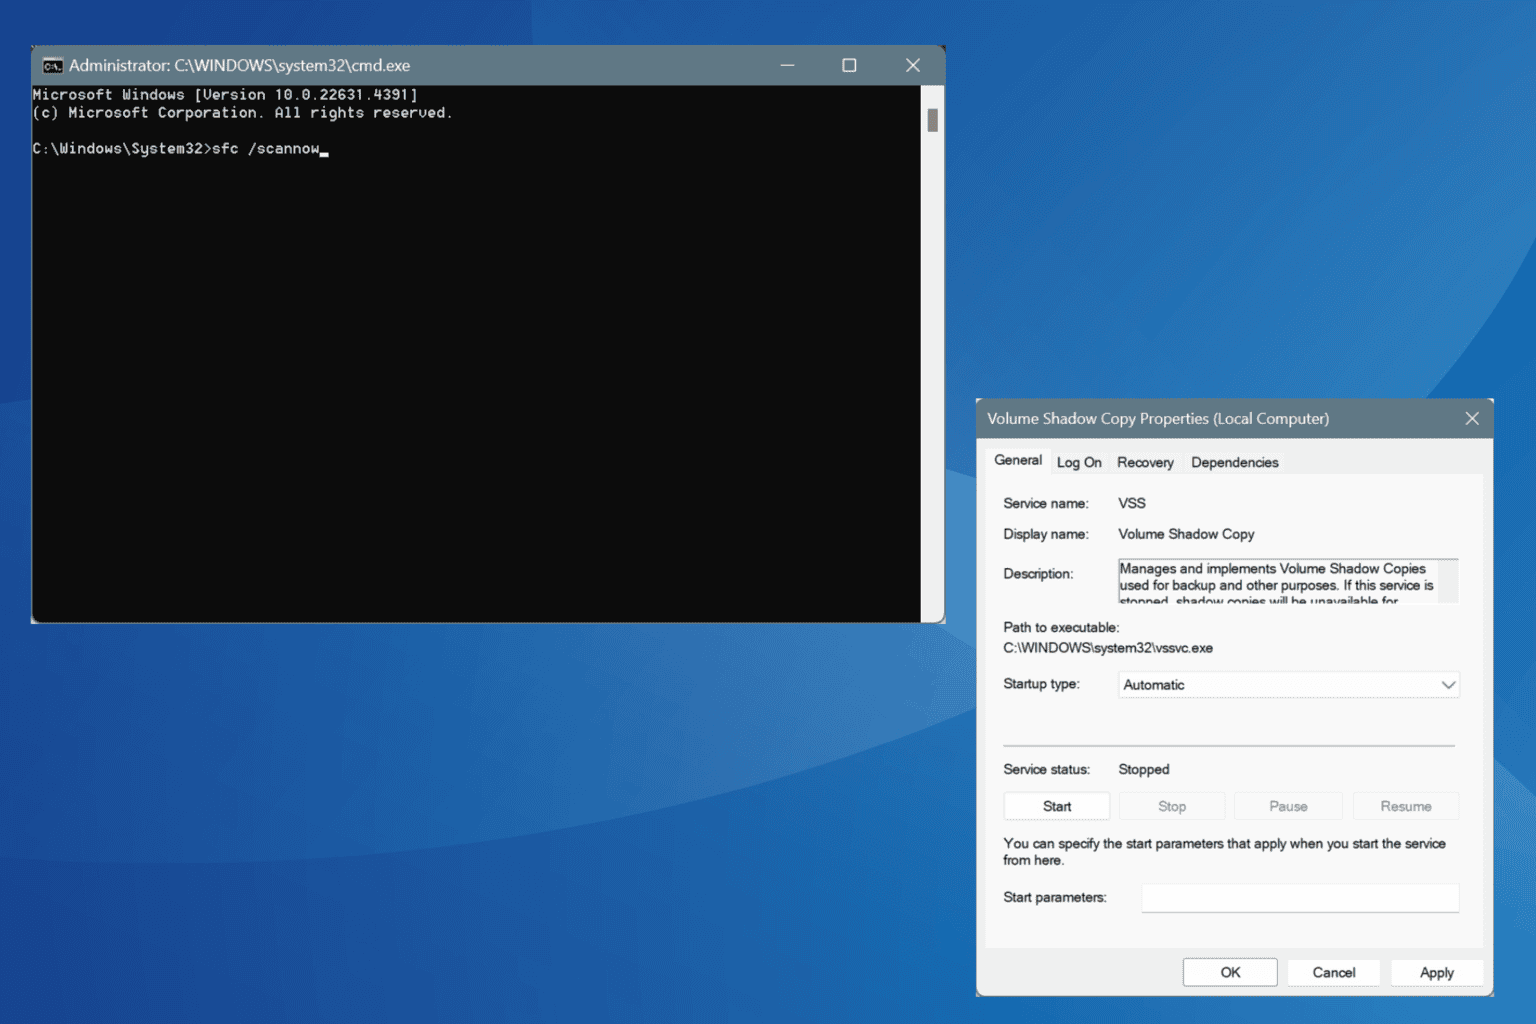
sfc /scannow - Finally, restart the PC for the changes to apply and check for improvements.
The DISM tool and SFC scan help find corrupt system files and then replace them with their cached copy stored on the PC.
3. Delete the NoBrowserOptions DWORD in Registry
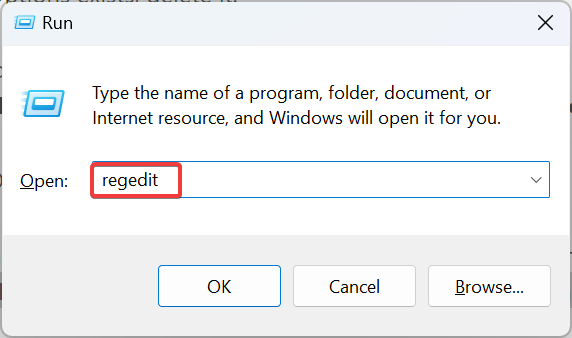
- Press Windows + R to open Run, type regedit in the text field, and hit Enter.
- Click Yes in the UAC prompt that appears.
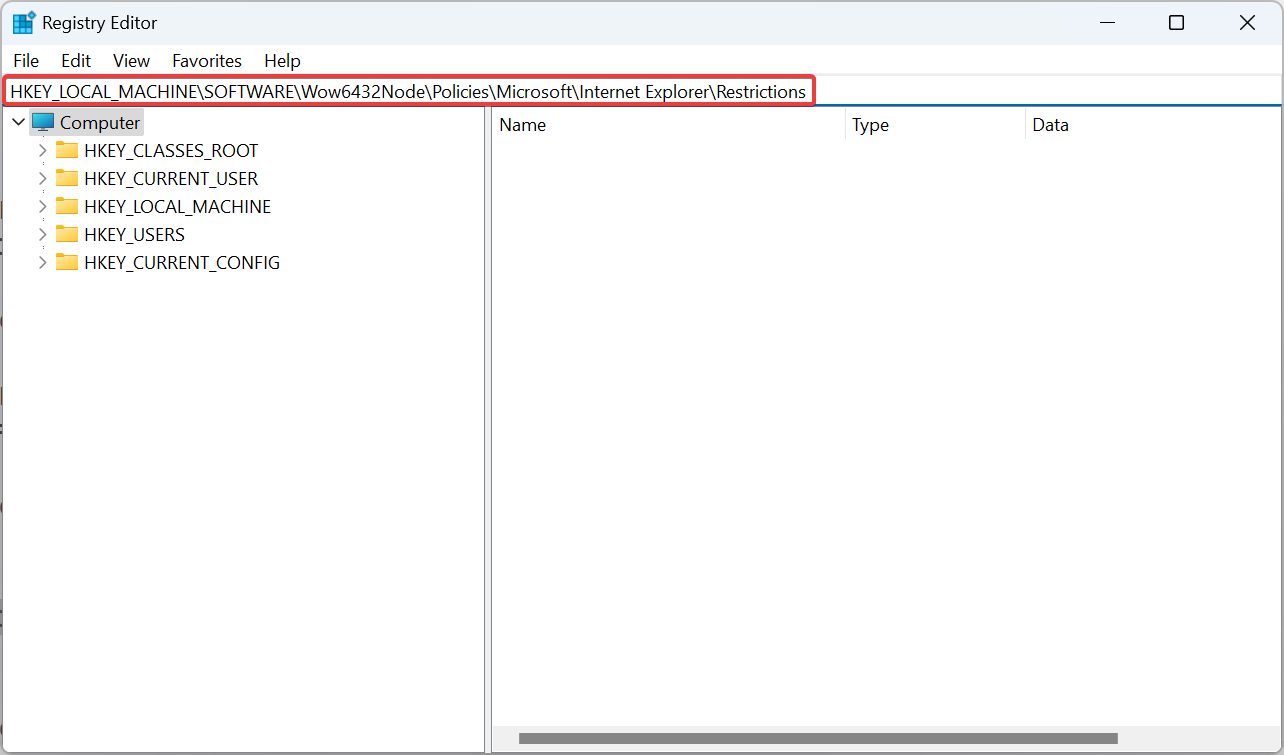
- Navigate the following path or paste it into the address bar and hit Enter:
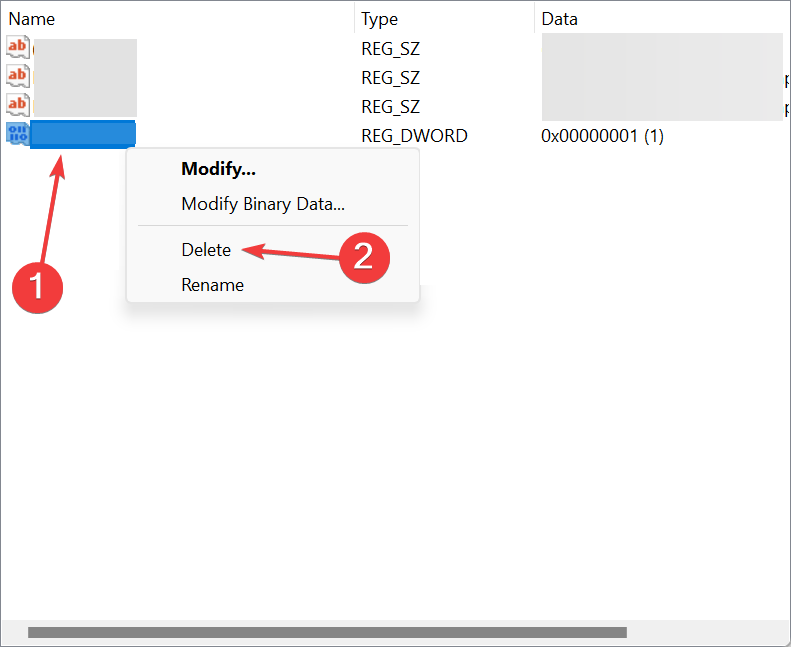
HKEY_LOCAL_MACHINE\SOFTWARE\Wow6432Node\Policies\Microsoft\Internet Explorer\Restrictions - Locate the NoBrowserOptions DWORD, right-click on it, and select Delete from the context menu.
- Click Yes in the confirmation prompt.
- If the DWORD is not found, check the following two paths (keys) as well:
HKEY_LOCAL_MACHINE\SOFTWARE\Policies\Microsoft\Internet Explorer\RestrictionsHKEY_CURRENT_USER\SOFTWARE\Policies\Microsoft\Internet Explorer\Restrictions - Restart the computer and verify whether inetcpl.cpl is now working.
4. Perform a clean boot
- Press Windows + R to open Run, type msconfig in the text field, and click OK.
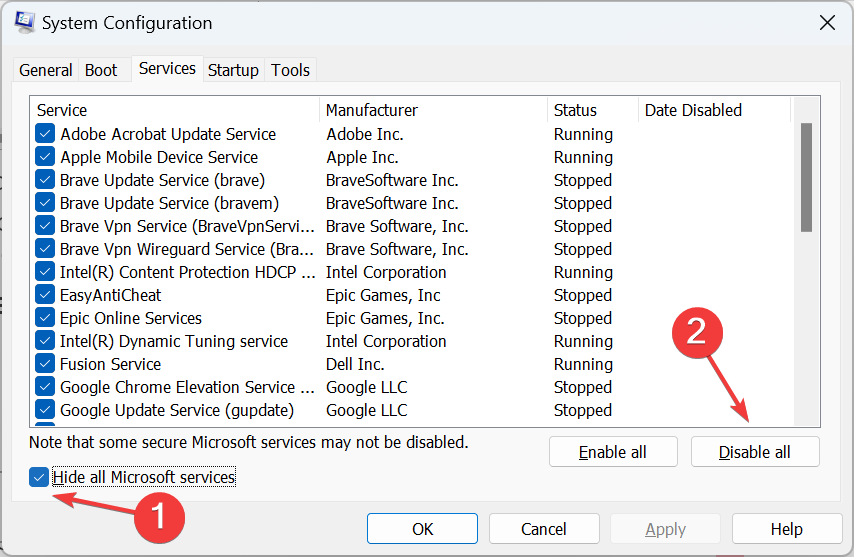
- Go to the Services tab, tick the checkbox for Hide all Microsoft services, and click on Disable all.
- Head to the Startup tab, and click on Open Task Manager.
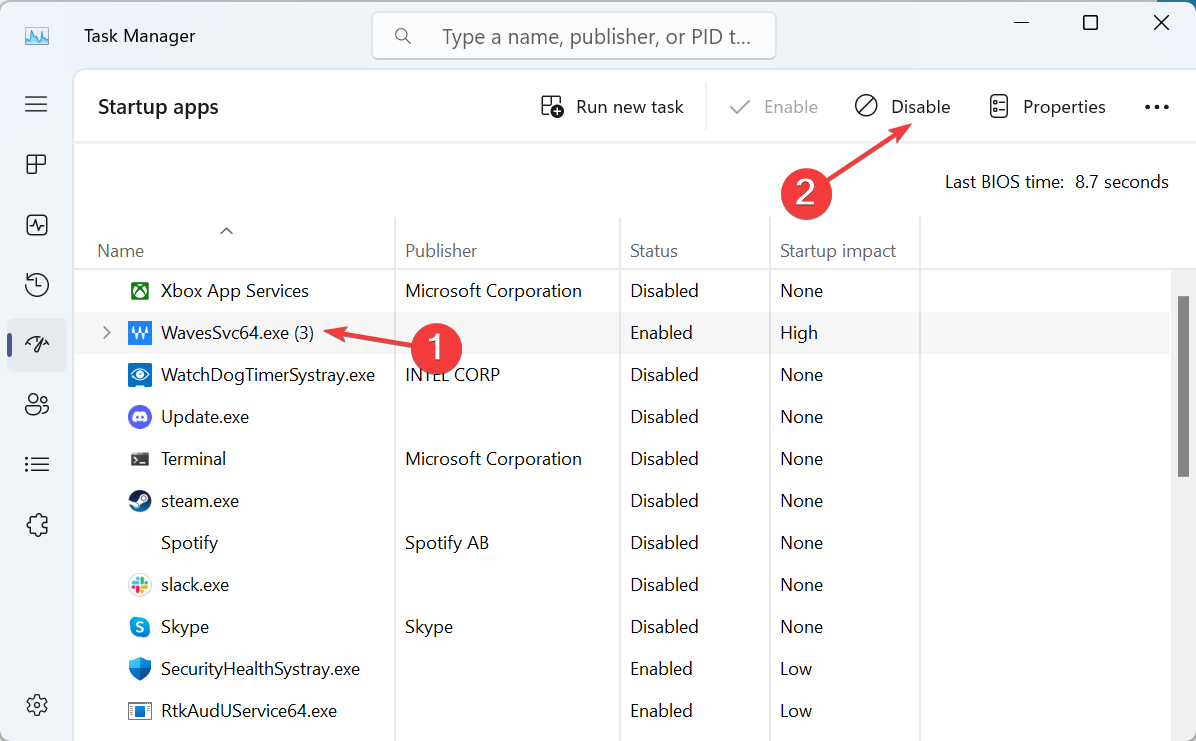
- Select any program(s) that reads Enabled under the Status column and click on Disable.
- Go back to System Configuration, and click on Apply and OK.
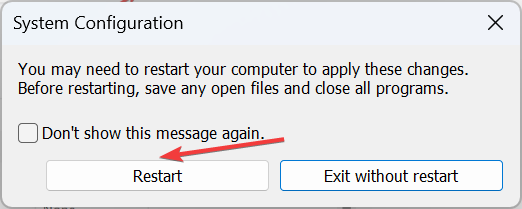
- Click Restart in the confirmation prompt.
If inetcpl.cpl starts working in the clean boot mode, simply re-enable the services and startup programs one at a time and wait for the problem to reappear. As soon as it does, the one enabled last is the underlying cause.
If it’s a program, uninstall it, and for a service, use the services.msc console to disable it.
5. Uninstall recent Windows updates
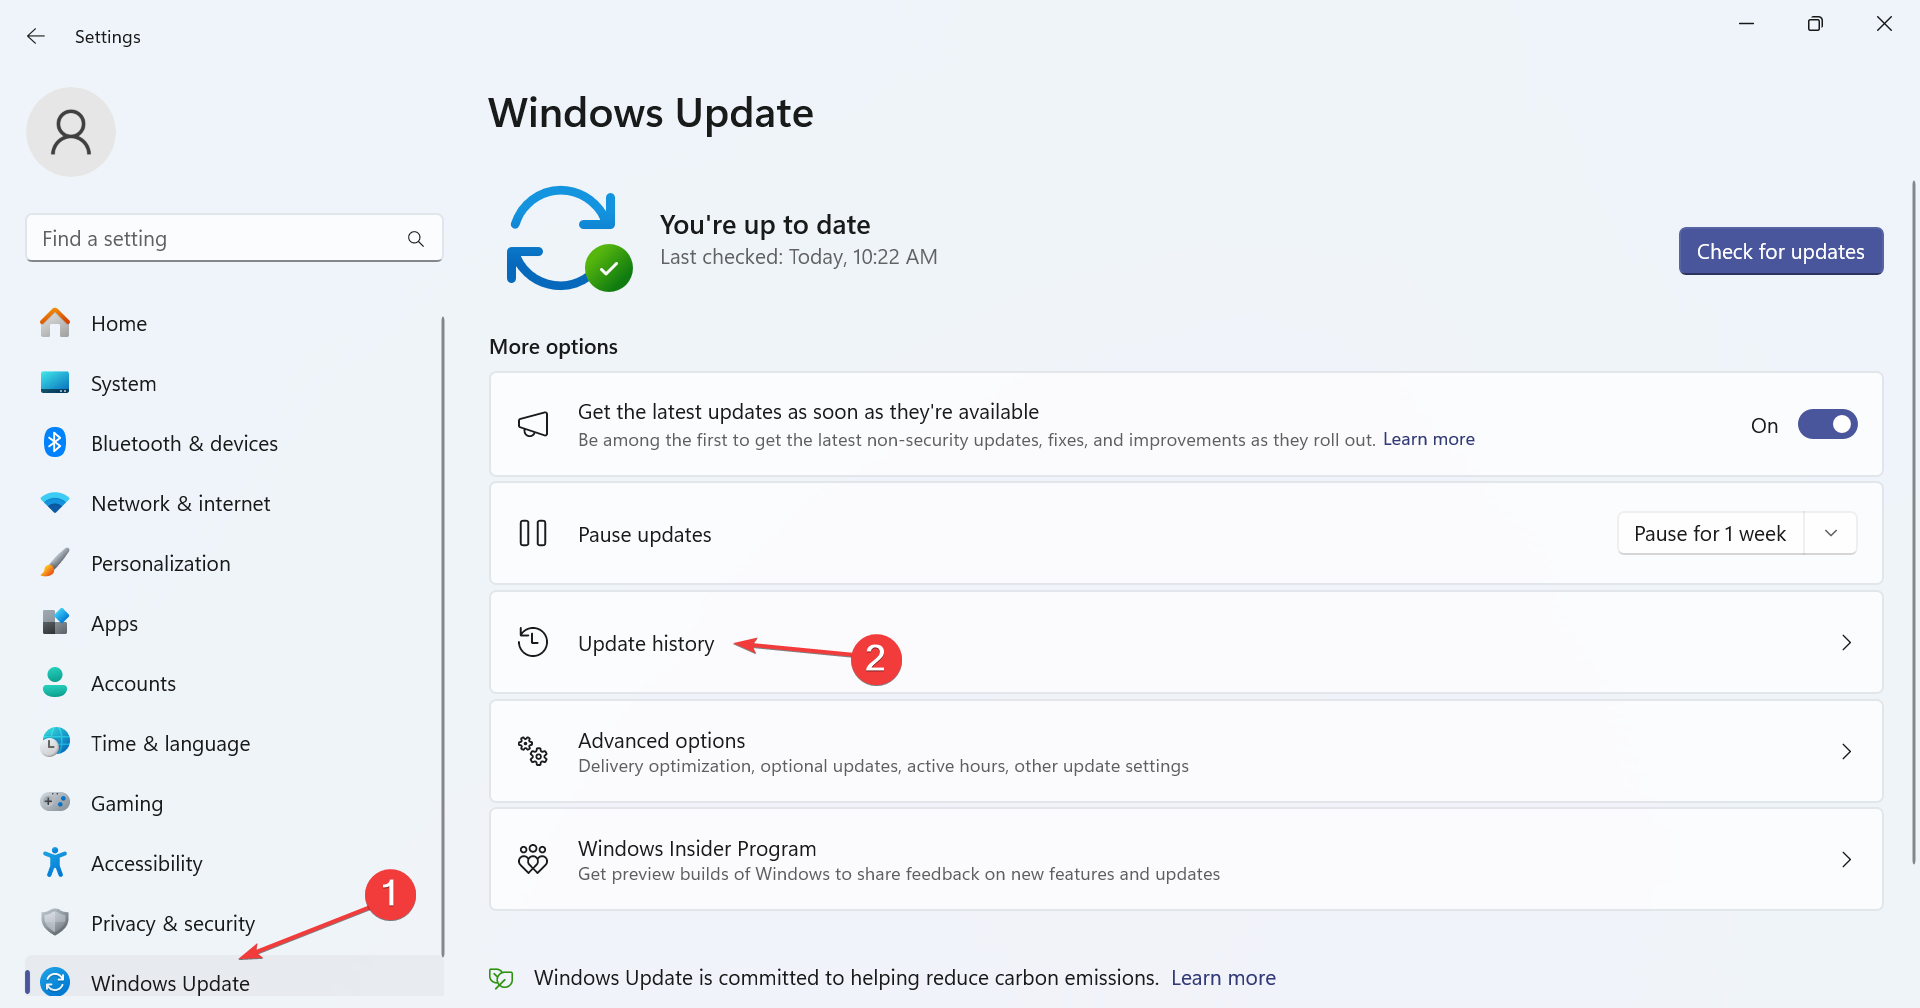
- Press Windows + I to open Settings, go to Windows Update from the navigation pane, and click on Update history.
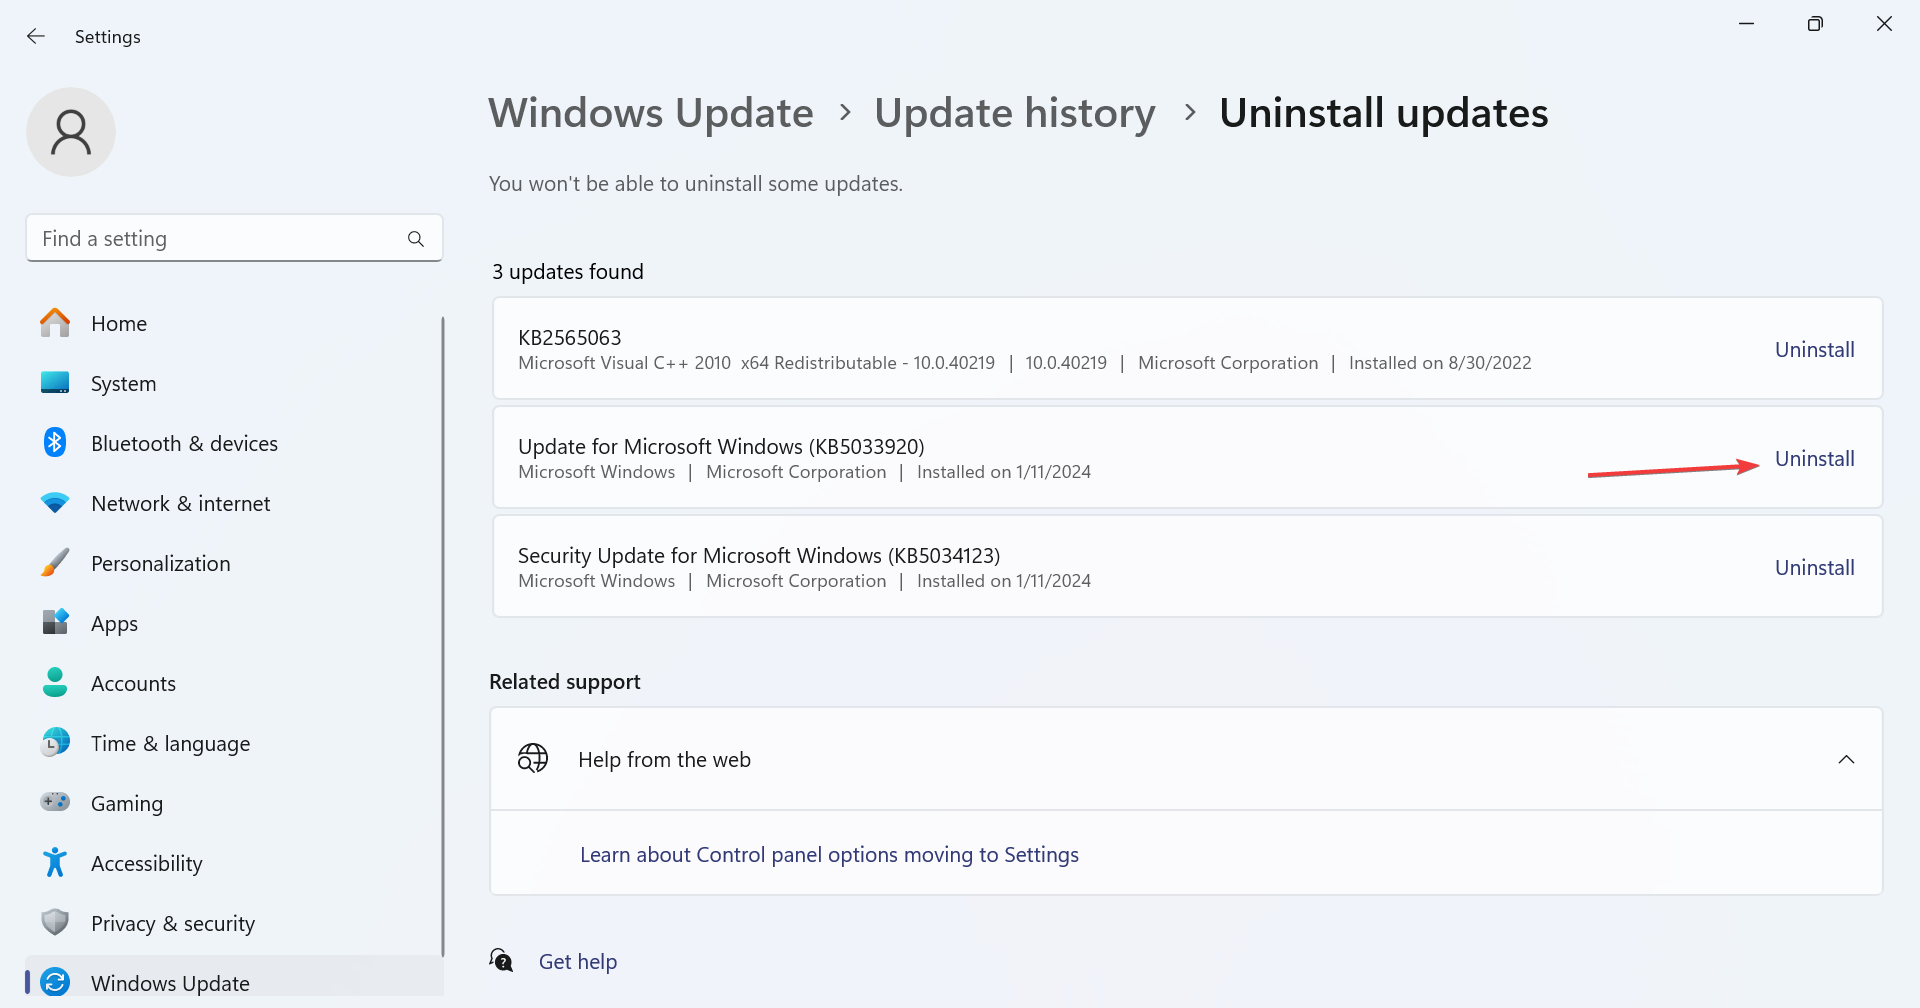
- Scroll down to the bottom and click on Uninstall updates.
- Click the Uninstall option next to recently installed update.
- Again, click Uninstall in the confirmation prompt.
- Reboot the PC and check for improvements.
- If the problem persists, uninstall a few more recent updates.
Two updates, KB2820197 and KB2847204, were found to trigger inetcpl.cpl loading errors. So, uninstall the updates along with any others that might cause problems later on.
6. Create a new user profile
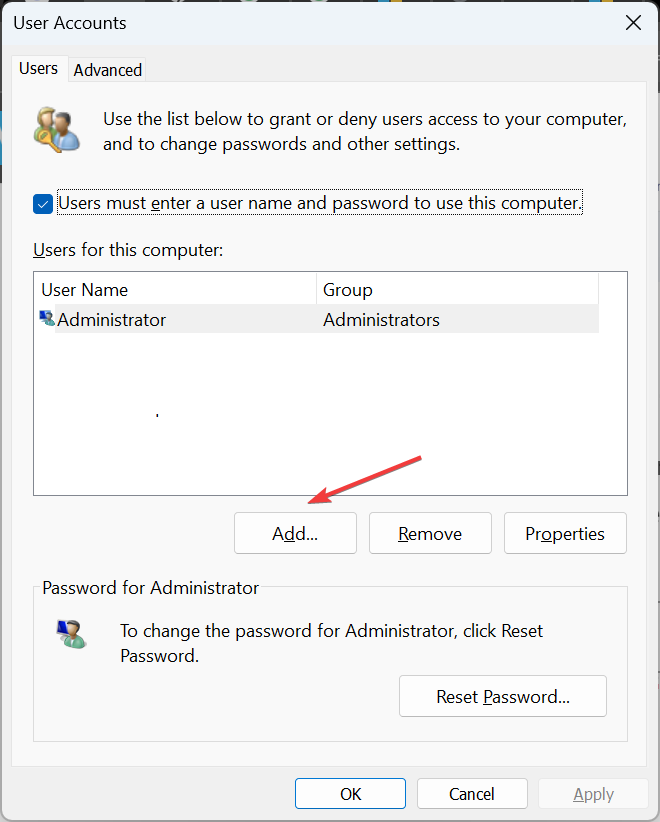
- Press Windows + R to open Run, type netplwiz in the text field, and hit Enter.
- Click the Add button.
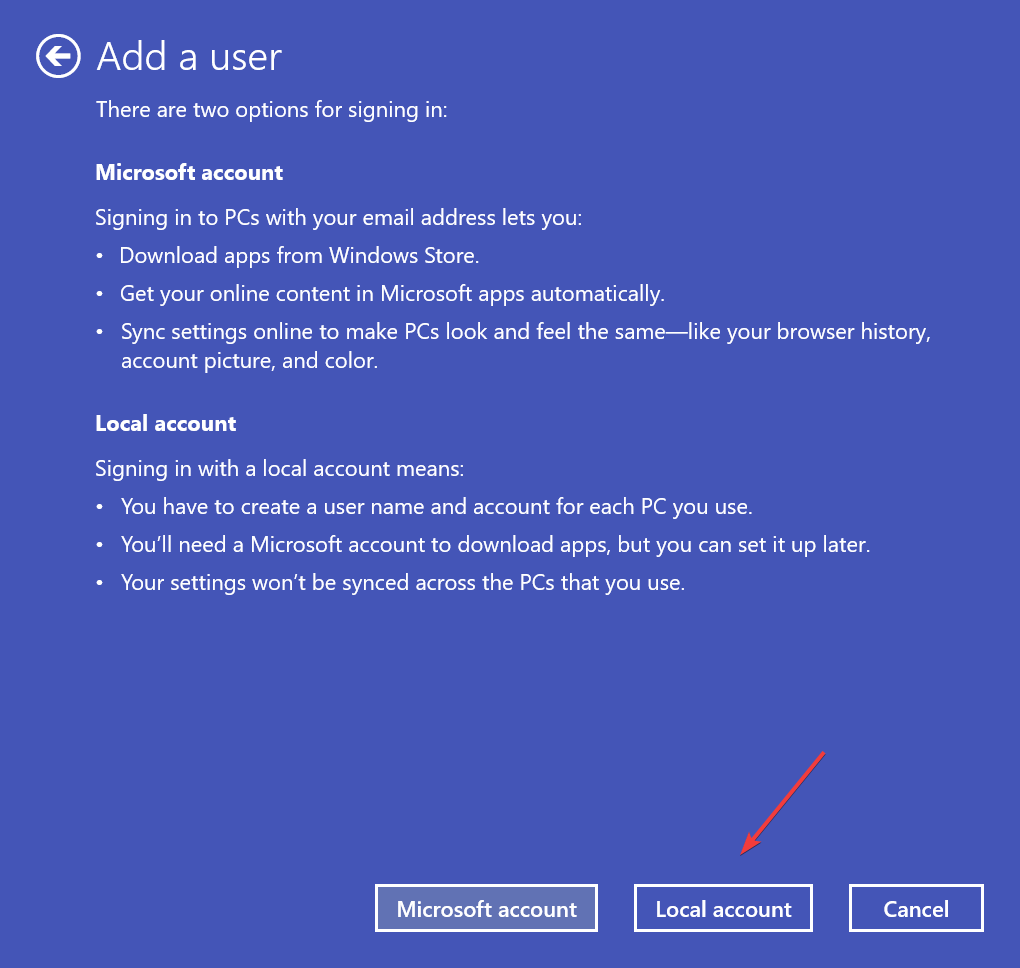
- Click on Sign in without a Microsoft account.
- Now, choose the Local account option.
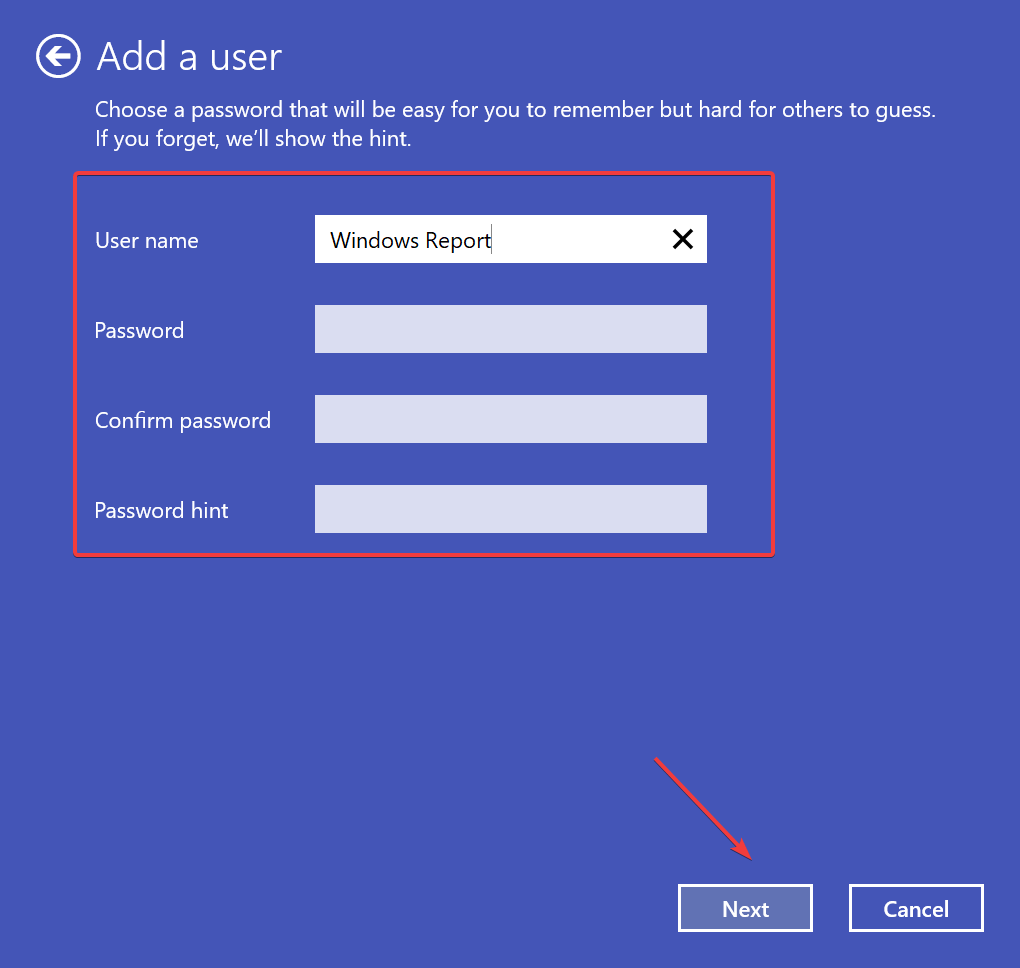
- Enter the username and, if required, a password, then click on Next to create a new user profile.
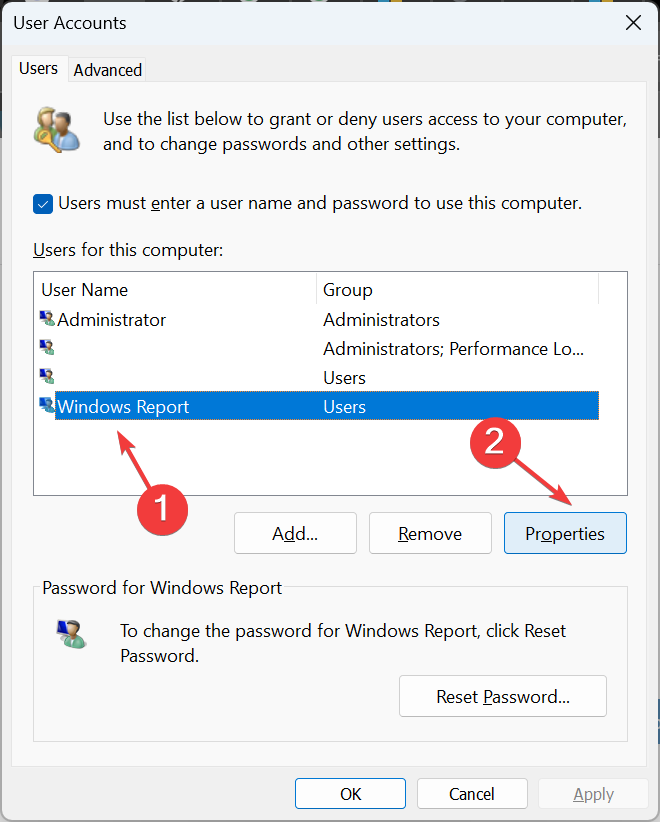
- Select the account from the list and click on the Properties button.
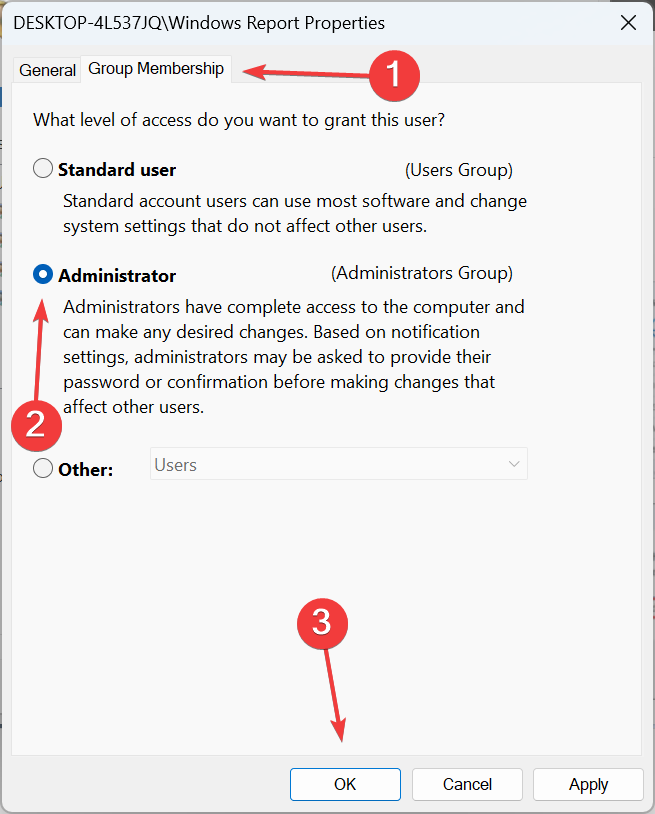
- Go to the Group Membership tab, select Administrator, and click on OK to save the changes.
- Finally, sign in with the new local account and check whether you can open inetcpl.cpl.
When creating a new local account, it’s imperative to grant it administrative privileges to not run into permission issues. Once done, copy the critical files from the old user account to an external drive and then move it to the new one. And you can always share programs between user profiles.
7. Perform an in-place upgrade
 NOTE
NOTE
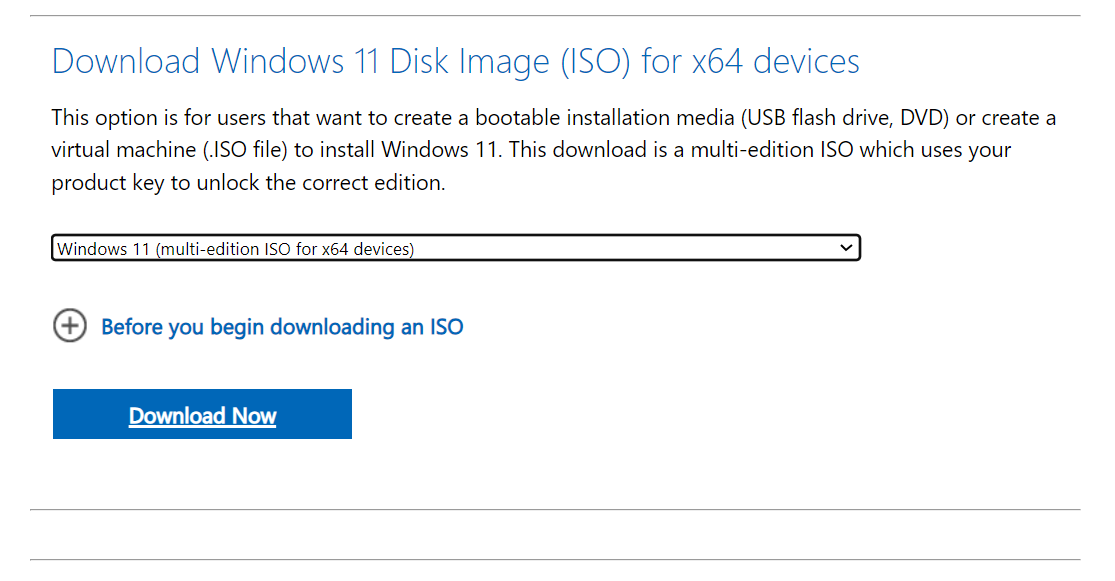
- Go to Microsoft’s official website, select the OS version and product language, and then download the Windows 11 ISO.
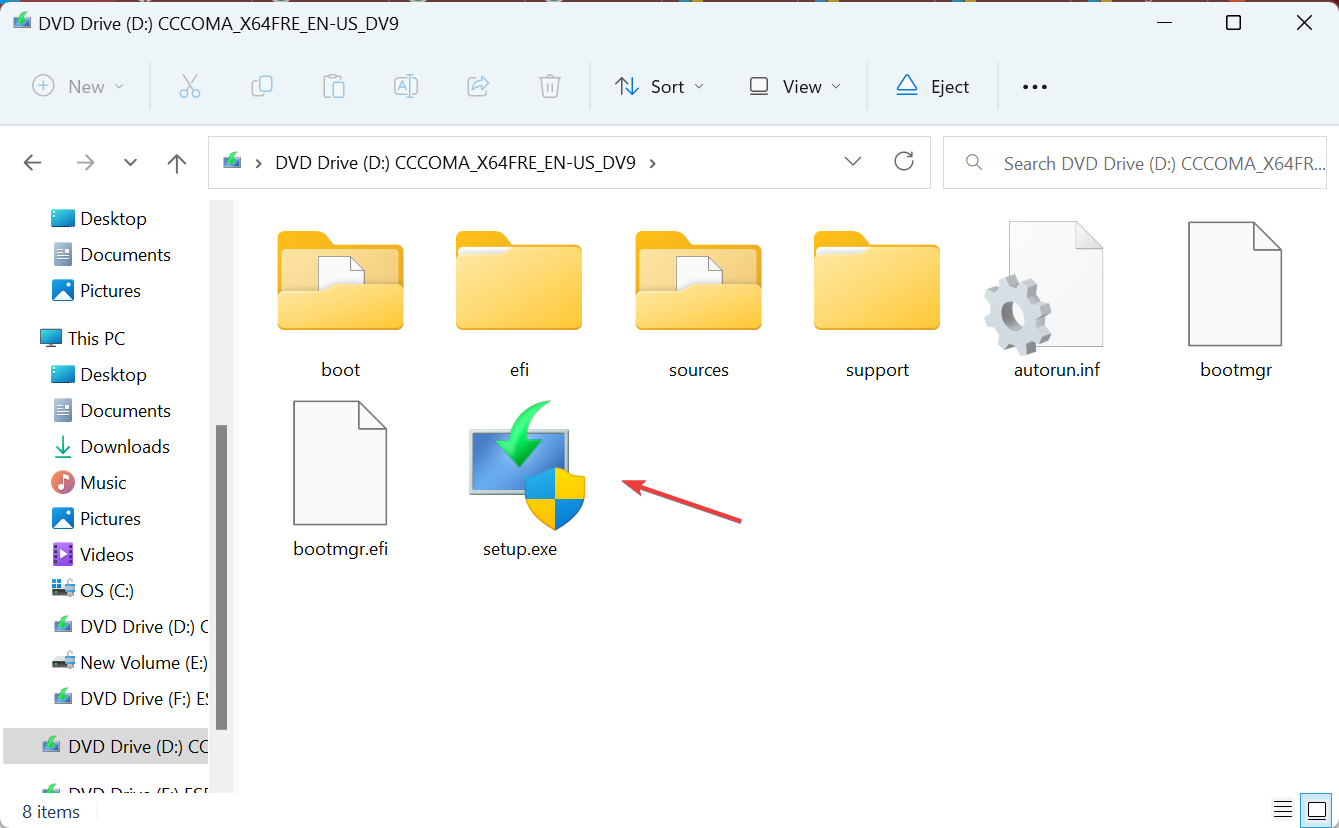
- Double-click the ISO file and click Open in the confirmation prompt.
- Run the setup.exe file.
- Click Yes in the UAC prompt.
- Click Next to proceed in the Windows 11 Setup.
- Read Microsoft’s license terms and click on Accept to continue.
- Finally, verify the setup reads, Keep personal files and apps, and then click on Install.
- Wait 1-2 hours for the process to complete. Make sure the PC is plugged into charging.
Since inetcpl.cpl is a built-in Windows component, an in-place upgrade will fix any file corruption or association and get things running!
Remember, inetcpl.cpl is useful in a lot of cases, especially if you receive a Windows proxy error or see a Microsoft Edge white/blank/grey screen, besides allowing you to reconfigure the critical settings.
For any queries or to share which fix worked for you, drop a comment below.


User forum
0 messages