You've Just Installed Windows 11? First 10 Things to Do
Do these things once you upgrade to Windows 11
10 min. read
Updated on
Read our disclosure page to find out how can you help Windows Report sustain the editorial team Read more
Key notes
- With all the new features and options available in Windows 11, it can be overwhelming at first.
- You want it to be your favorite operating system and here are some things that you can do to make it so.
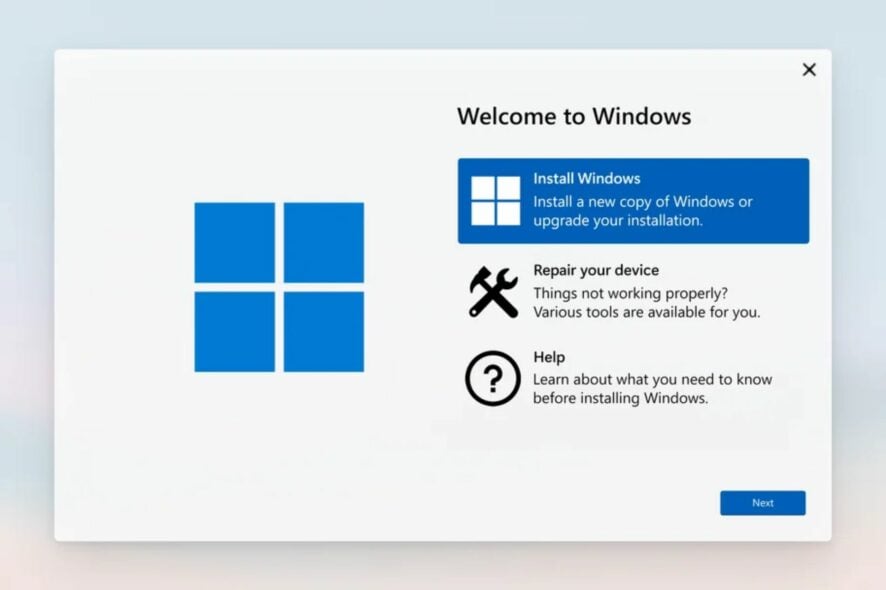
If you’ve just installed Windows 11, congratulations. Now it’s time to get started. Of course, you’ve probably heard about all its cool features and can’t wait to experience the same. It’s not just about using the right apps or hardware.
There are some simple things you can do to make sure your experience with Windows 11 is as smooth as possible. So, here are some things you need to know before you fire up your new operating system.
How to use Windows 11 to the best?
There are steps you need to take to ensure you’re using Windows 11 to its full capacity 11. Here’s what you need to know:
- Check hardware compatibility – First and foremost, make sure your computer meets the minimum requirements for Windows 11. You can check on Microsoft’s product page or use the PC Health Check app. If it doesn’t meet the requirements, you’ll need to upgrade your computer or buy a new one before you can get Windows 11. Although you may be able to install Windows 11 on unsupported hardware, your use of the OS will be limited.
- Use the right version of Windows – Windows 11 isn’t just one product. There are several different versions available, each with its strengths and weaknesses. Some of these versions are free upgrades, while others require you to purchase a new license. For instance, Windows 11 Home and Windows 11 Pro. The most appropriate version for your needs depends on several factors, including which apps you use, the type of hardware you have, and whether it is for individual needs or business. We have a special article that recommends the best Windows version for gamers.
- Sign up with a Microsoft account – When you first boot up your PC, you’ll be asked if you want to sign in with a Microsoft account or create one. If you have one already, it’s worth signing in. Not only does this provide seamless integration with all your settings across devices, but also access to other essential services. Still, you can set up Windows without a Microsoft account.
What do I need to do to prepare for Windows 11?
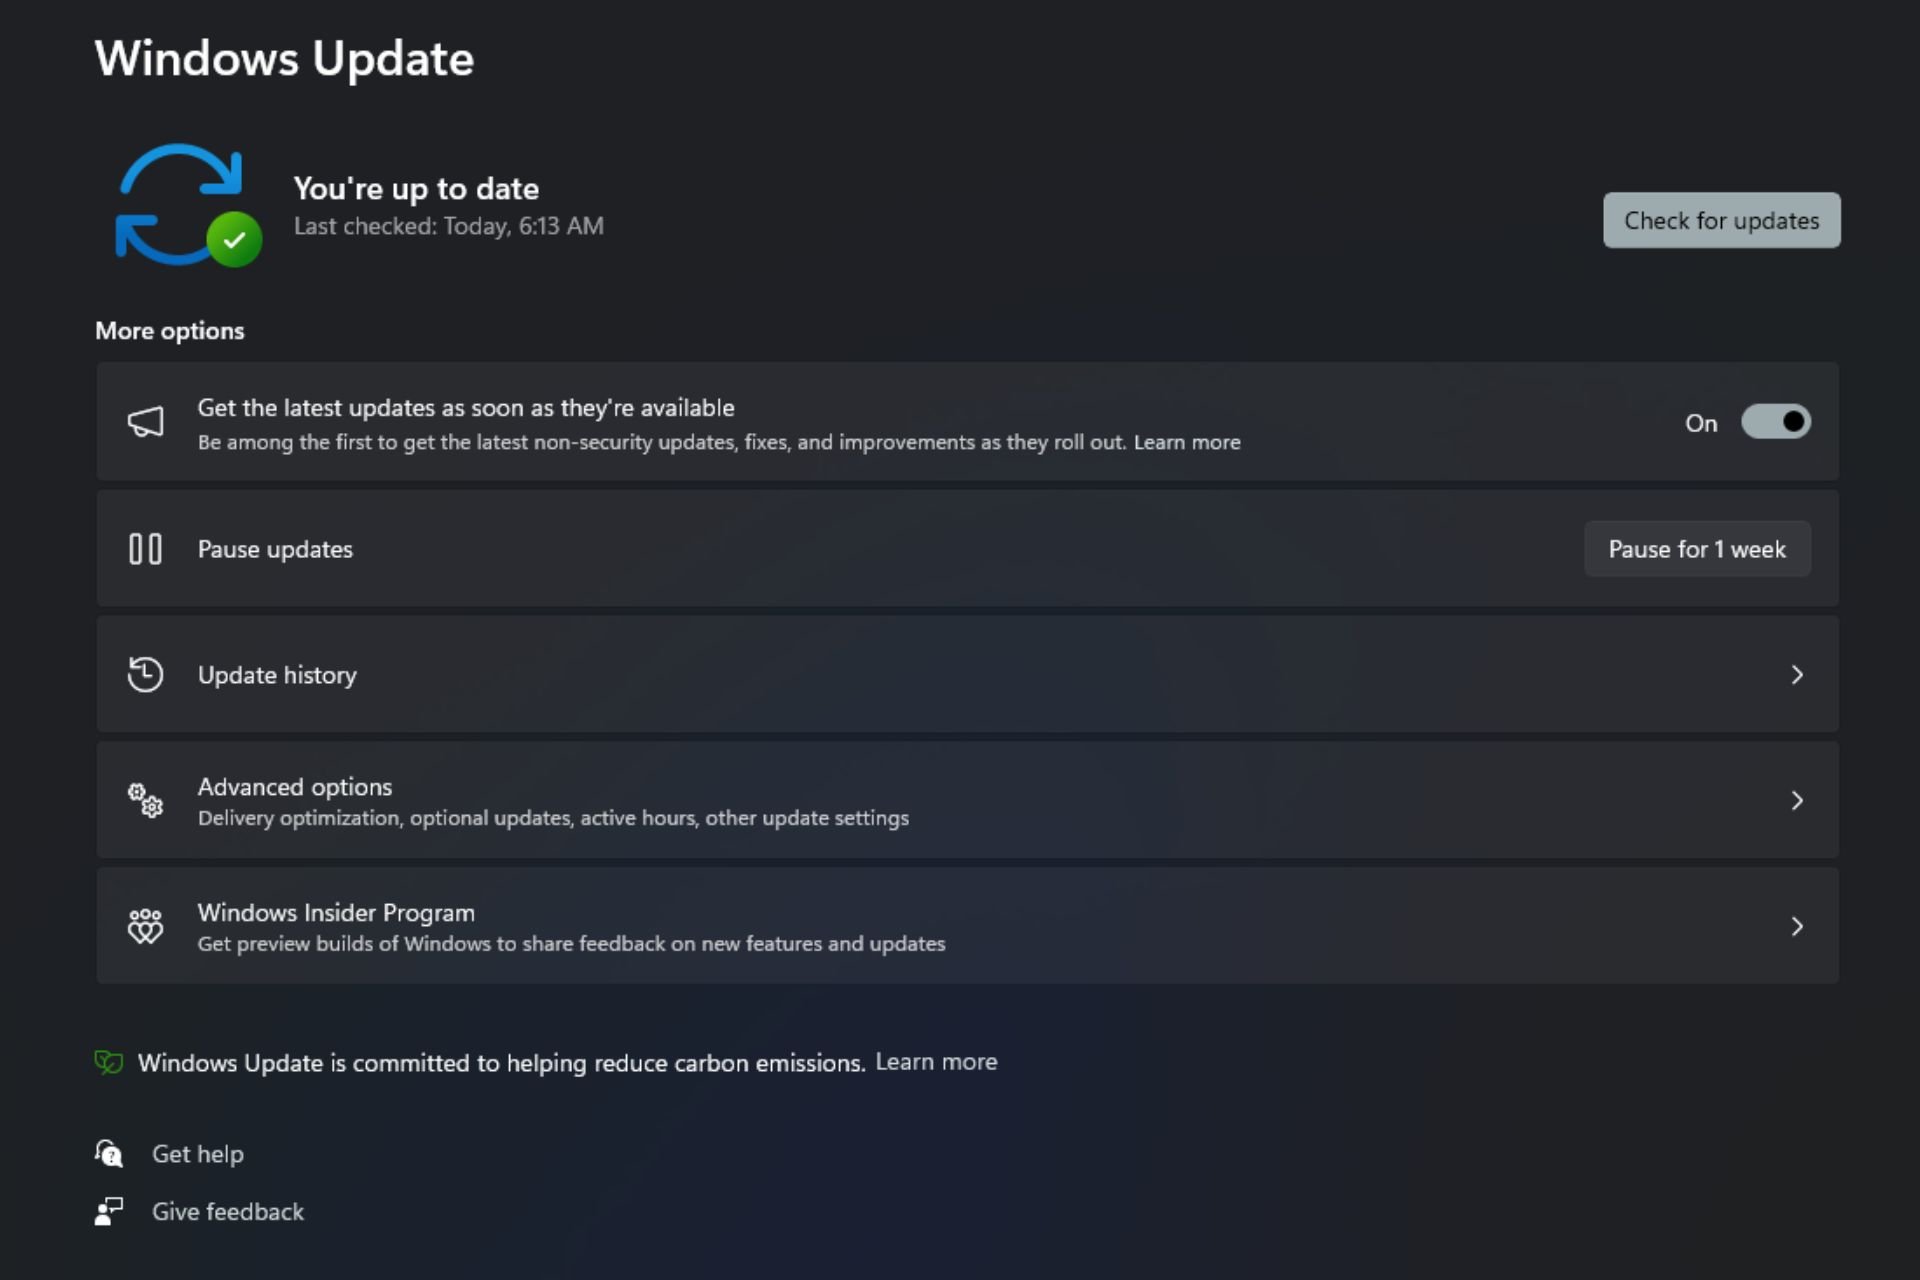
1. Check for Windows updates
Windows updates usually contain bugs and security fixes that keep your system protected. If you just upgraded via the Installation assistant, you should do this regularly to ensure your computer runs smoothly and securely. Whereas there are optional updates, you should also check them and update accordingly.
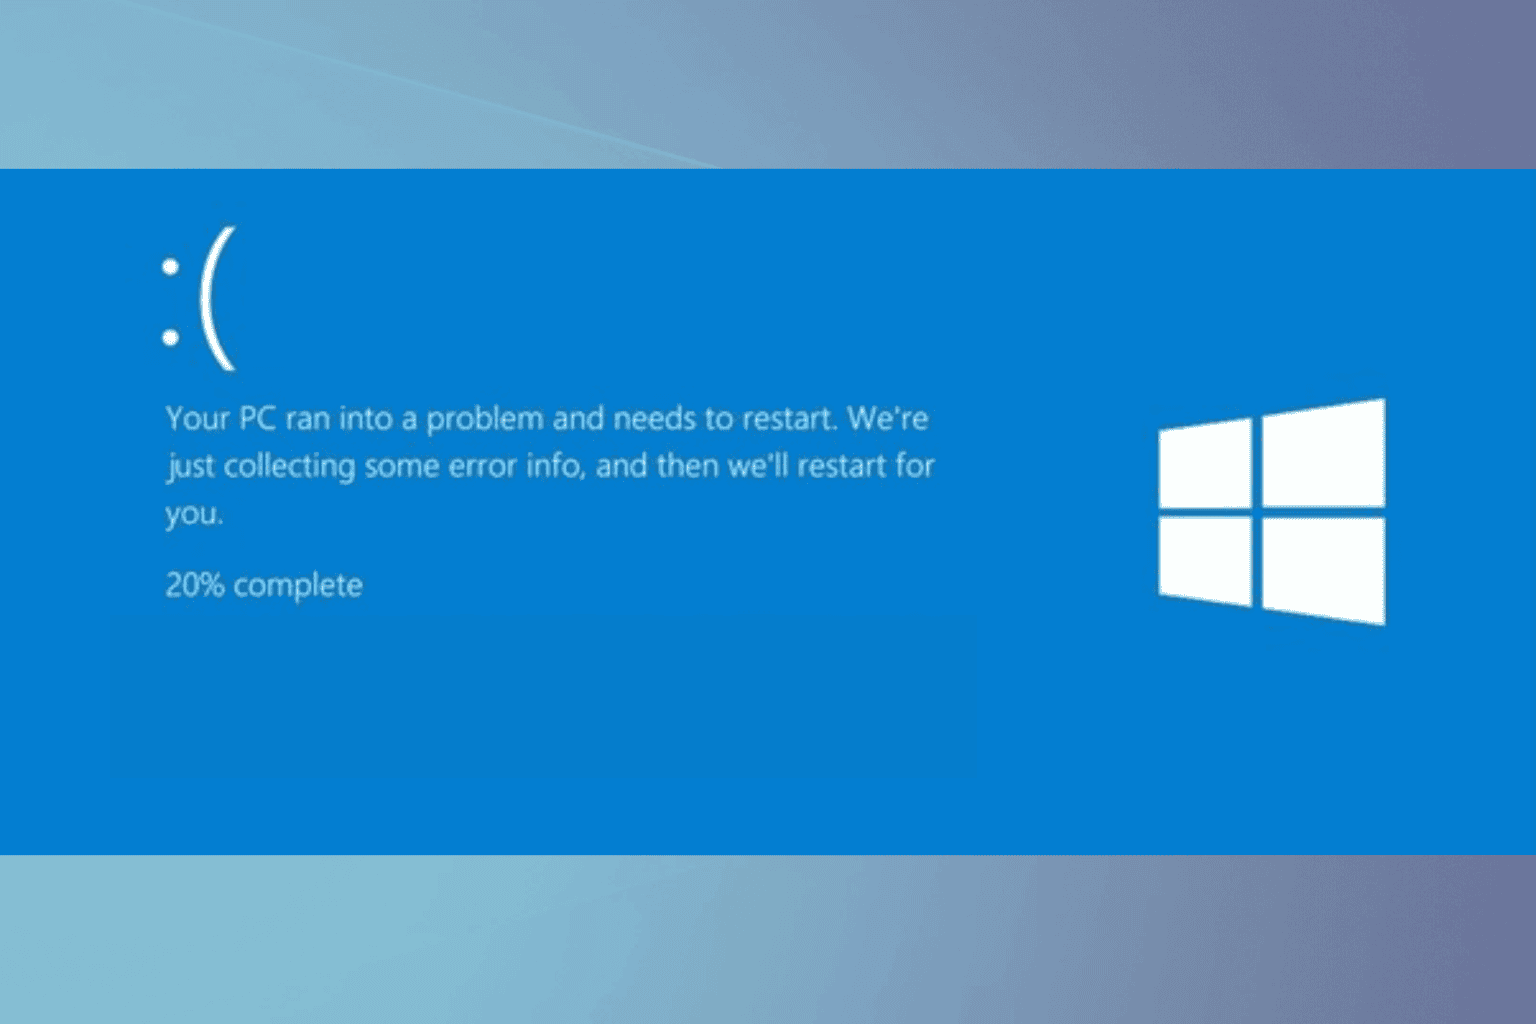
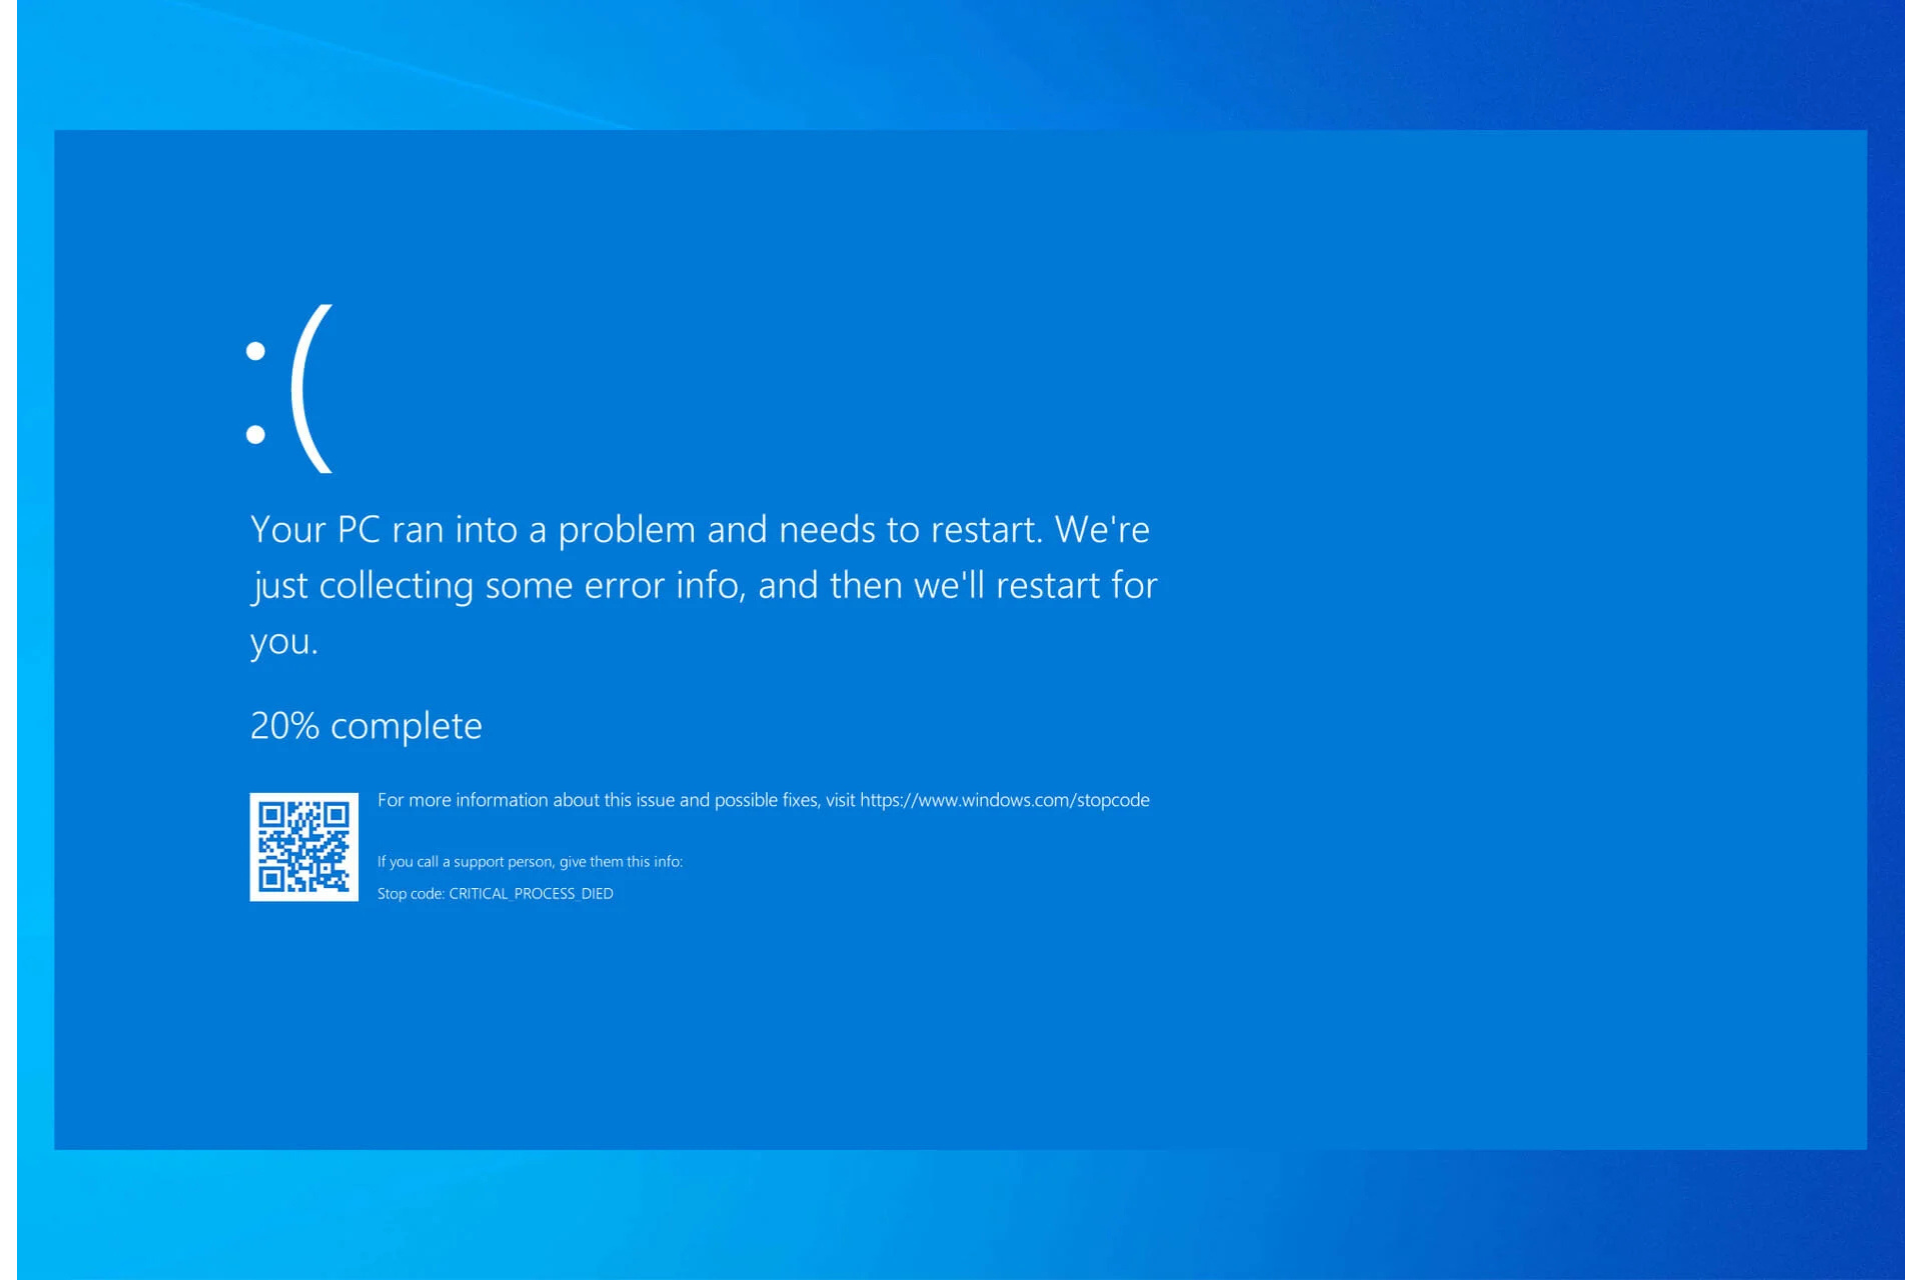
Optional updates usually include driver updates which are also essential for the smooth running of your PC and keep BSoD errors at bay.
Alternatively, you can update drivers using other methods if you don’t want to use the Windows update route.
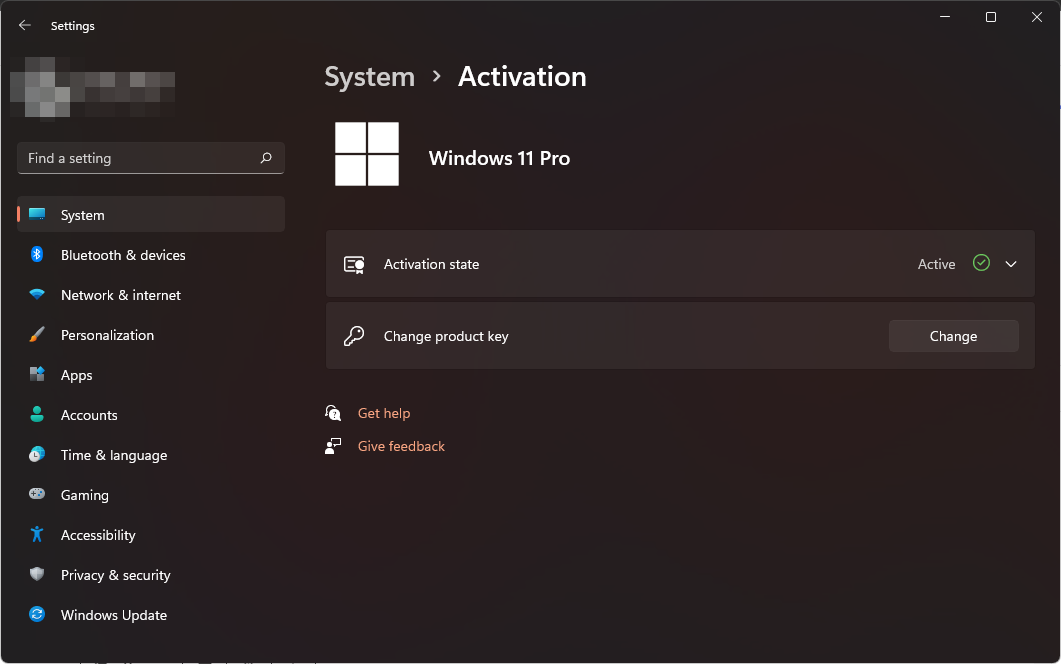
2. Check the activation status
Windows 11, like any other version of Windows, can be activated using a product key. This is very important, especially if you want to experience all the features.
It’s also a way to verify that you’re using a legitimate copy of Windows. If you see that your edition is activated, then there is nothing to worry about.
However, If your version of Windows is not activated, it might still be in its trial period. This means that your access to some features may be limited.
Other times, your product key may not be working, so it is best to get this sorted out first before proceeding further.
3. Create a Restore point
If you are new to the Windows 11 OS, creating a restore point should be at the top of your list. Getting a new OS is like getting a new toy.
You are curious, so, normally, you will be exploring a lot. While this is a good way to get acquainted with Windows 11, it can quickly become catastrophic.
Restore points allow you to revert to an earlier time when your PC was working fine if it gets damaged or you make a mistake. They are like a safety net, so creating one before you make any major changes to your PC is important.
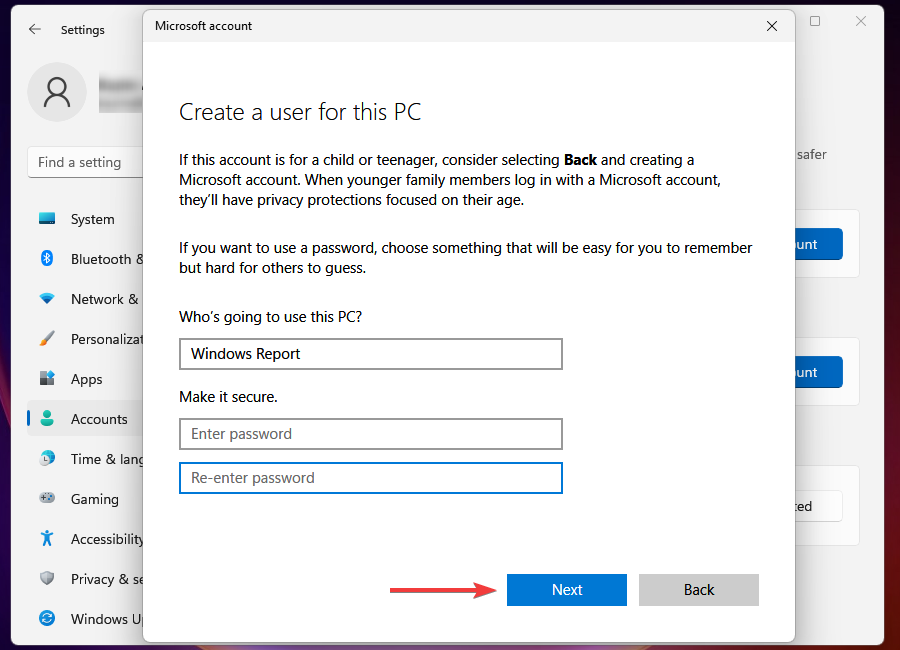
4. Set up profiles and passwords
Once you have activated your copy of Windows and created a restore point, the next thing is to set up user profiles, especially if it is a shared PC.
If you’re a longtime Windows user, you’re probably familiar with the concept of profiles. You can create multiple user accounts that all use the same computer, each with its own settings and data.
This way, you can have an administrator account and other local accounts. It is very useful for privacy and security purposes.
Once set up, you can select login methods using one of the many Windows 11 sign-in options. You can choose from Windows Hello (Face recognition, fingerprint, and PIN), security key, password, or picture password.
If you’re a single user and don’t wish to password-protect your PC, you can opt for the auto-login feature.
5. Backup files
You should always back up your files because there is no guarantee that your PC will always be virus-free. Files can also get corrupted when you change the registry, so it’s great to have a backup somewhere.
Windows 11 has built-in backup tools that let you back up your photos, documents, music, and other files. You could also use backup software which offers more storage solutions.
6. Secure your system
Although Windows 11 has a built-in Windows Defender, it may not be as comprehensive as third-party antivirus. A secure computer is protected from viruses, malware, and other threats.
Ensure you have an antivirus program installed on your computer and keep it up to date with regular updates. If we had to recommend one, ESET NOD32 would be our top choice.
Also, firewalls will come in handy. They will block unauthorized access to your computer from the Internet or another computer on your network.
7. Disable unnecessary Startup programs
Many programs start up automatically when you start Windows. This is good because it saves you the hassle of opening each program individually. However, if your computer takes a long time to boot, it’s probably because you have a load of startup programs.
Startup programs can slow down your computer and make it less responsive. The problem is that these programs are not always necessary, and they can take up memory and CPU resources that could be better used by the applications you actually want to run.
If you don’t want a program running in the background all the time, you should disable these programs. This will ensure your system boots faster and uses less memory when running.
8. Uninstall unnecessary apps
If you’ve ever heard of the term bloatware, here’s where it comes from. Manufacturers like to include their own apps on new PCs and don’t always get rid of them when they’re no longer needed.
Windows 11 comes with a lot of preinstalled apps. Some are useful, but many are just there to take up space on your hard drive and distract you from what you’re trying to do.
They can also make the OS extremely slow, so it’s best to get rid of these apps to improve on speed and performance.
While uninstalling, also take this chance to install any apps you find valuable to ensure your experience is nothing short of awesome.
9. Clean up junk files
You probably already know that your computer has temporary files that accumulate over time and take up space on your hard drive. These files don’t serve any useful purpose and take up space on your hard drive.
This may not seem like a big deal, but it is. All those small bits and pieces of files left behind after downloading something or installing an app can add up in size over time.
You can use Windows 11’s built-in Disk Cleanup tool to eliminate any unnecessary files taking up space on your hard drive.
10. Personalize your PC
Personalization options are many and varied in Windows 11. A few customizations you can make include:
Change the theme
The first thing you’ll notice after updating to Windows 11 is that it has a new look. The default desktop background is now black instead of white, which gives it a slightly darker feel than previous versions of Windows.
However, if you feel the dark theme is not for you, you can switch to the light theme. Themes are a set of colors, sounds, and other aspects that can be applied to your computer. You can choose from several preloaded themes or create your own custom theme.
Other themes to choose from include:
Customize Start Menu
The Start Menu is the main menu displayed on the screen when you start using your computer. It contains all the programs and applications installed on your computer, so it makes sense to tweak it to your preferences.
You can choose which apps appear in the All Apps list, pin apps, and even customize recommendations. Find out more about the Start Menu customization options from our detailed article.
Customize File Explorer
As the main file manager app in Windows 11, you use File Explorer a lot hence the need to make a few changes that work for you.
You can change the theme, layout, and default programs to open files. Other customizatios you can do with File Explorer are listed in our comprehensive guide. If unsatisfied with it, you can always opt for other file managers.
Customize lock screen
The lock screen is the screen that appears when you start up your computer, and it’s also what you see when you lock your computer.
You can customize it to show additional information like calendar events, weather forecasts, and more.
What cool things can you do on Windows 11?
Let’s face it, from face value, Windows 11 may seem like a basic OS with just a new facelift. However, you’d be surprised to know just how cool the operating system is.
Luckily, we share below some things that you probably didn’t know about and how they can make your life easier:
- Run apps as a different user – Although not a new feature, most people usually switch profiles if they want to run an app unavailable on their profile. Well, you don’t have to do that anymore.
- Create keyboard shortcuts – You’re probably aware of the common everyday shortcuts we use to multitask. However, Windows 11 allows you to create your own keyboard shortcuts that will definitely make your life easier.
- Remove Windows 11 ads – Ads in any form and on any platform can be annoying. They tend to pop up at the most inopportune time and can frustrate you. Well, not anymore. You can now remove ads from your Windows 11.
- Change Startup/shutdown sound – Did you know you don’t have to stick to the default Windows 11 startup or shutdown sound? You can actually disable it altogether if you want to do away with it.
We still have more Windows 11 cool things you can try, so head over to our dedicated article to learn more about what you may be missing out on.
Also, check out our new PC checklist to familiarize yourself with things you need to do when setting up your new PC and how to install Windows 11 on a PC with no pre-installed OS.
That’s it for this Windows 11 to-do list, but keep the conversation going in the comment section below with more things you think one should do after installing Windows 11.




User forum
0 messages